Disclaimer
This is not a guide. There are many security and redundancy vulnerabilities that have not been covered. This is simply my experience with a proof of concept.
The Price of Convenience
If you're like me, you like money. The last thing you want is someone taking money from you by creating an artificial problem that you can conveniently solve by paying a small fee only once per month. A short word for this, treading ever so slightly next to its definition, is something called 'extortion'.
To provide a hypothetical example of this, that no large domestic technical corporation should or would ever do, is to deliberately remove SIM card slots from mobile phones and then conveniently provide a solution to your users around this exact time, perhaps even with a fancy term that hides the fact that you're just having them pay for offsite storage. We might call it something like
'The Cloud'.
Who would pay for such a thing, right? Well, what if we sucked these users in by providing them a free trial of this service, and then once it ends, they can no longer access our services. Unless... they pay a small fee of $10/month.
(terms and conditions apply)
As a bonus, we could make these terms and conditions so long that it's physically impossible for a human to read in a reasonable amount of time. Then we could hide whatever we like in there, maybe something like using the users' data for our own machine learning algorithm that helps us display personalized ads directly to the user, earning us even more money!
Now that everything is laid out on the table, I think you understand where I'm coming from. I fell into this aforementioned trap, and I'm a bit sick of consumer subscription services; hence my quest to get rid of every single unnecessary one I possibly can. Don't get me wrong, I understand the value here is convenience, but even that has its limits. When you factor in the privacy aspect as well, you start to wonder if it's really worth what you're paying.
Introducing Immich
Immich is a self-hosted, open-source photo and video management platform designed to be an alternative to cloud services like Google Photos. It allows you to automatically back up, organize, and share photos and videos from your devices while keeping full control of your data on your own server.
TLDR: Immich is a self-hosted Google Photos alternative.
Setting Up The Server
As far as hardware goes, I'm faced with two options: my old gaming PC, boasting 16 GB of DDR3, a GTX 970, and the legendary 4790K, all powered by the worst power supply known to man: a Corsair CX600M; or an old HP 800 G3 I had lying around in my office.
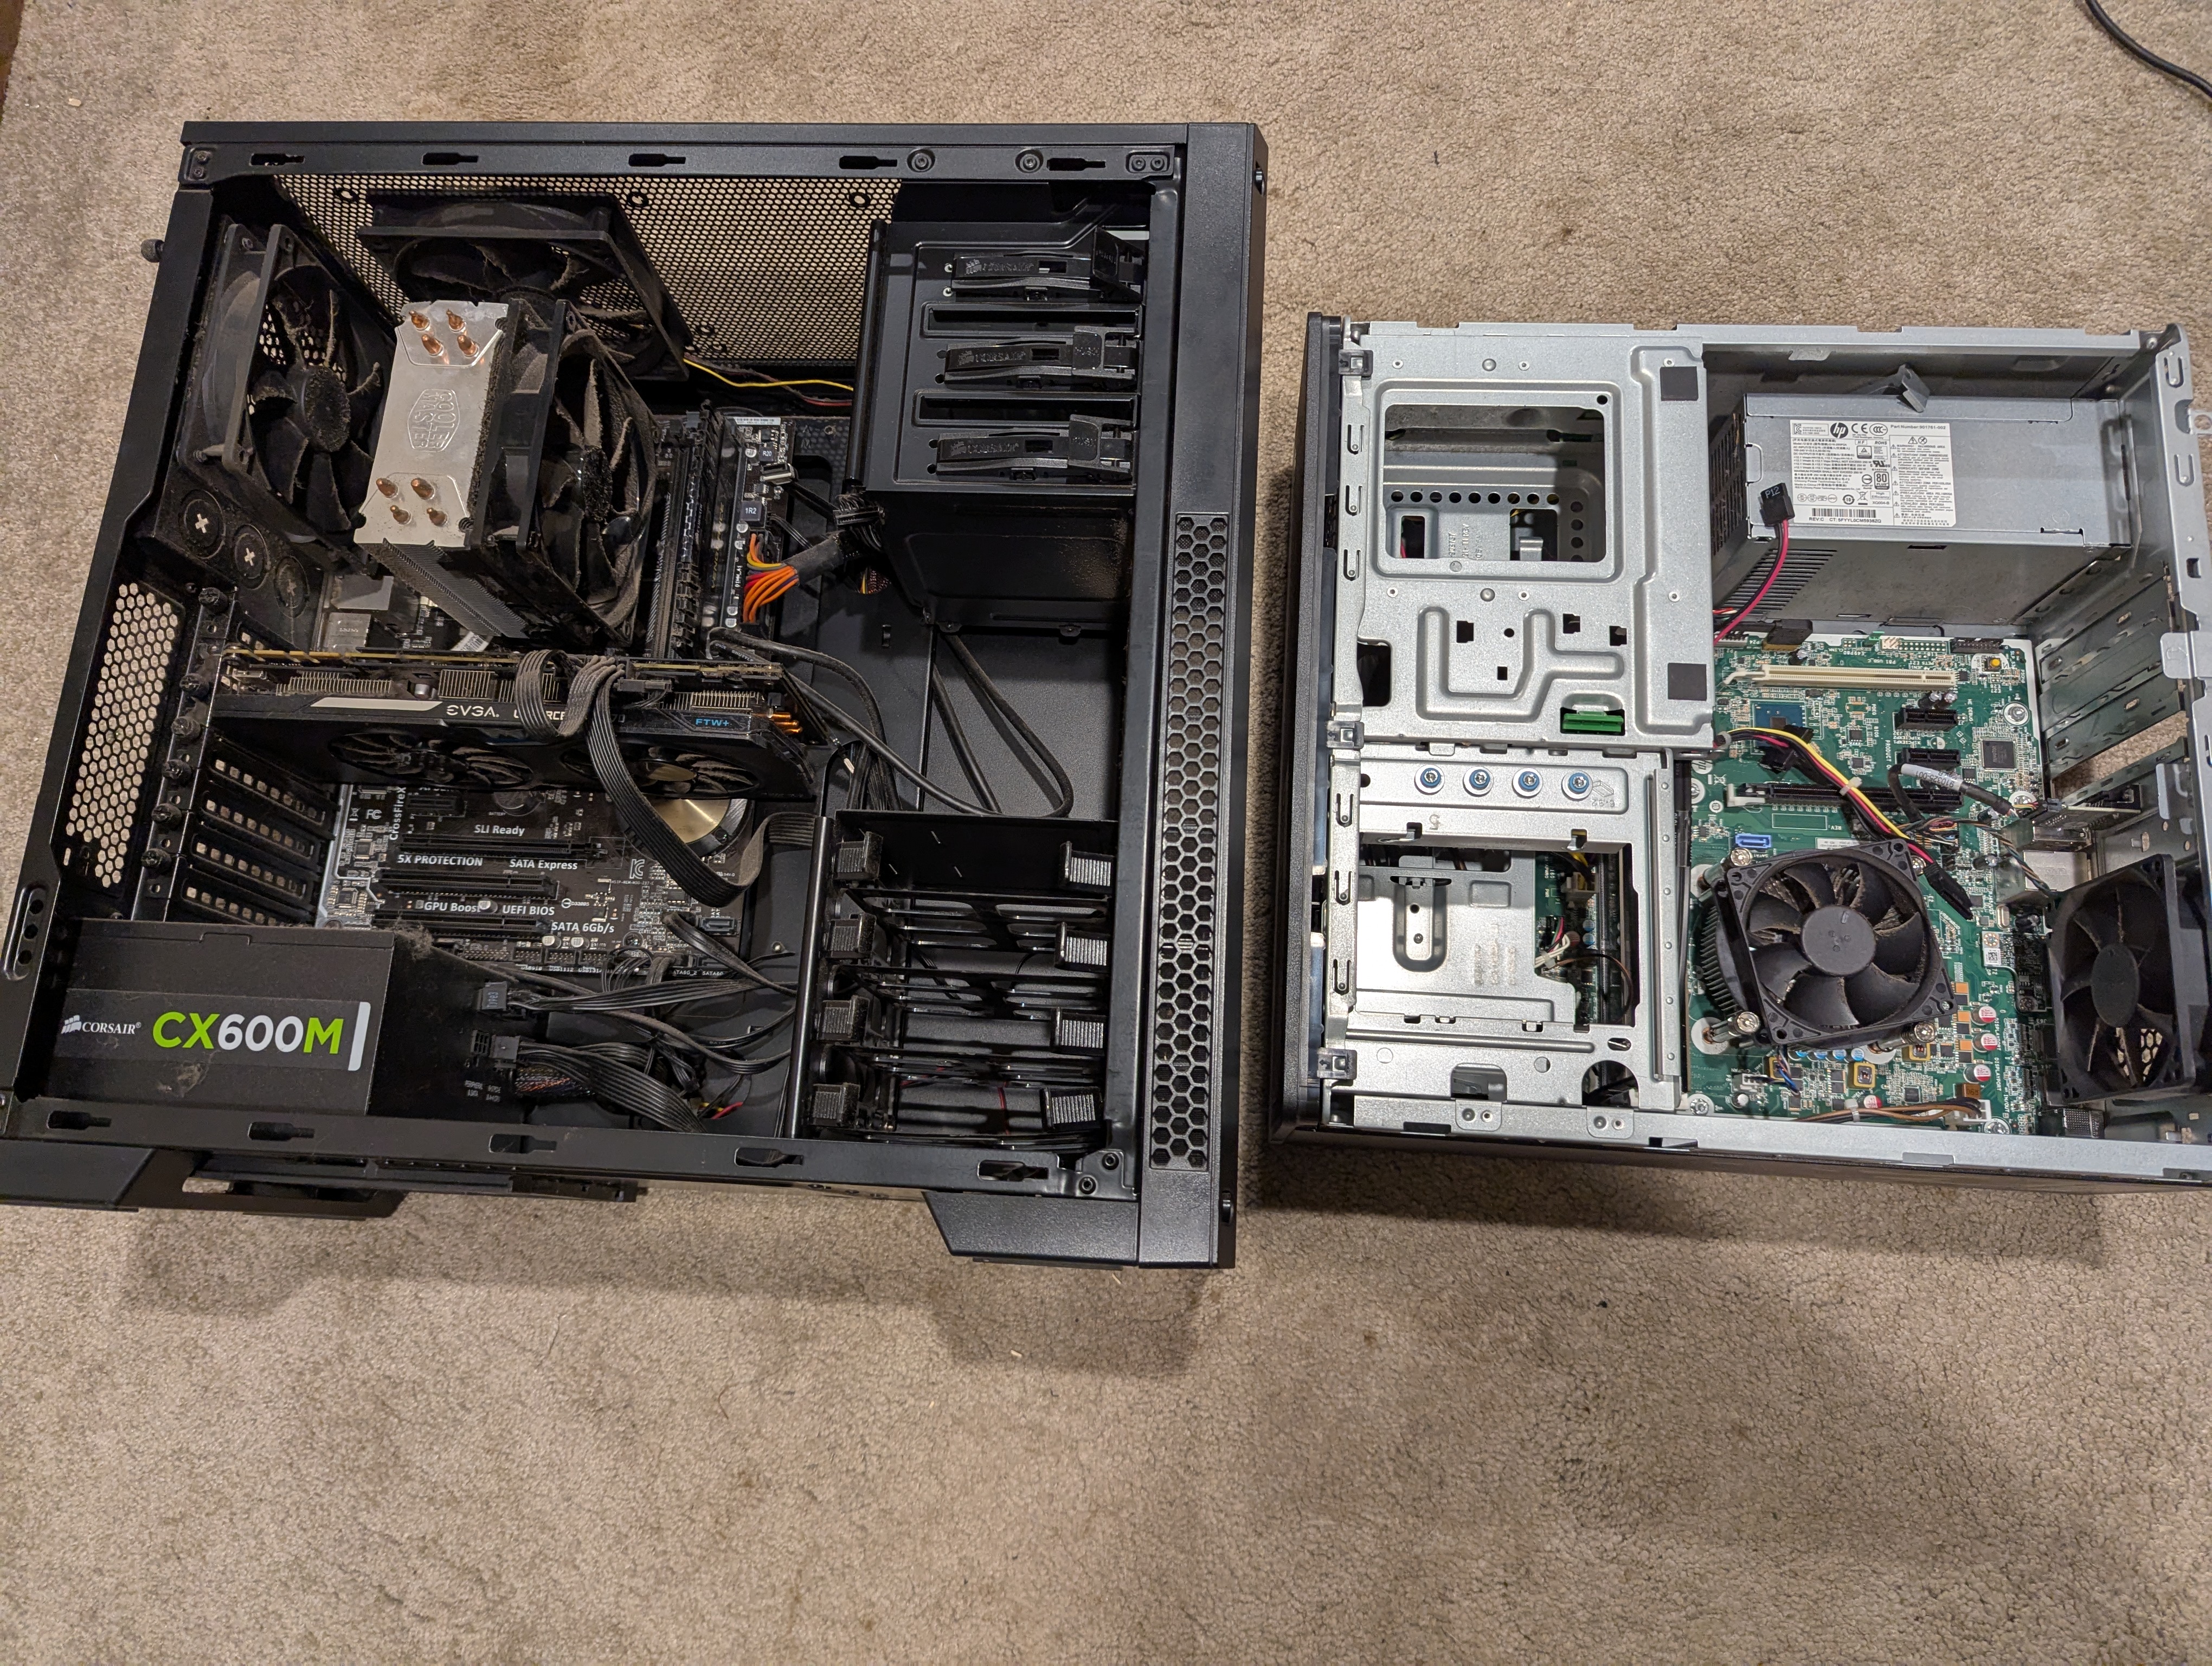
I chose the G3 for now because it has 32GB of DDR4, which in my mind is better for this use case. I can’t swap the motherboard over because it’s proprietary, so I’ll just buy a cheap 1151 motherboard in the future and combine the good components into one.
Another downside is the limitation of only two SATA connections due to the non-modular power supply. Ideally, I would use an external storage solution like a NAS, which would give me greater scalability and options for different RAID configurations. However, for the time being, RAID 1 with two drives will suffice.
Linux
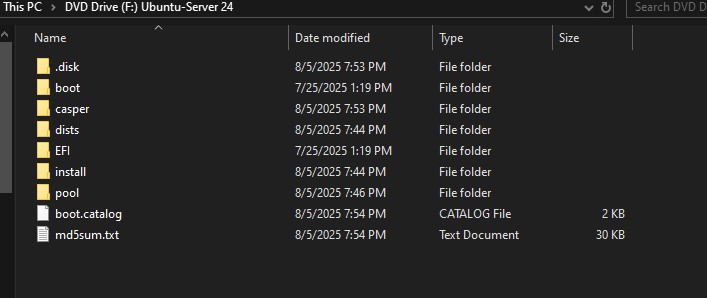
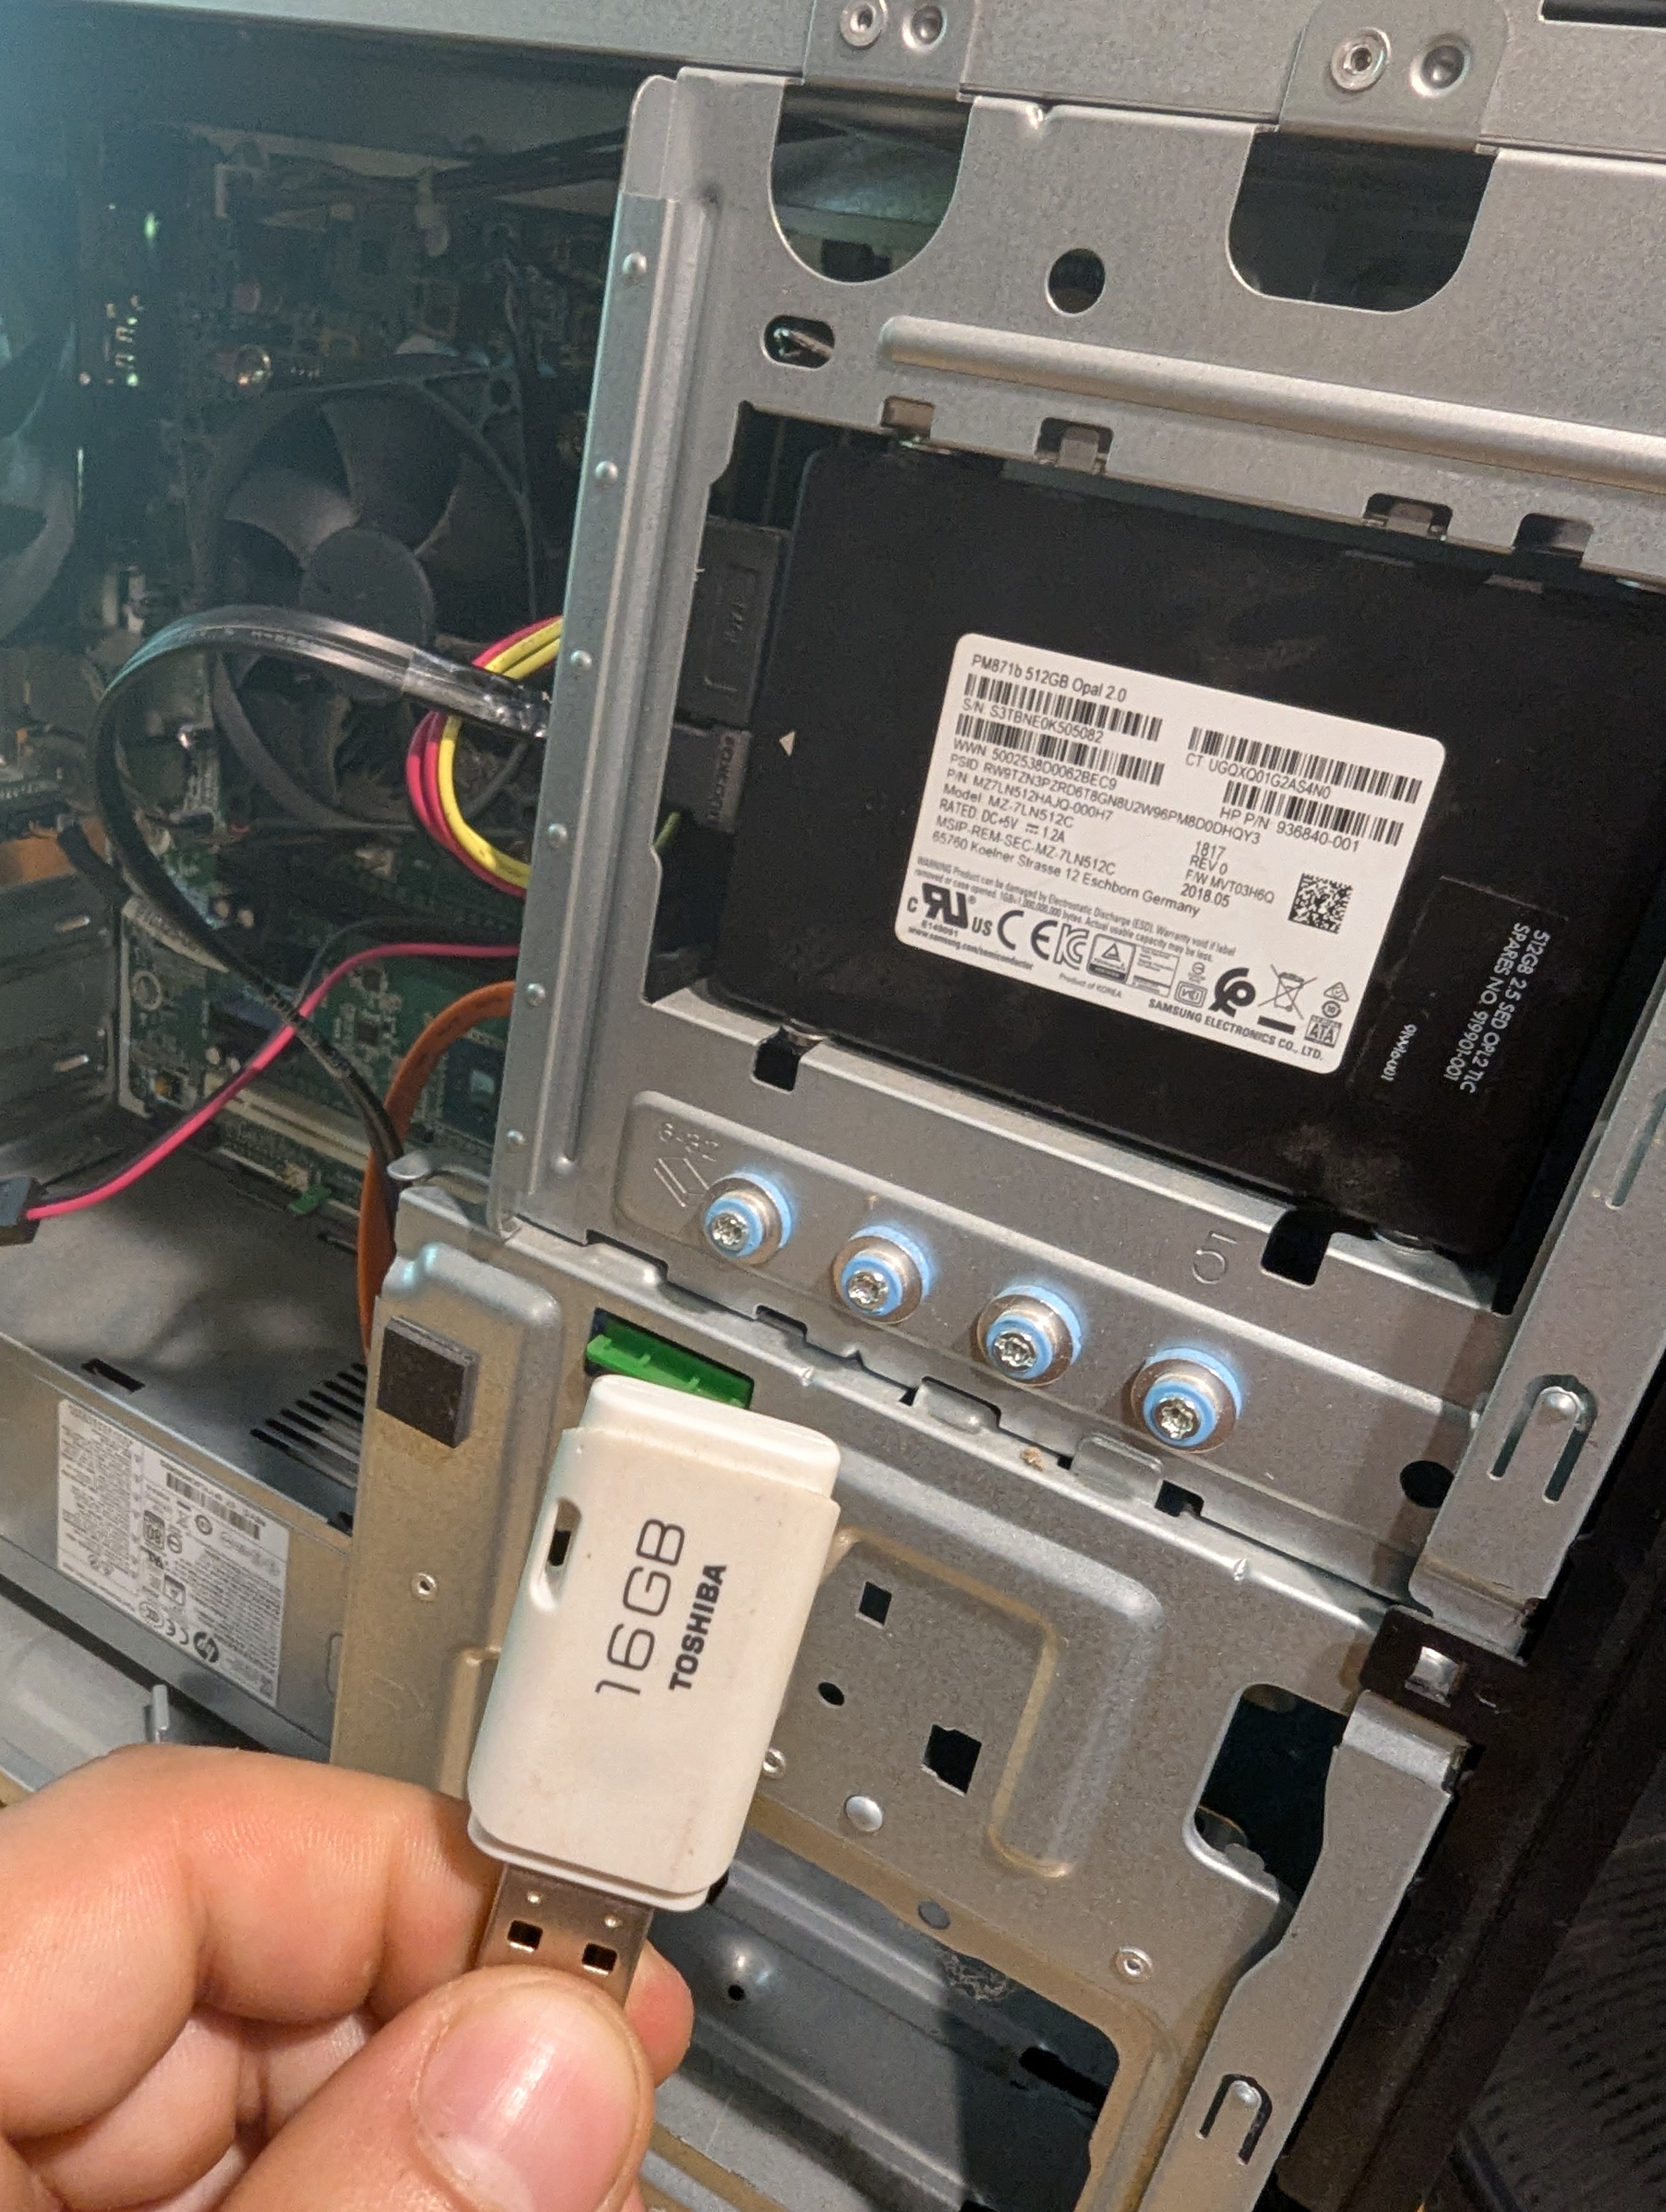
Immich is meant to be run on a dockerized Linux container. Although it can be run on Windows, it’s not recommended by the developers. I’ll be choosing Ubuntu Server for my distro. Why, you may ask? That’s a good question. I’d like to say it’s due to simplicity and stability, but frankly, I basically flipped an 8-sided die containing a different distro on each face. Linux distros are like choosing a flavor of ice cream to me, and today I chose vanilla. I mounted the ISO on a flash drive and plugged in my 512GB SSDs.
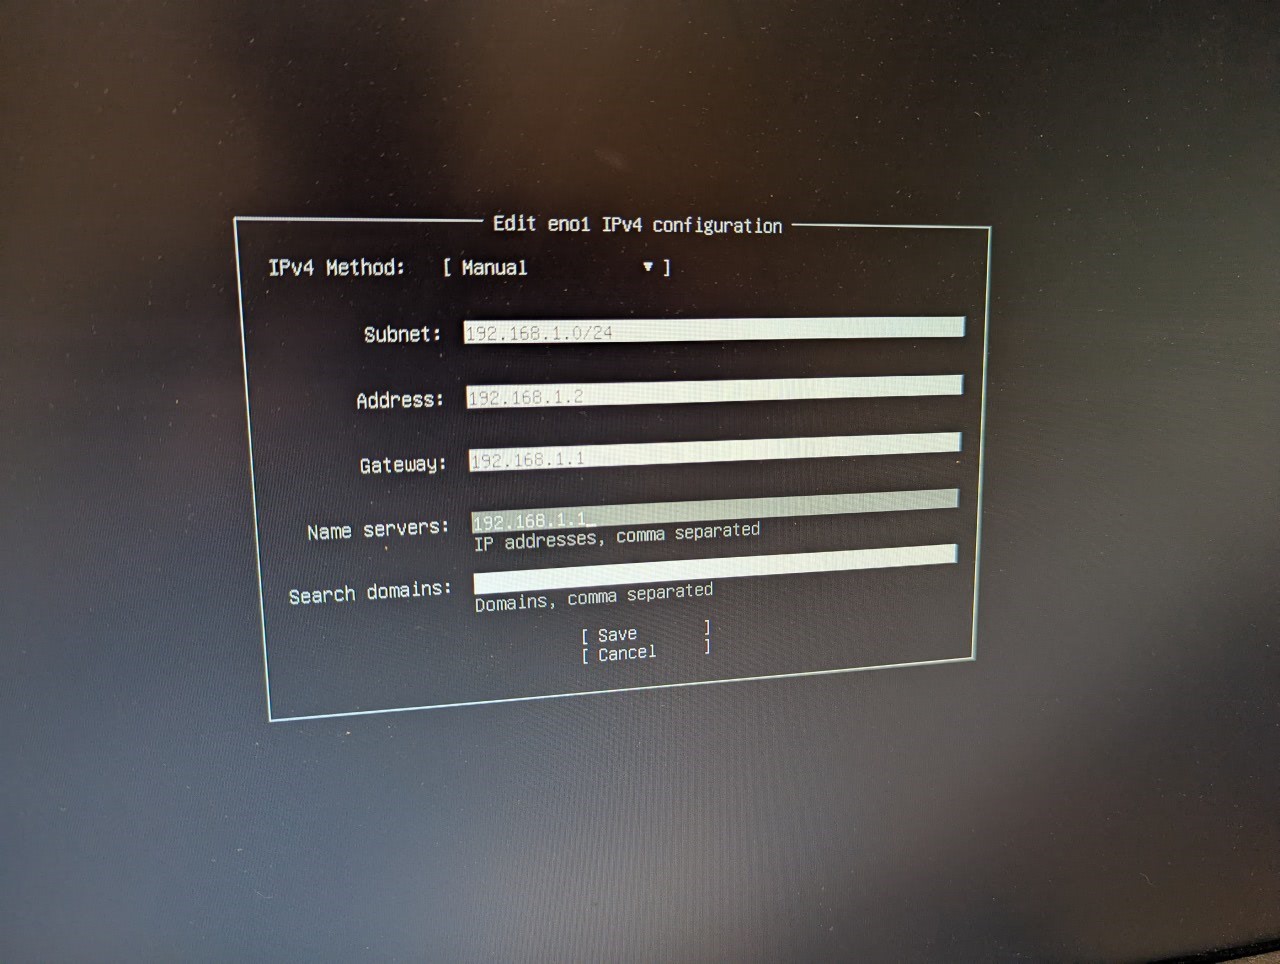
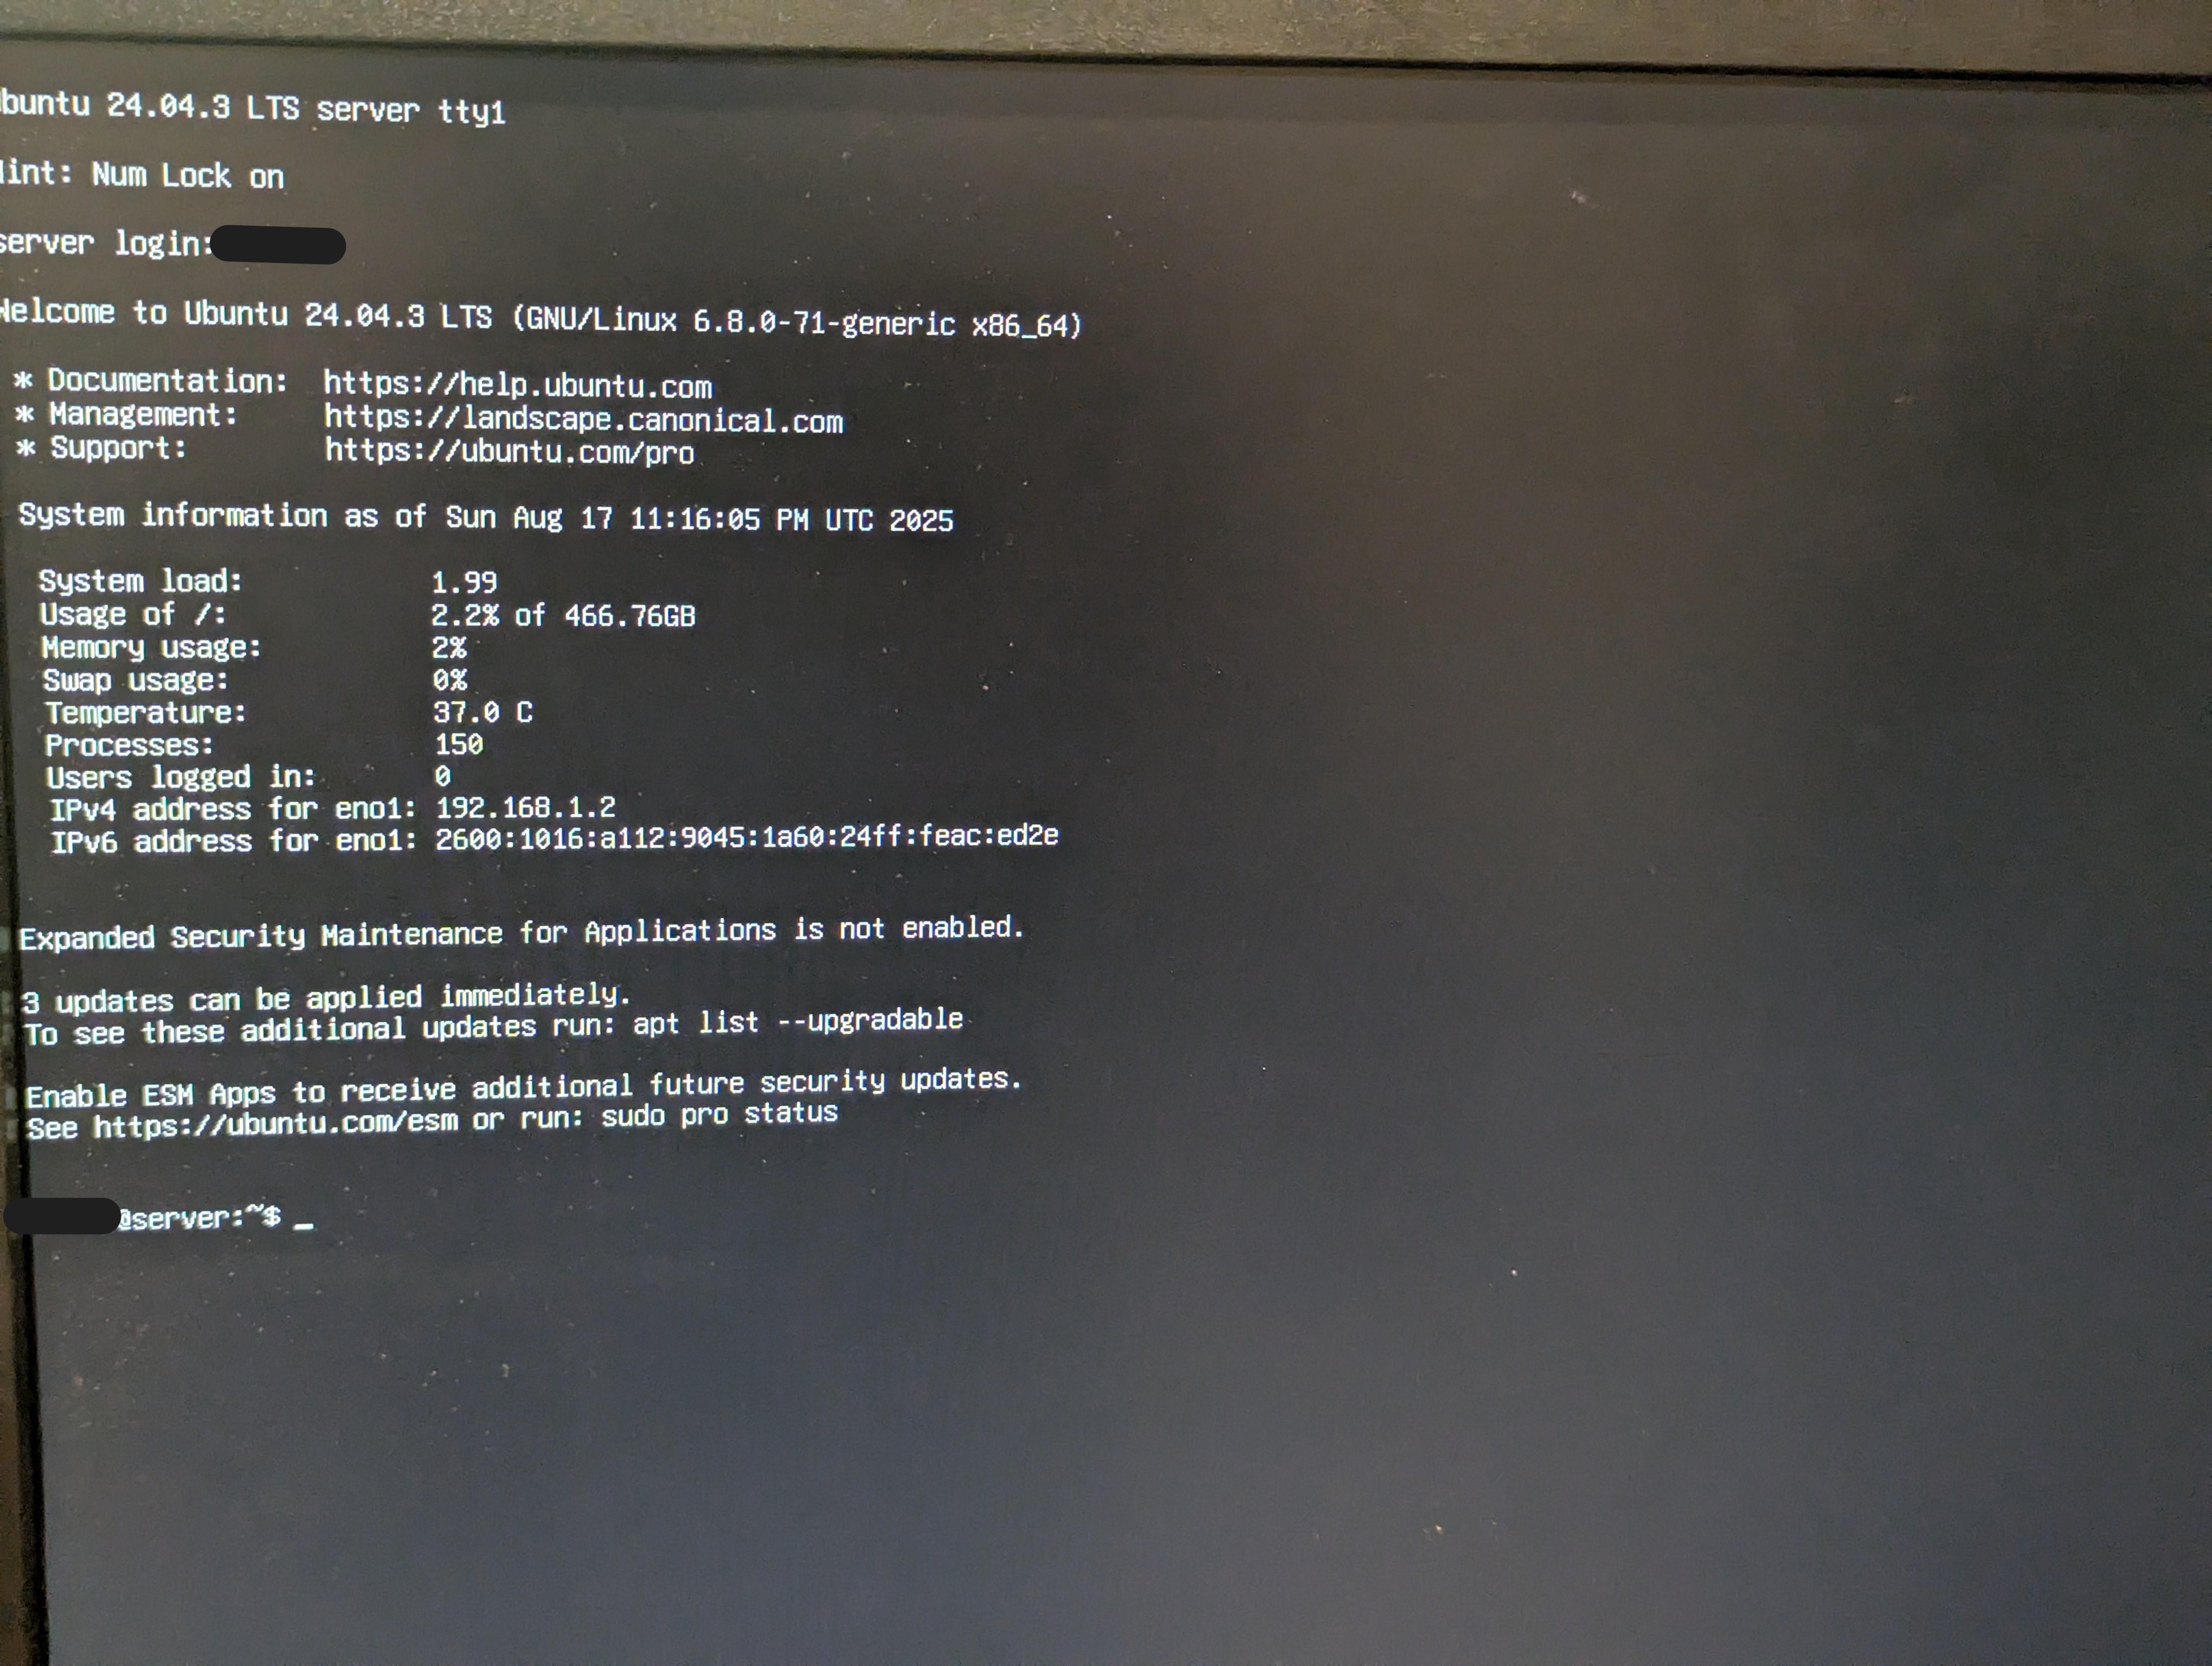
Booting from the flash drive and starting the Ubuntu initialization, the first configuration will be network. Since this is a server and we want a memorable address, I'll be setting a static IP. I chose 192.168.1.2 since this is the next host on my subnet after the router.
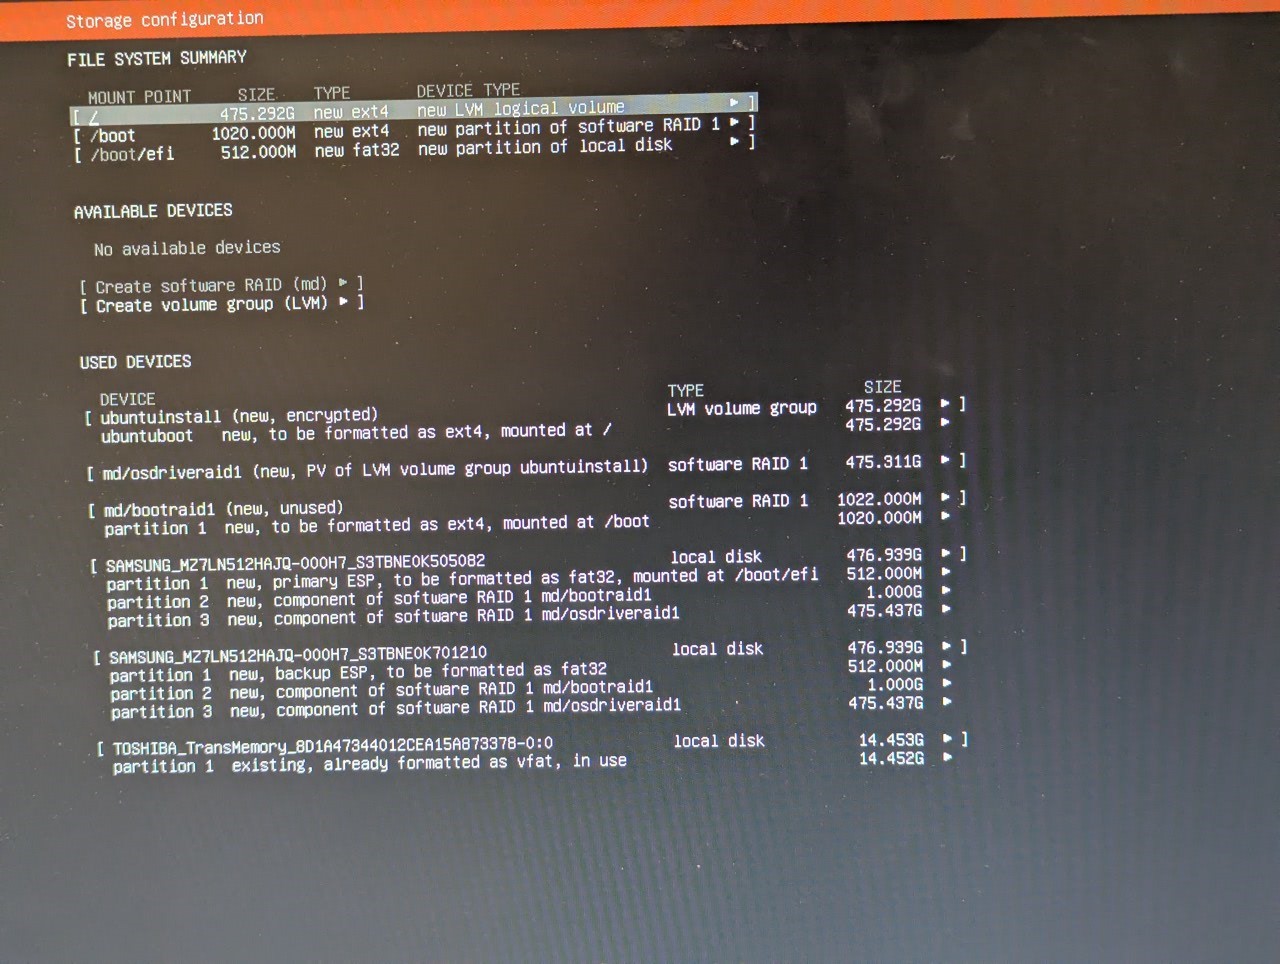
Once that's set, the next configuration will be storage. Ubuntu allows RAID via software using MDADM. Again, I'll be using RAID 1, giving me one line of redundancy if one of the drives fails. This is quite the process which I didn't document, but I do have a photo of the final config.
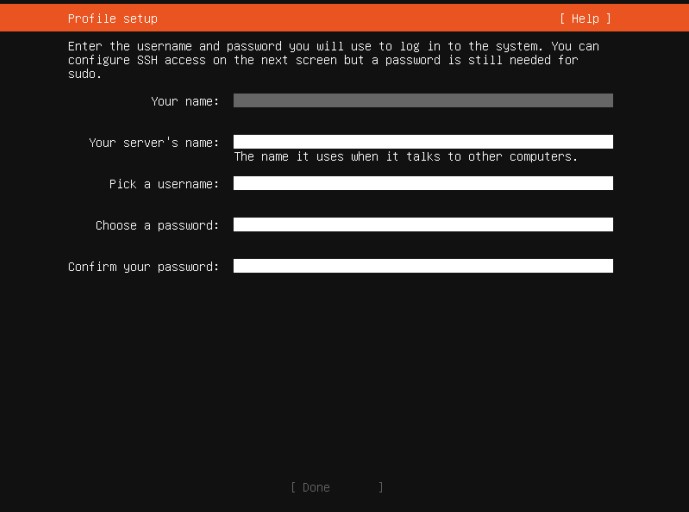
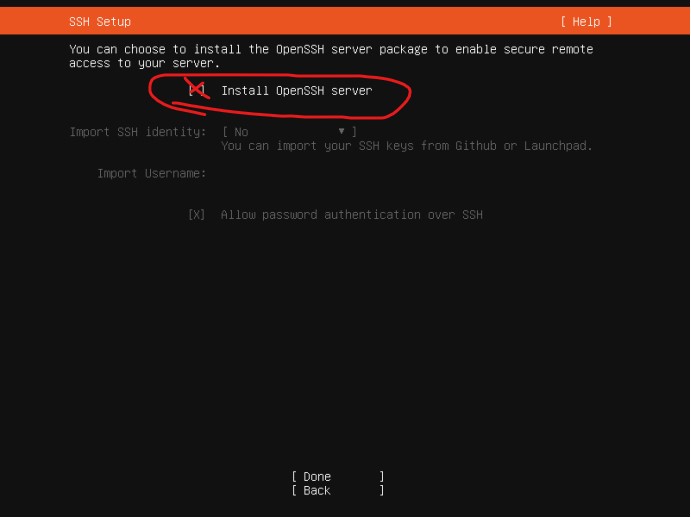
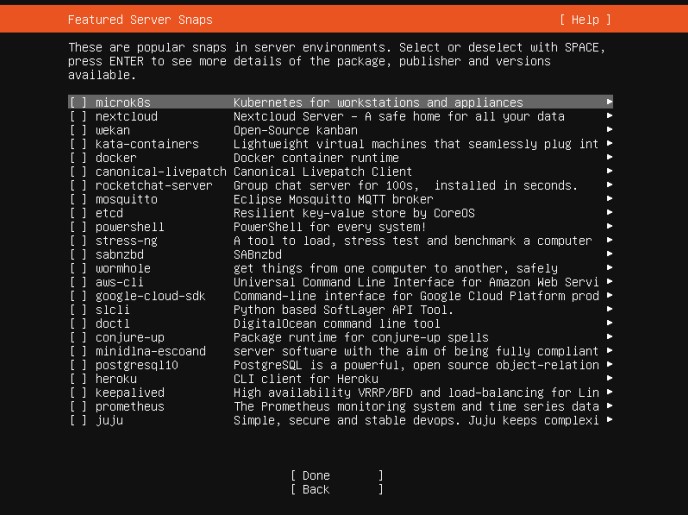
Proceeding to the next screens will be Profile setup, SSH, and Snaps. I won't be installing any snaps for this project, but I will be installing SSH so I can access the shell when I'm physically away from the server.
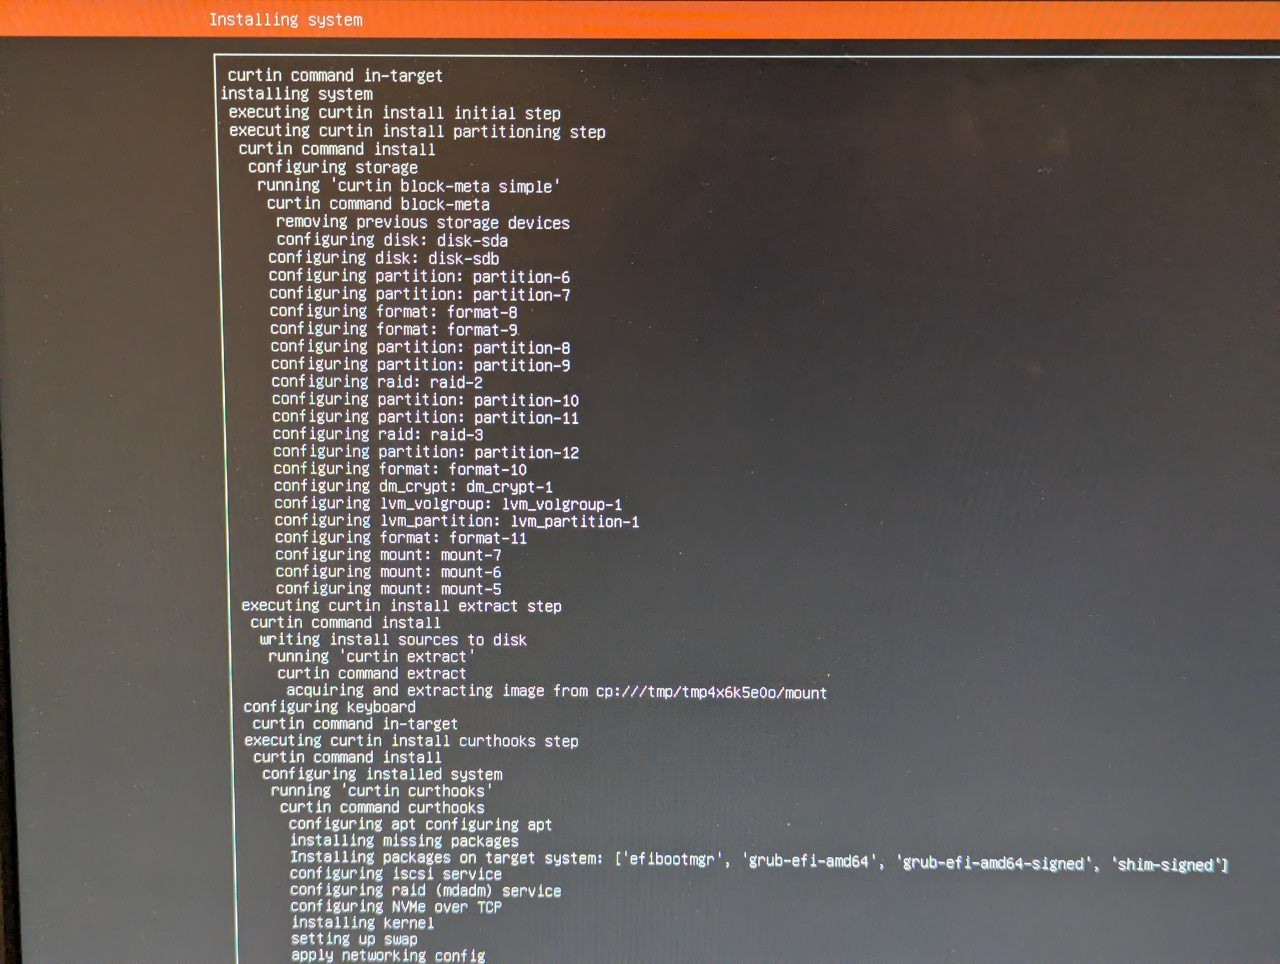
Finally, I'm presented with the installation log. Once finished, I can reboot and remove the flash drive to boot into the OS.
DHCP
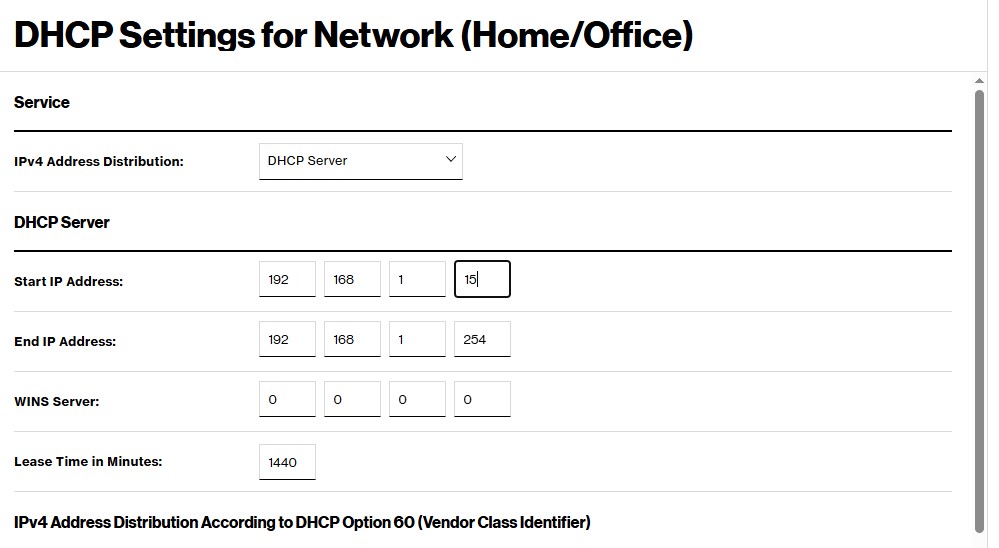
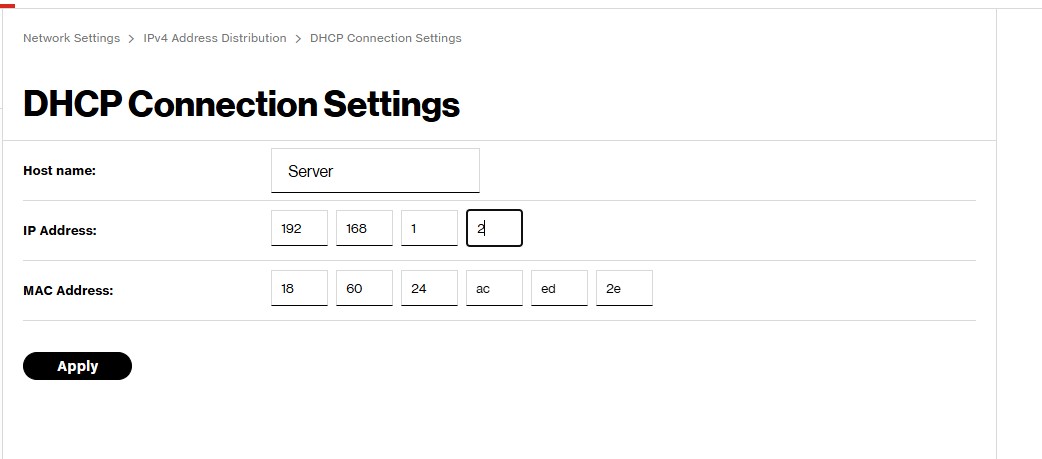
Since I set a static IP, I'll need to reserve an address in my router's DHCP pool. This is very straightforward since this is just my home network and I only have one subnet. First, I'll remove some addresses from the dynamic pool so they can't be assigned. I decided to go with the first 15 even though I'll probably never need that many.
Next, I'll grab the MAC address of the server from the ARP table and reserve its IP.

SSH & Docker
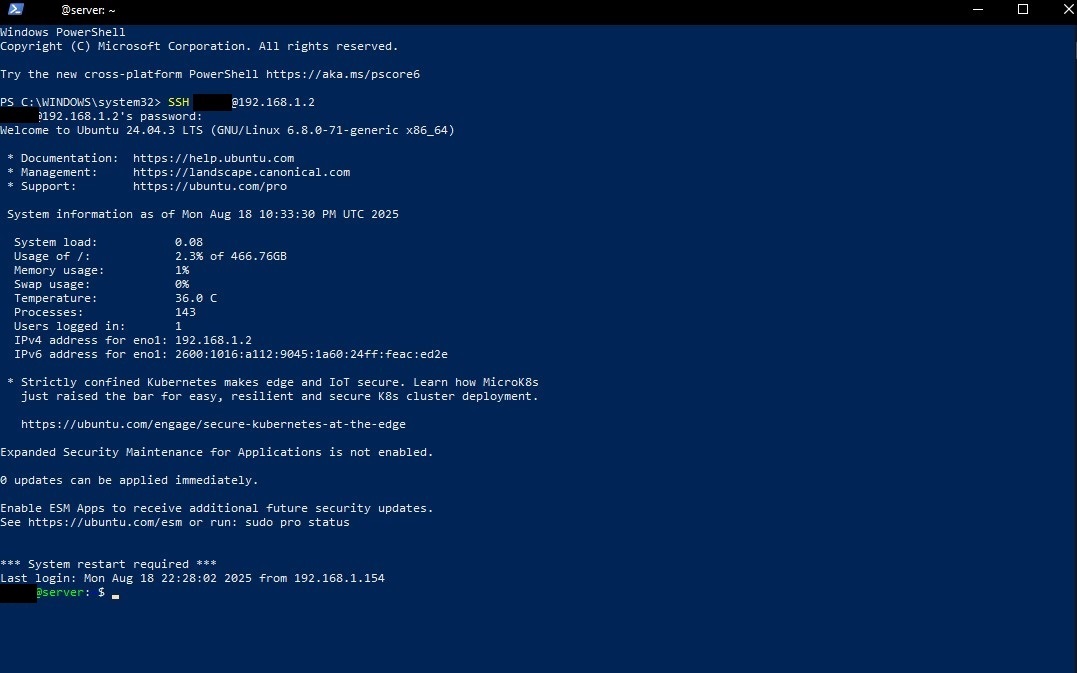
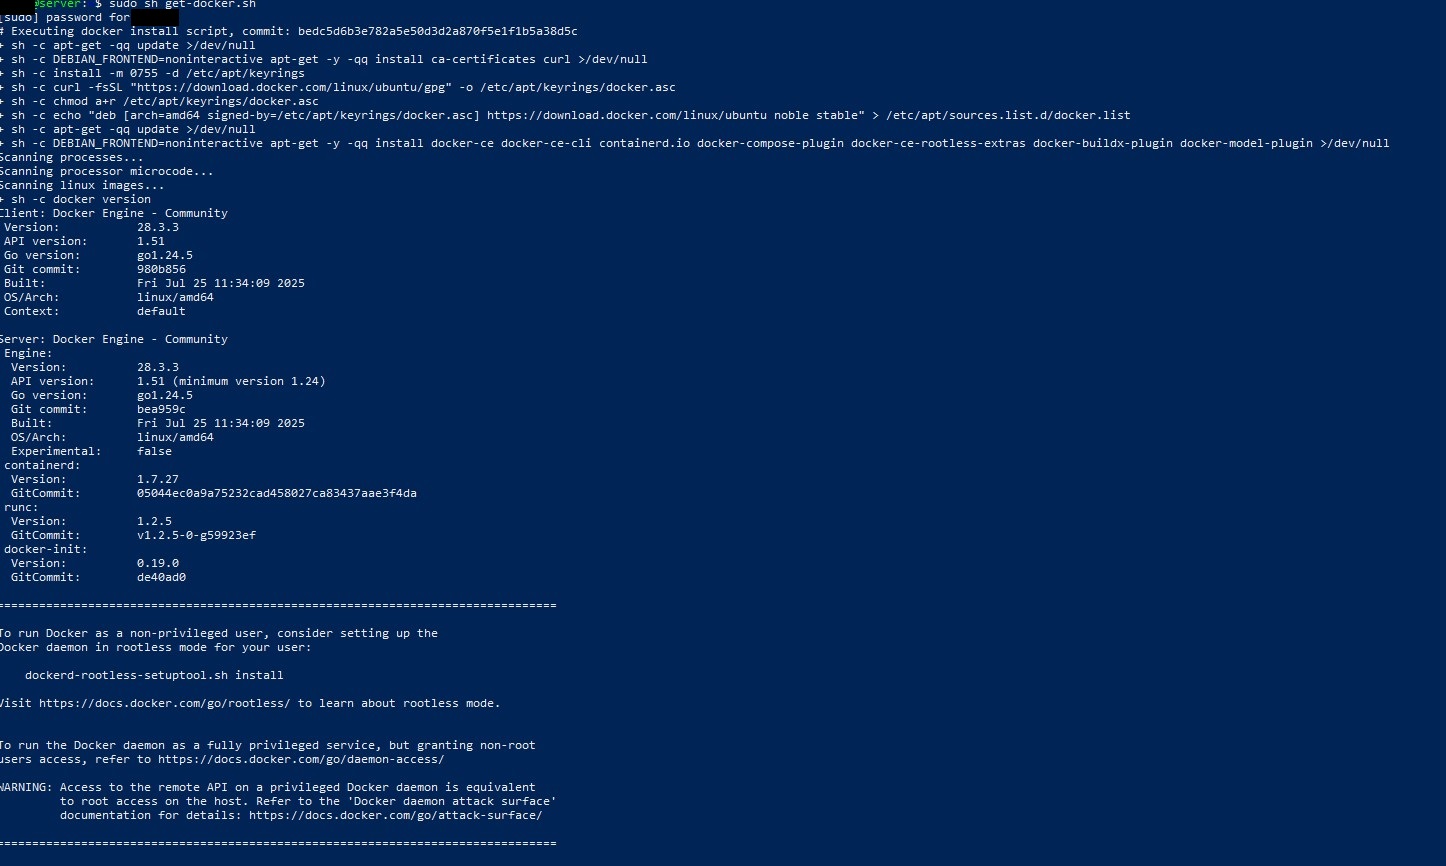
Like I said before, Immich is contained using Docker so it'll need to be installed. Docker is a platform that packages apps and their dependencies into lightweight containers so they run the same anywhere. Each container gets its own IP, kind of like a VM but without a full OS, and by default they run on a bridged network so the host can talk to them. You'll notice I'm in PowerShell for most if not all of these shell commands; that's because I'm SSH'd in from my Windows PC.
Initializing Immich
Following the quick-start guide and with usual Docker procedures, the first thing will be making a directory, then the subsequent docker-compose.yml and also an .env file in this case. This can be done with the following commands:
bash
After running the commands, we can customize the .env file with preferred info, then start the docker container with:
bash
Once the log finishes, the following should display, saying it's successfully downloaded and initialized:

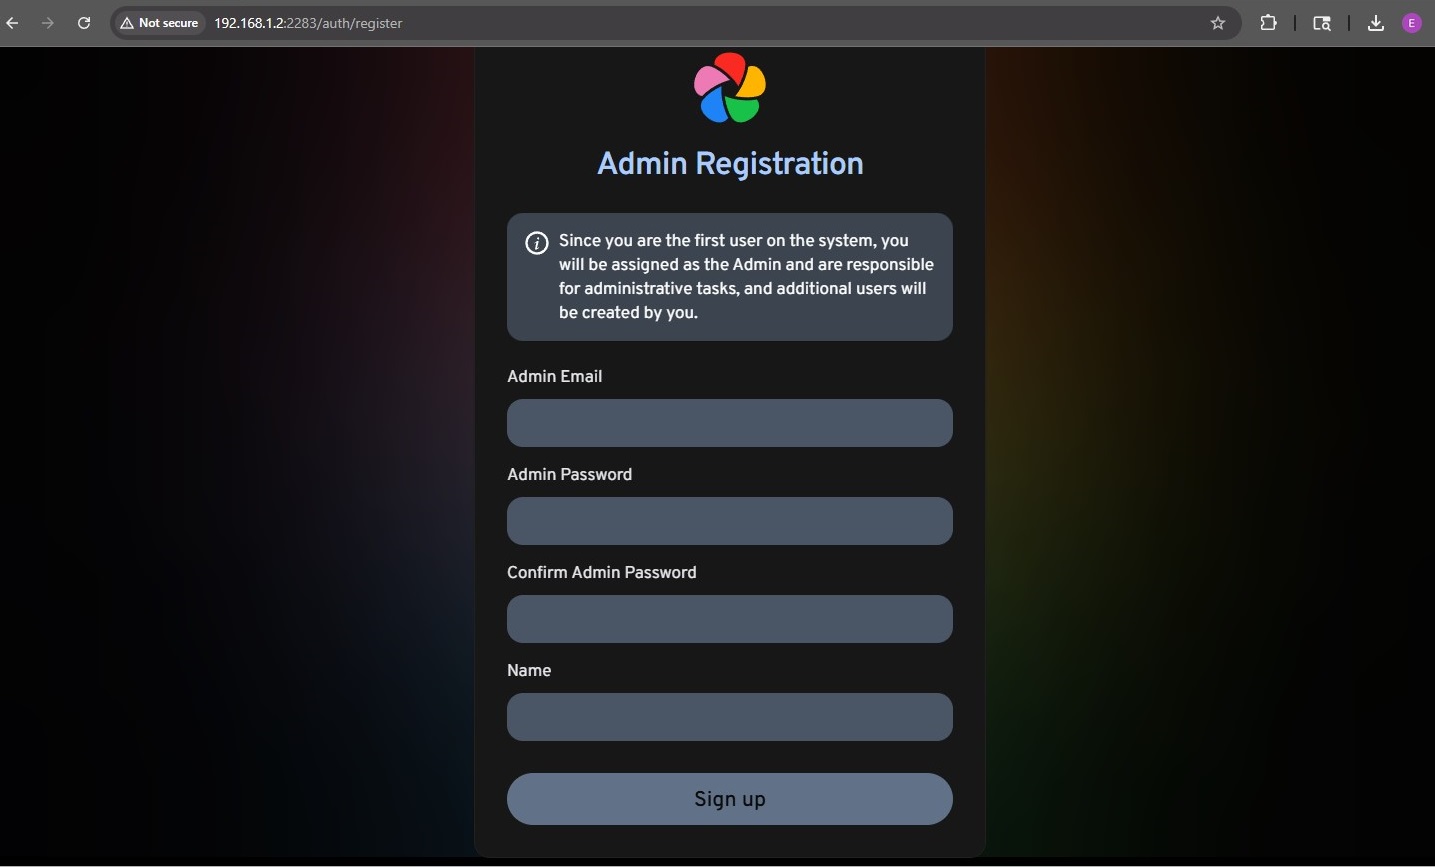
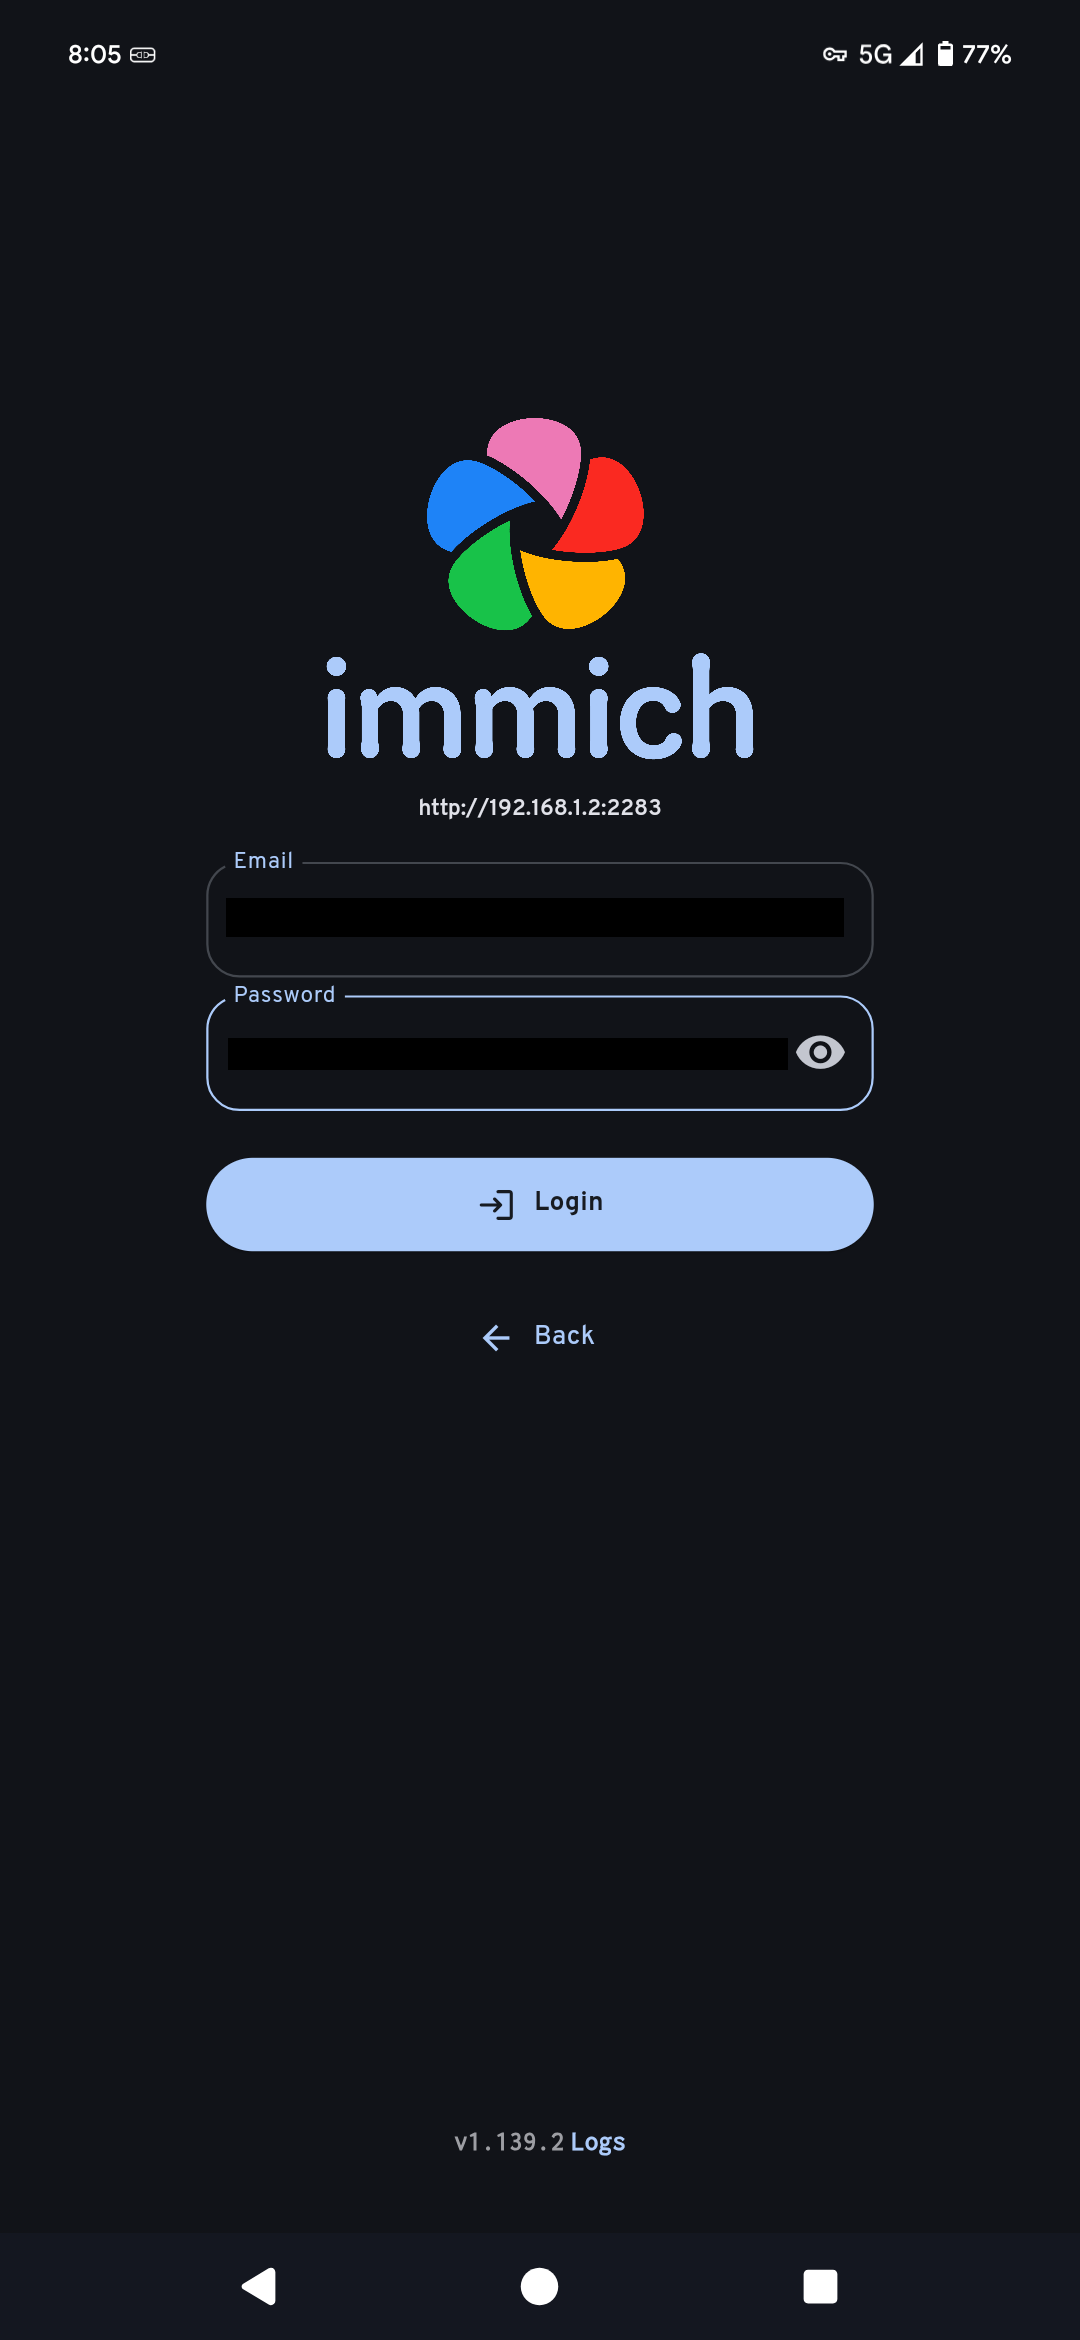
Now, with a computer connected to the same LAN network, we can navigate to the web GUI via the server IP and port 2283 (in my case http://192.168.1.2:2283). Then create a user account and log in.
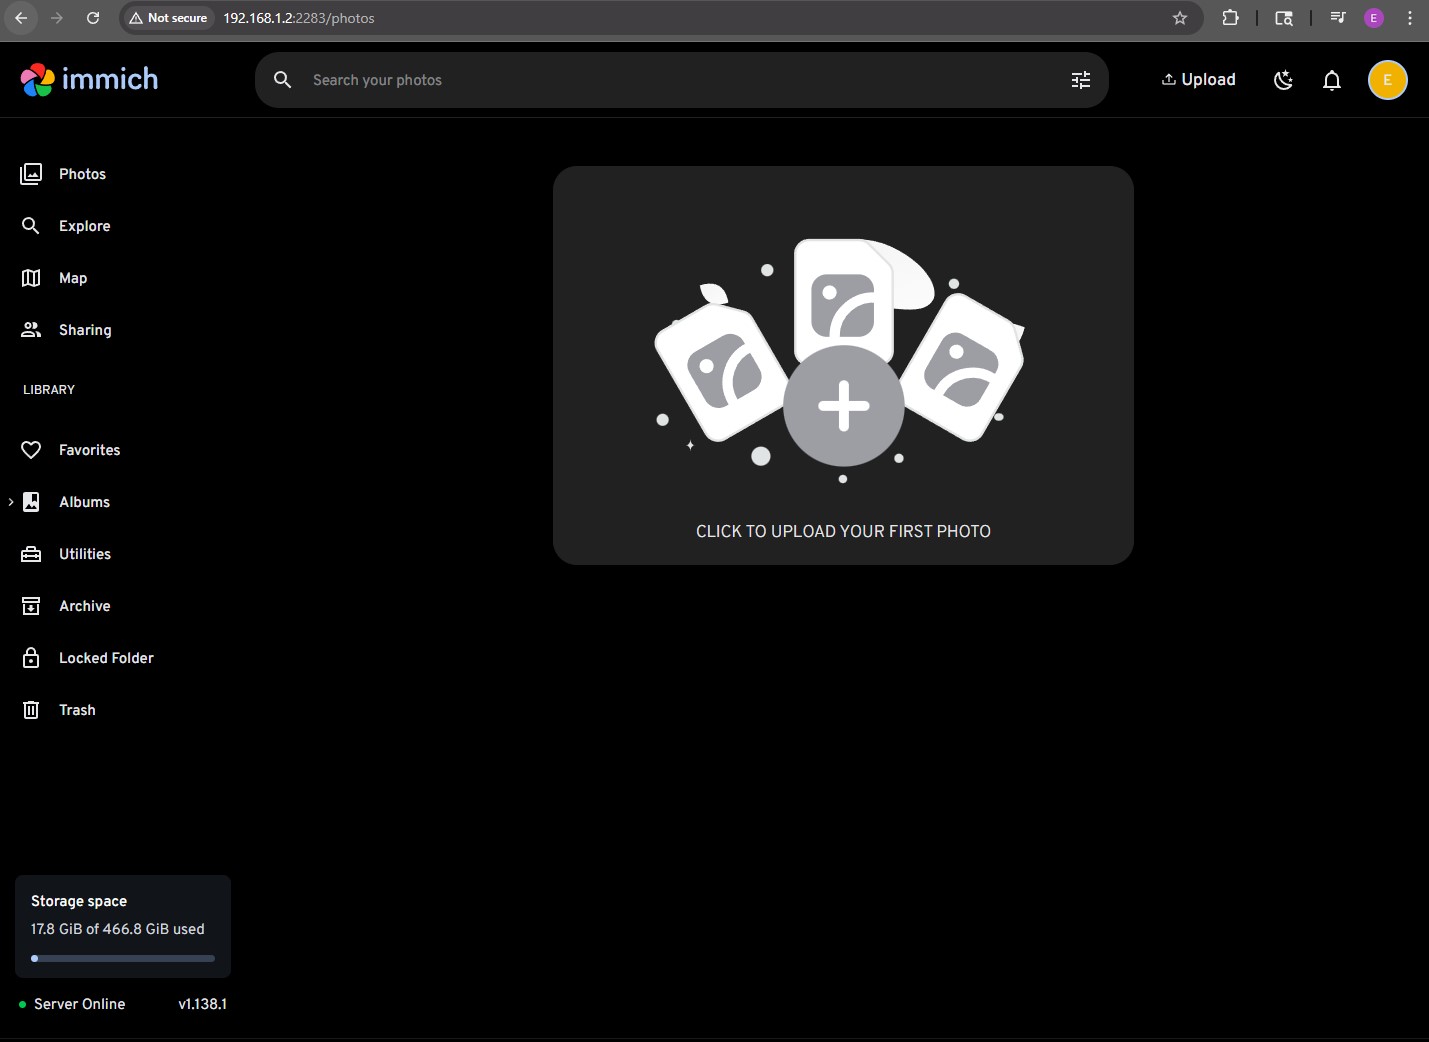
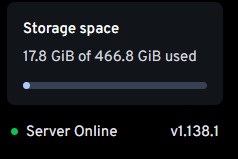
Immich is now operational and can be used on the local network. We can also confirm the server storage in the bottom left.
DDNS
In order to access the server from outside the local network, a method of routing traffic to the public IP address is required. Since most residential ISPs use dynamic addressing, a DDNS (Dynamic Domain Name System) service is needed to keep track of the changing IP address. I decided to self-host my own solution since I already have a domain through Cloudflare. A good resource for free domains is freedns.org.
I'll handle this by using the Cloudflare Zone API along with a Dockerized script I found on GitHub. The script queries my public IP every 5 minutes and updates the domain’s DNS record through Cloudflare's API with the address so OpenVPN knows where to route the traffic.
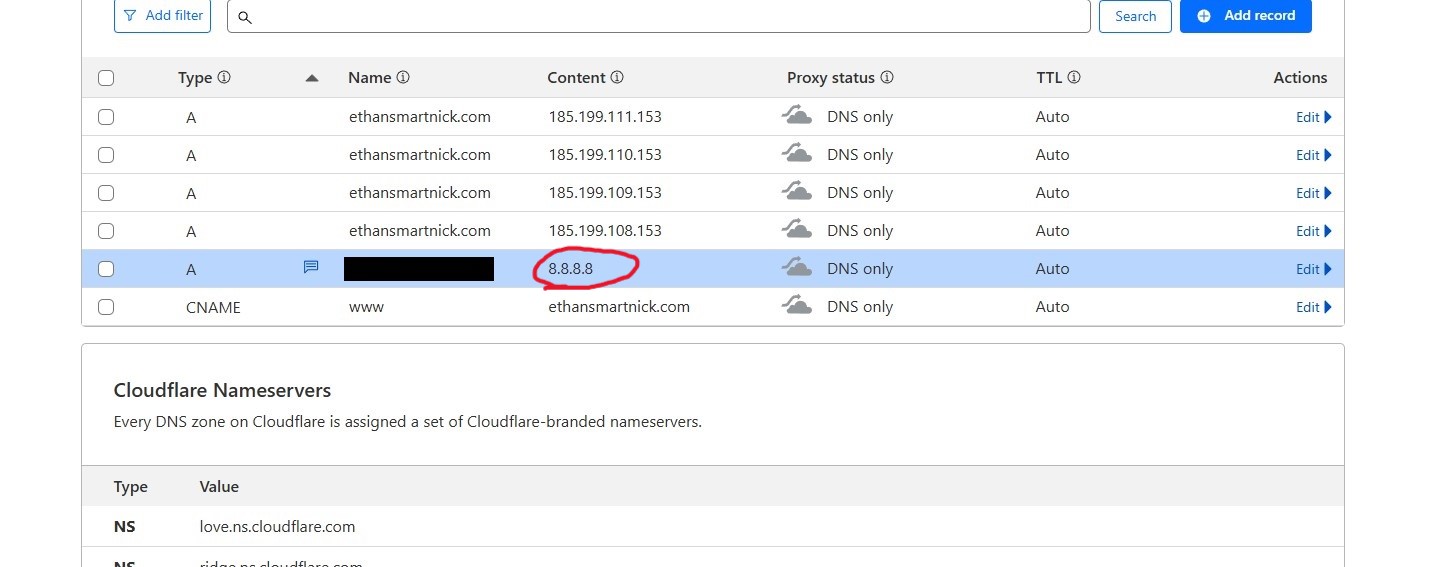
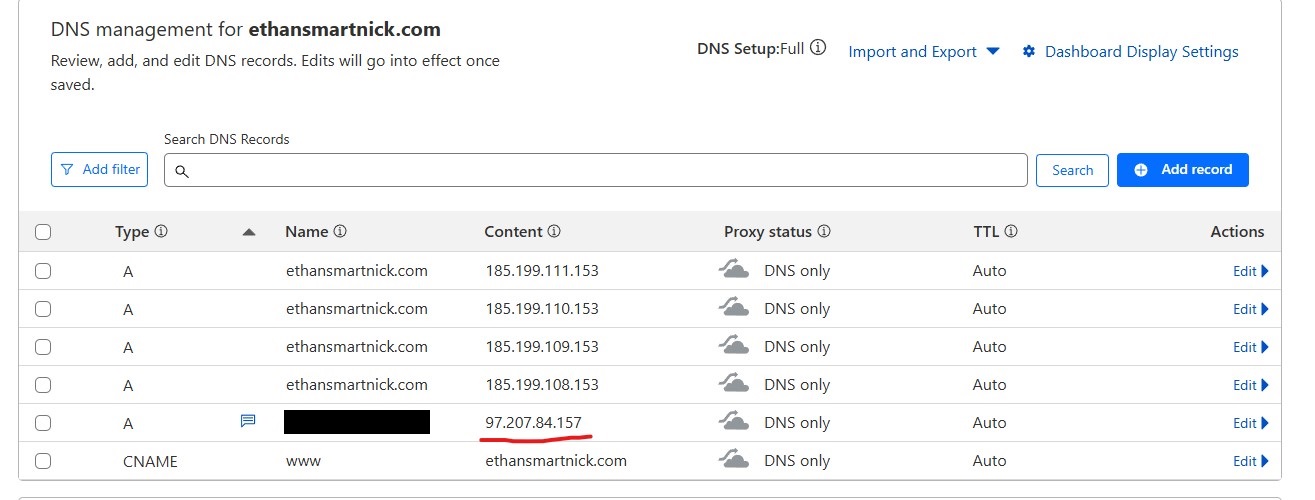
First, I'll create a subdomain for my current domain in Cloudflare, giving it an incorrect address so I can verify that the script is working.
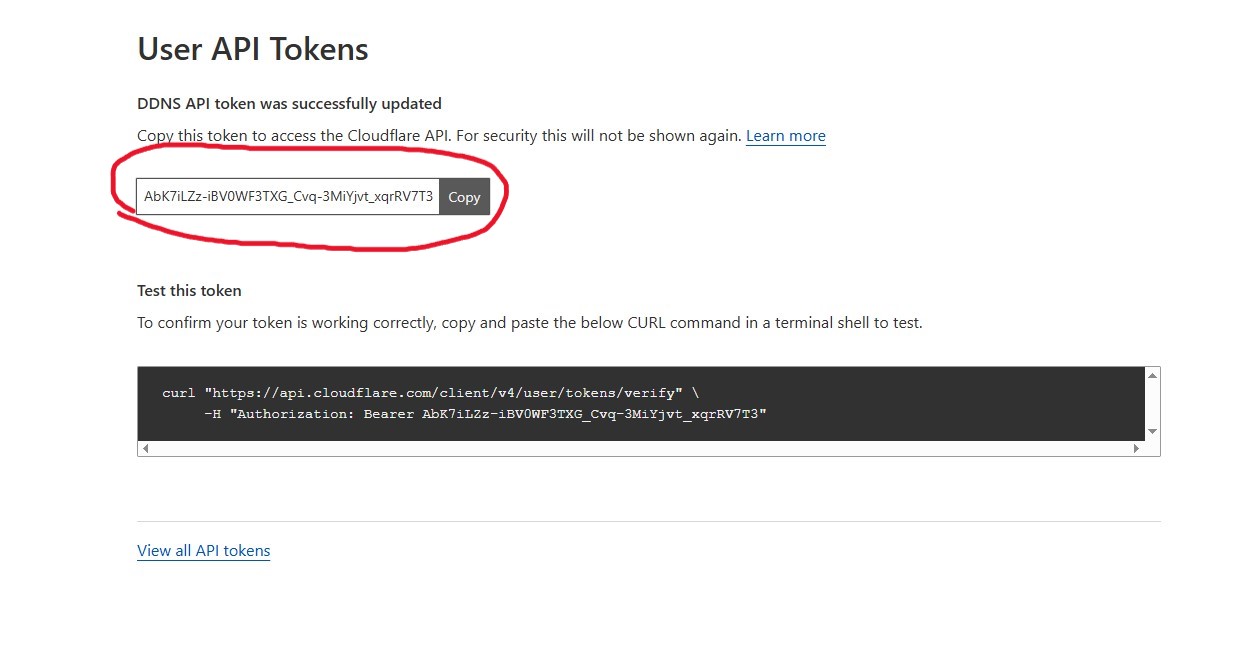
Next I'll head over to my profile and create an API token. It will need the following permissions: Zone Settings=Read, Zone=Read, and Zone DNS=Edit.
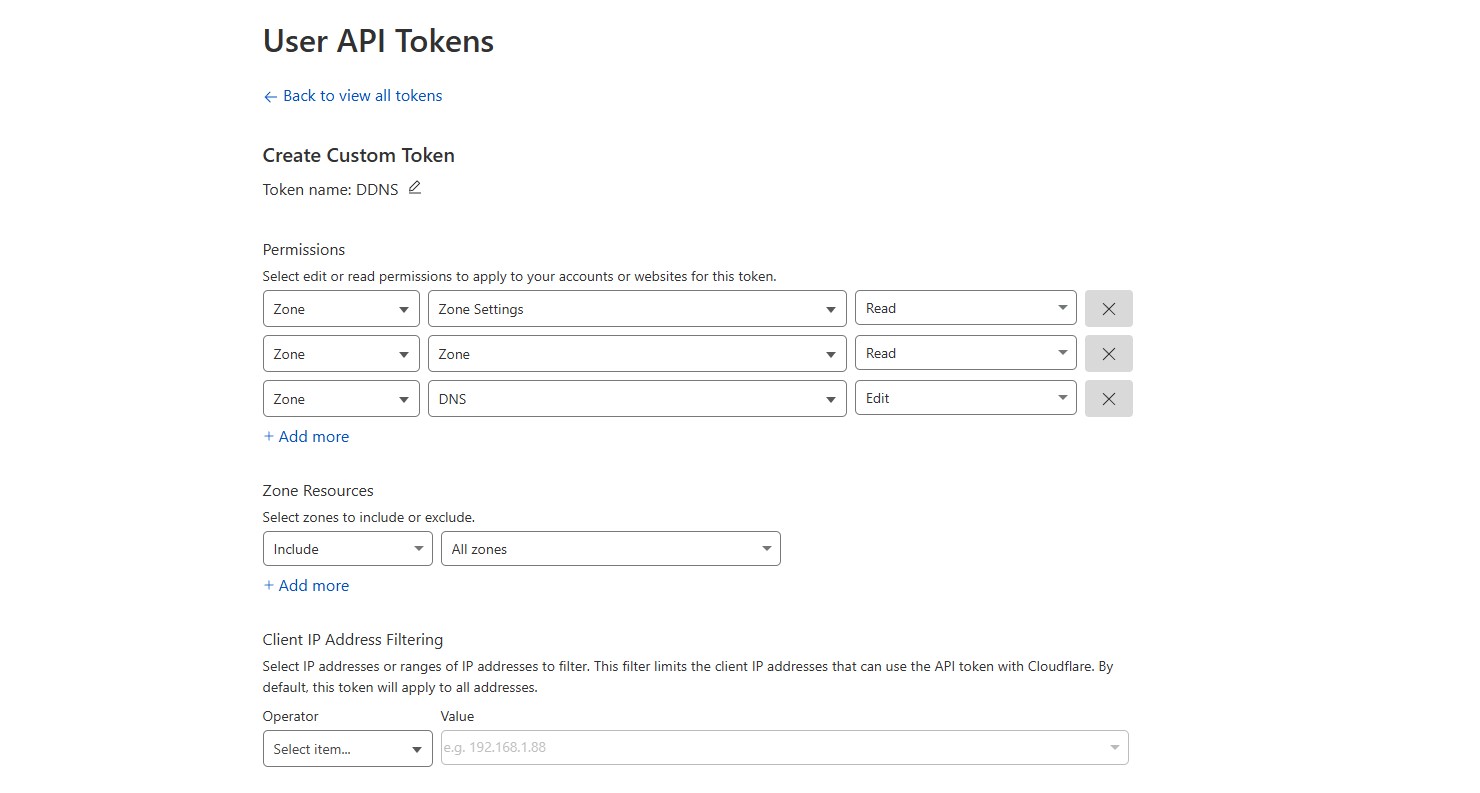
A token key will then be generated. Whoever has access to this key also has access to the Cloudflare zone permissions, so manage it wisely...
Next will be the updater. favonia/cloudflare-ddns is my choice since it's extremely lightweight and is actively being maintained. Once a compose file is created (docker-compose.yml) and filled out with the template on the GitHub Repo:
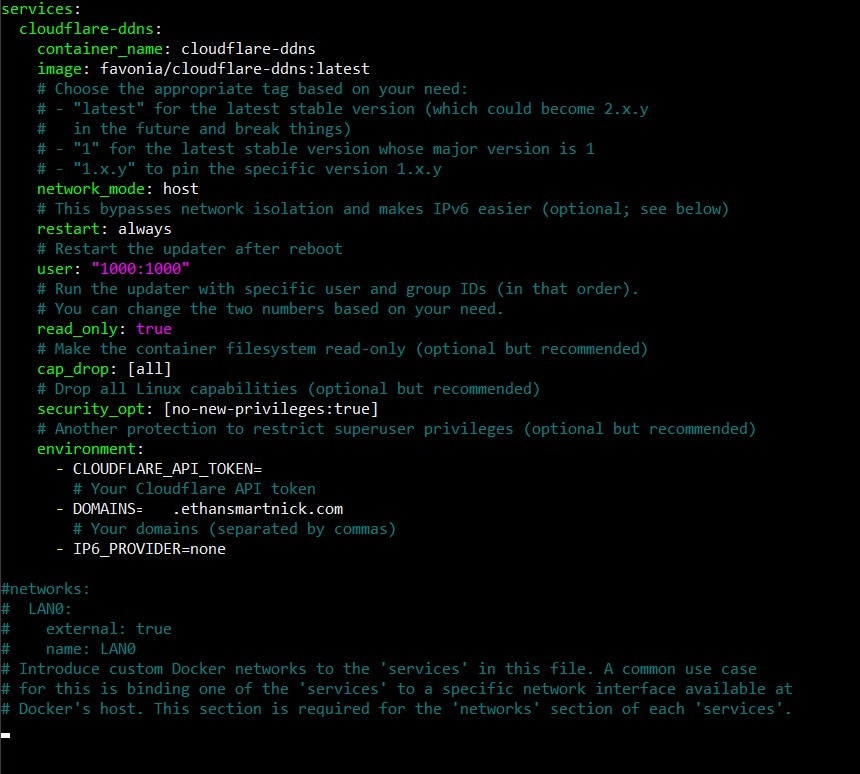
it can be run with these commands:
bash
It should result in the following if it's working correctly:

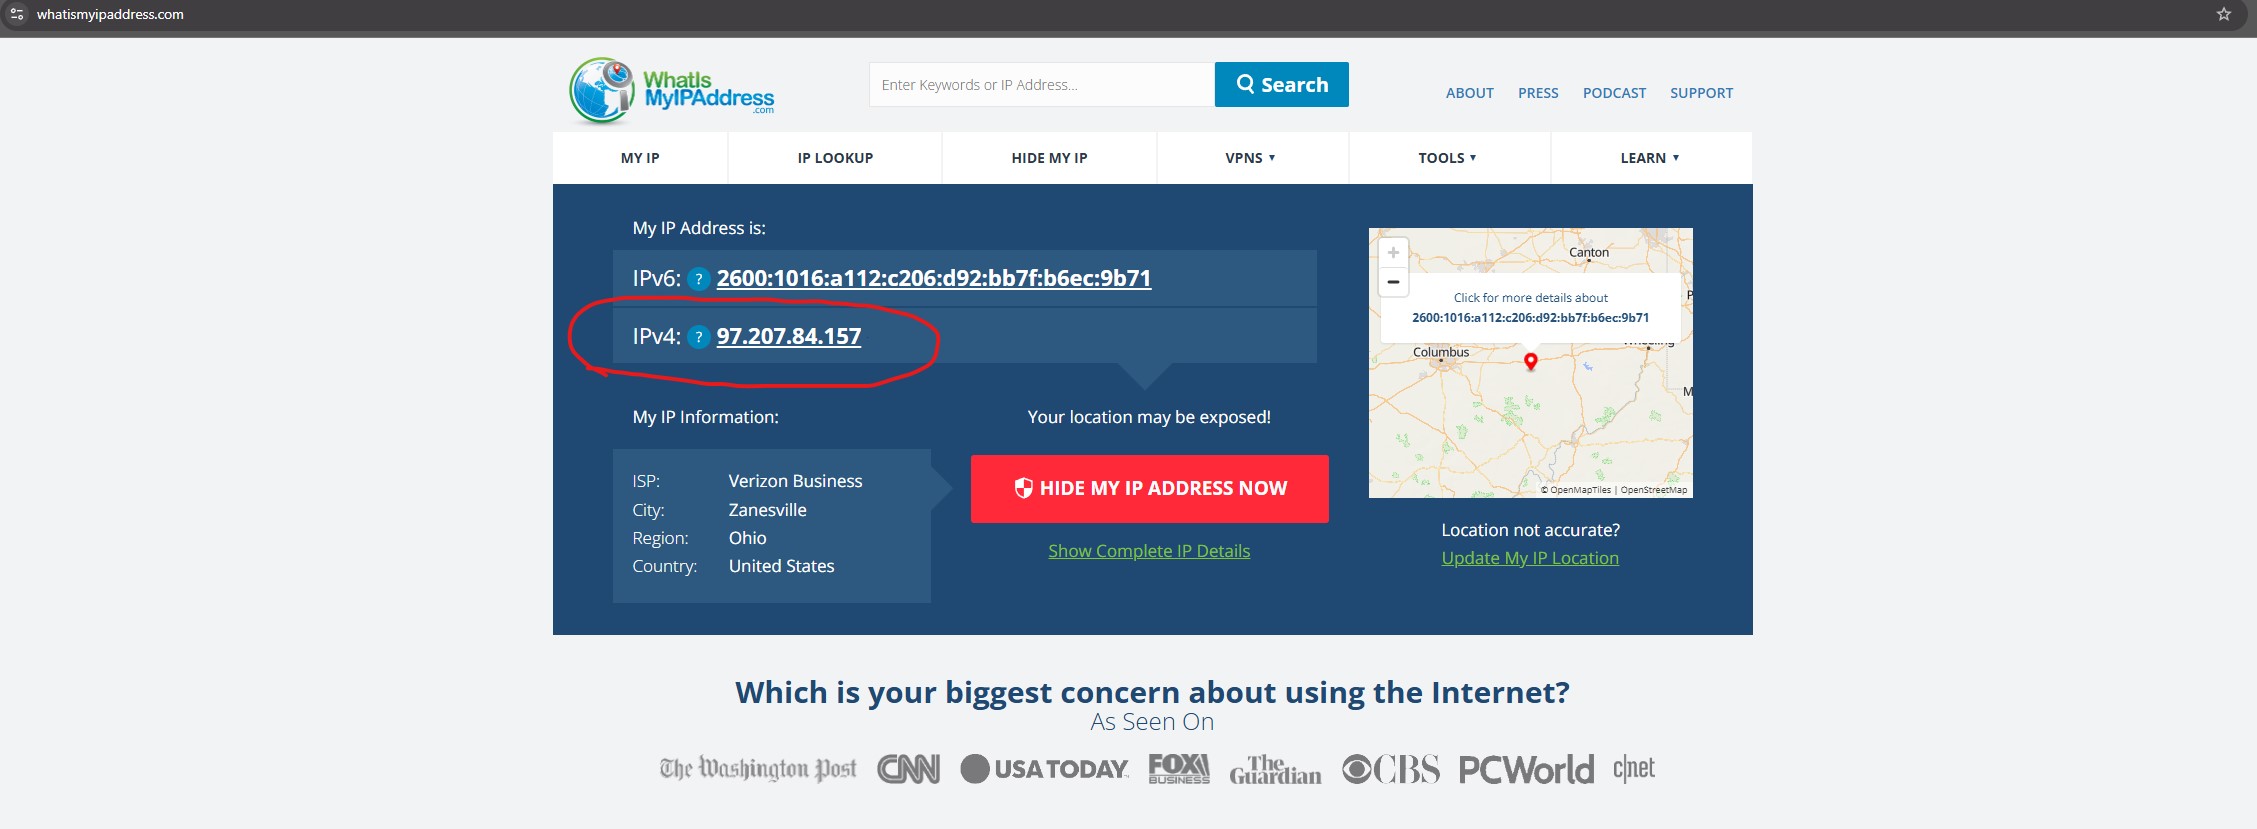
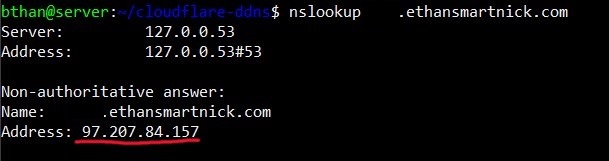
Additionally, it can be verified by checking whether the domain resolves to the public IP and whether the subdomain address is being updated correctly within Cloudflare.
OpenVPN
In order to access the server outside of the local network securely, I decided to go with a self-hosted VPN. My pick is OpenVPN access server, but other popular options are WireGuard and Tailscale.
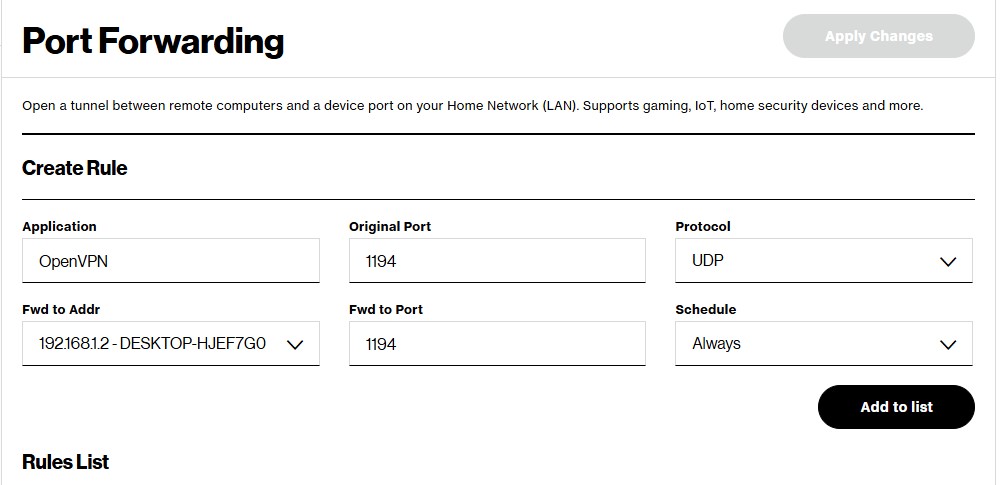
Before installing, UDP port 1194 will need to be forwarded, as this is the default for OpenVPN. This will allow any incoming traffic on the VPN tunnel to reach the server.
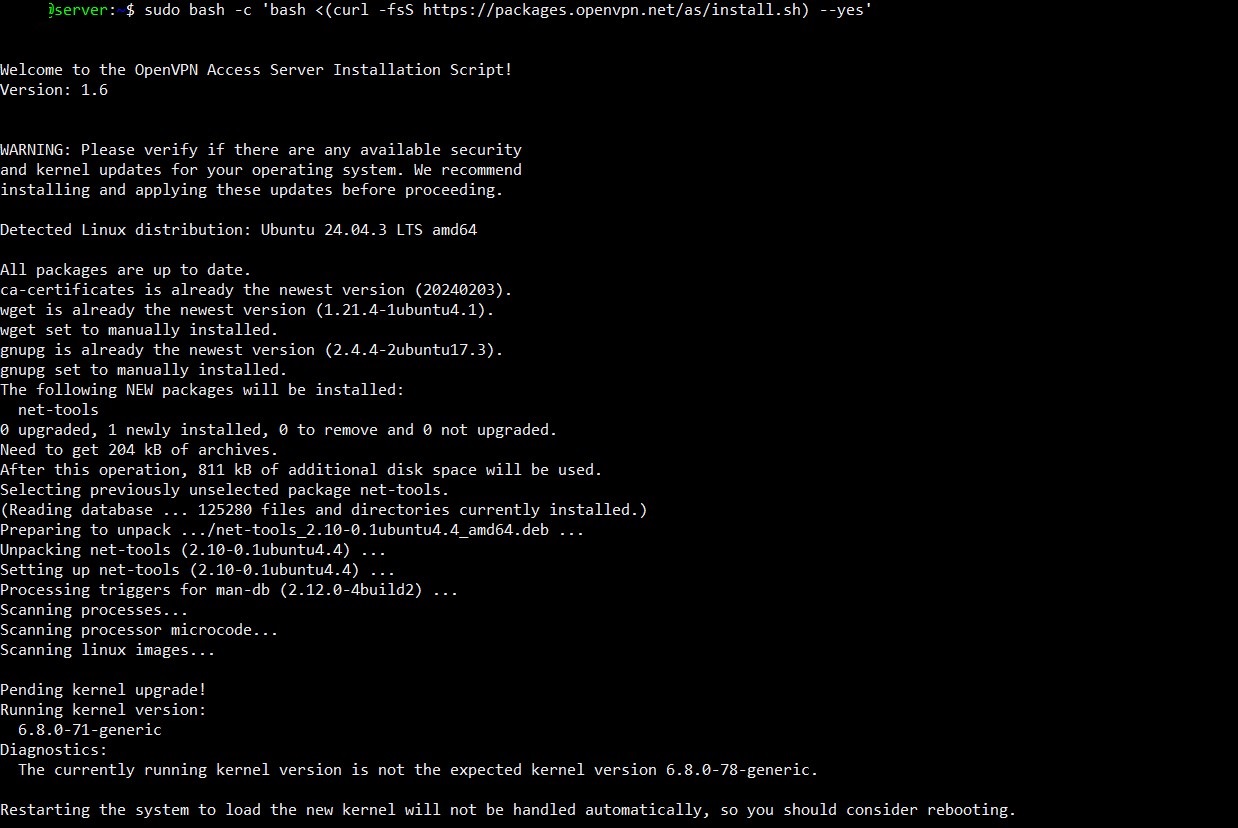
OpenVPN can and probably should be installed inside a docker container or VM, but for testing purposes I went with bare metal. This gives me simplicity since I don't have to worry about anything like routing tables for now. Following the guide, it can be installed with the following command and it must be run as root:
bash
Take note of the default admin credentials that are created within the log. They're located somewhere in the middle and look like this:
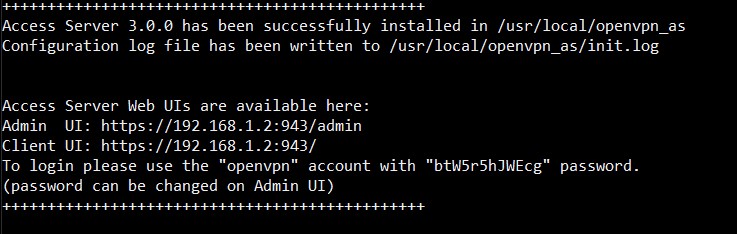
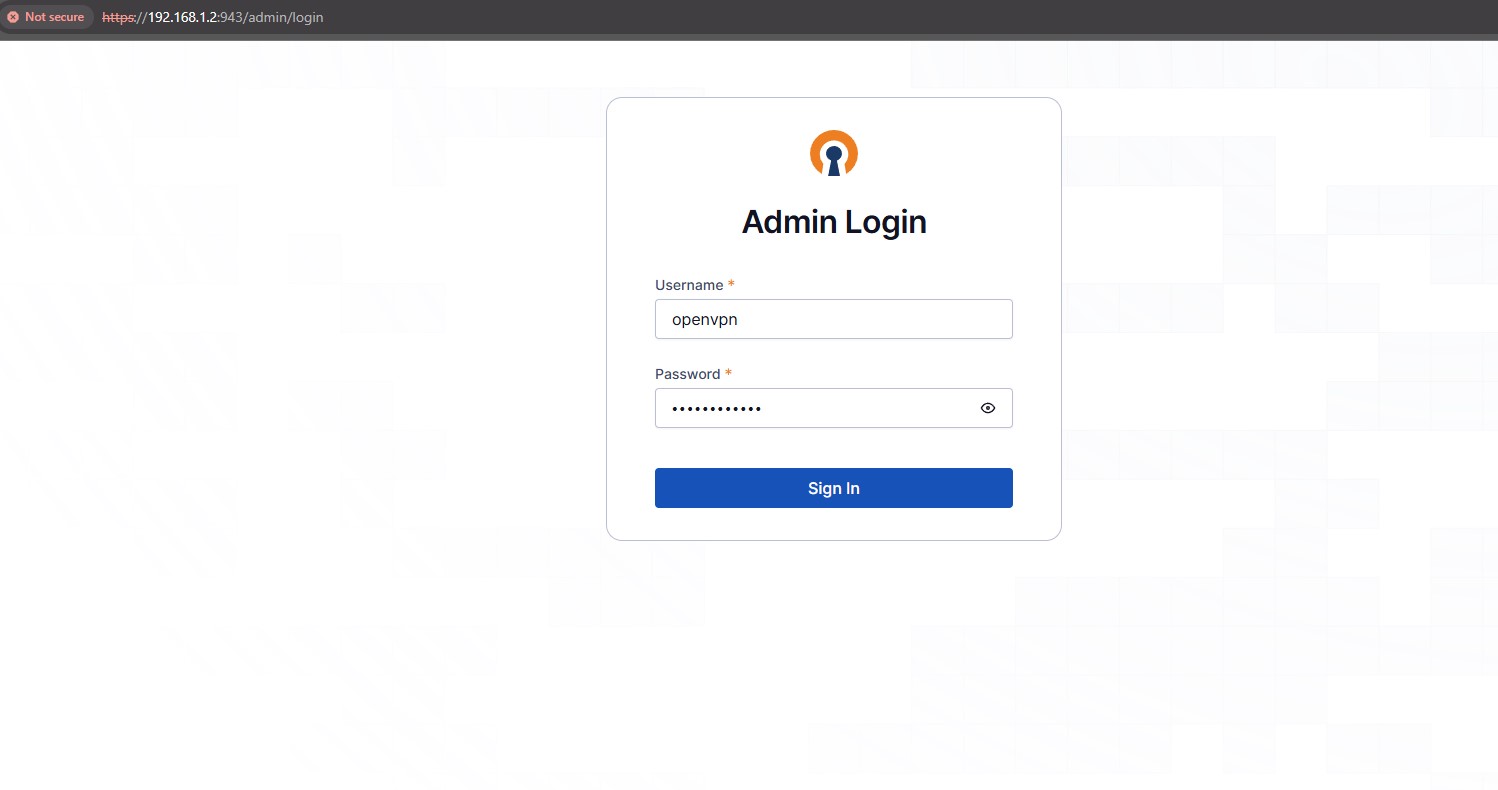
The admin web GUI is now accessible via the server IP and port 943 (in my case, https://192.168.1.2:943/admin). The default user is "openvpn" and the password can be found in the log shown above. This password is uniquely generated for each instance.
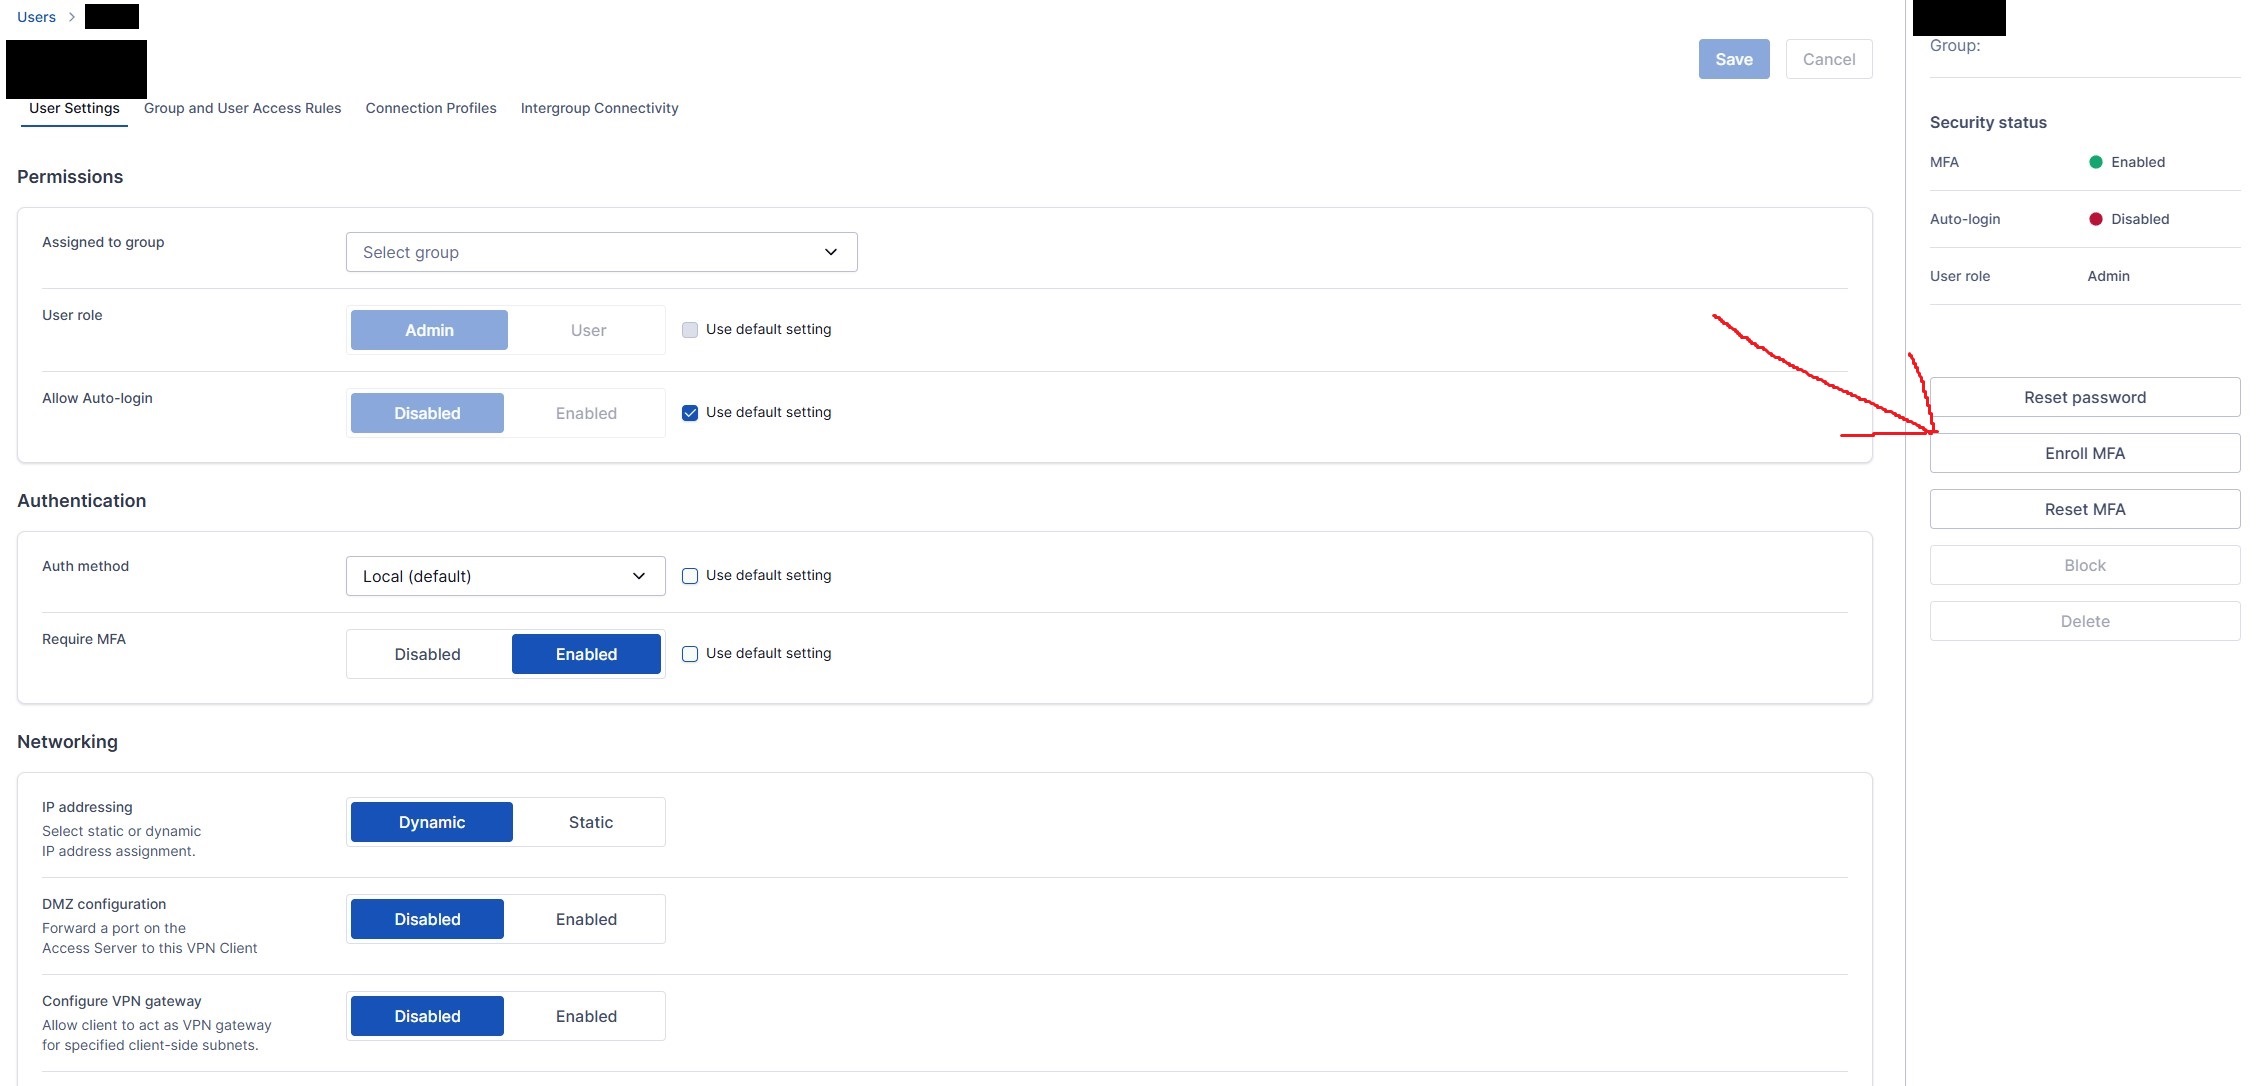
Once logged in, there are a few configurations that need to be made for everything to work properly. The first is securing the admin account by enabling MFA and changing the password.
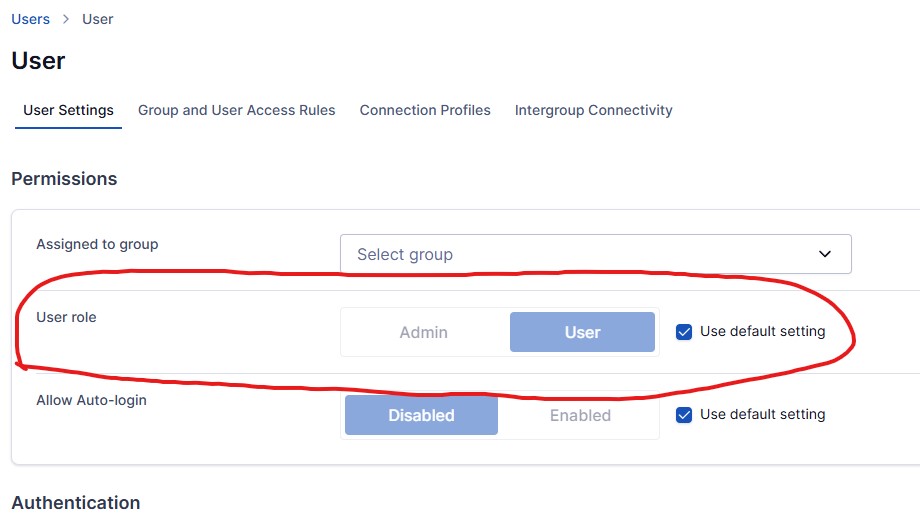
A user account without admin privileges will be needed. This account will be the one primarily used for normal VPN access.
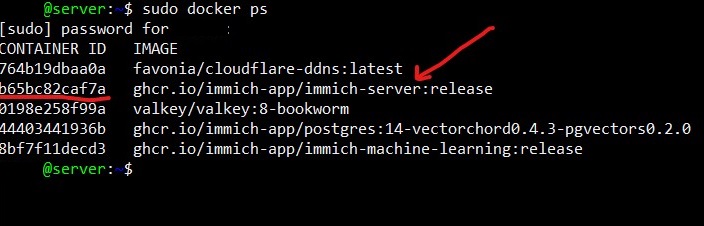
Additionally, an access policy is required so the Docker container is accessible via its IP address within the server. The container’s IP can be found by looking up its ID and grepping for “IPAddress.”
bash

I added a global access rule for testing purposes, but in a production environment this should be configured as a more restrictive group policy. The subnet must match the IP range of the Immich container; otherwise, there will be no access via OpenVPN. Ask me how I know…
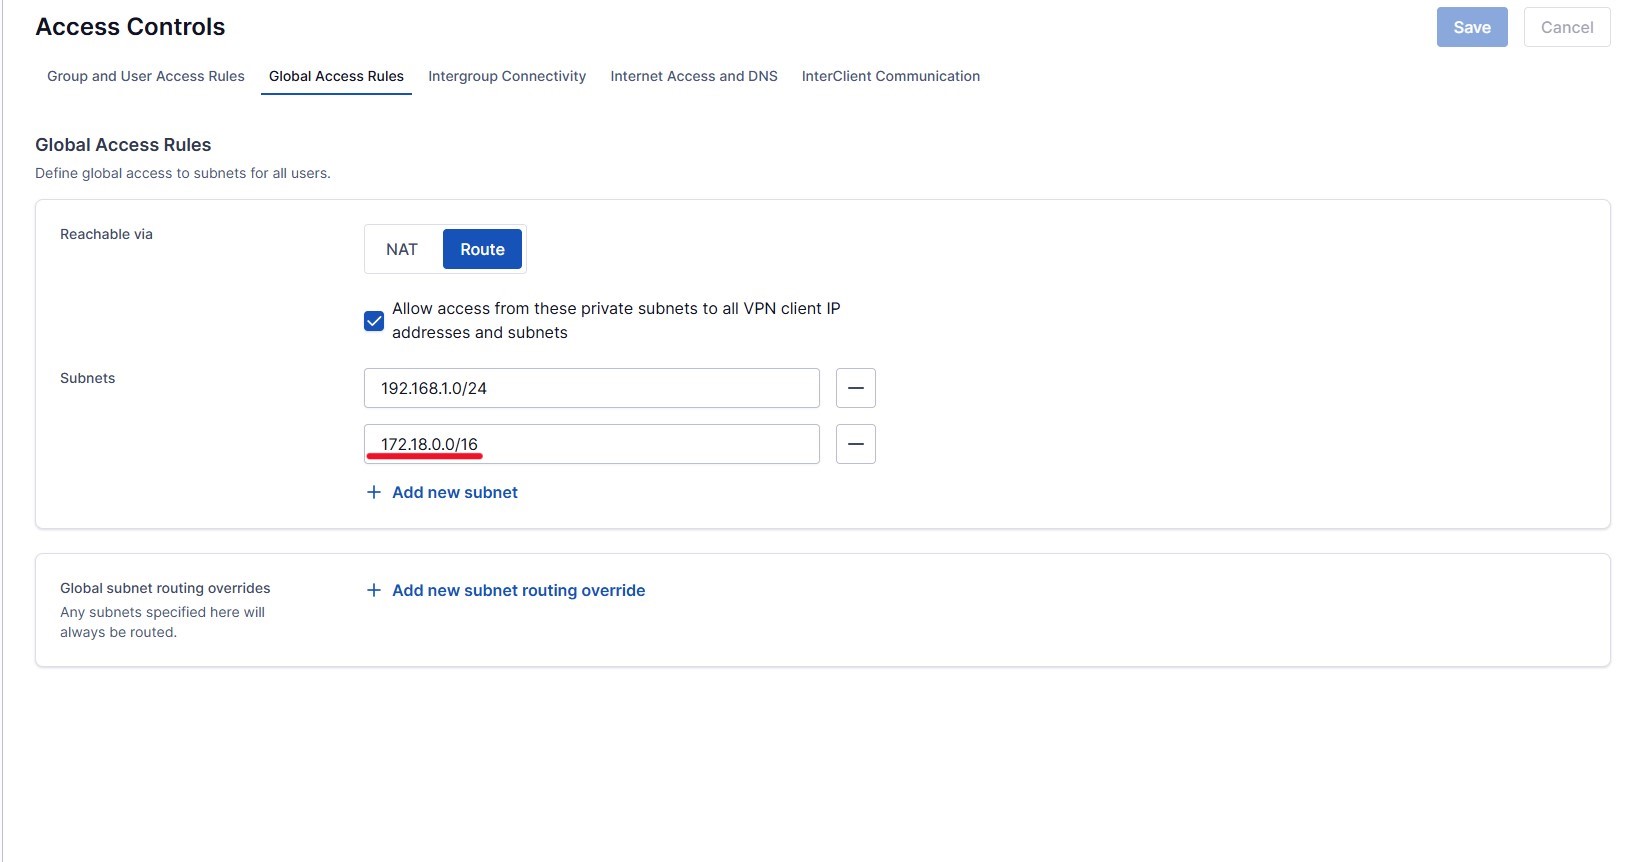
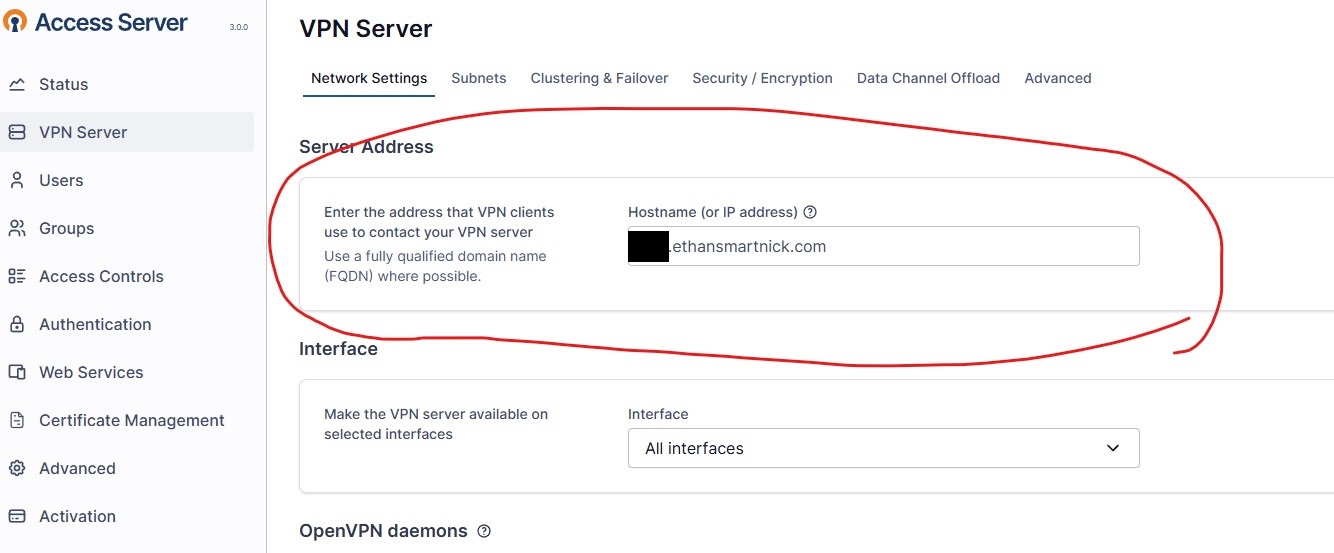
Finally, enter the DDNS subdomain so that VPN traffic is routed to the public IP address of the network.
That's everything for the admin setup. After that, the OpenVPN Connect app should be downloaded on the intended device, and the .ovpn file imported, which contains the certificate needed for the device to connect to the server. The .ovpn file can be downloaded by visiting the OpenVPN URL without “admin” at the end (e.g. https://192.168.1.2:943/login).
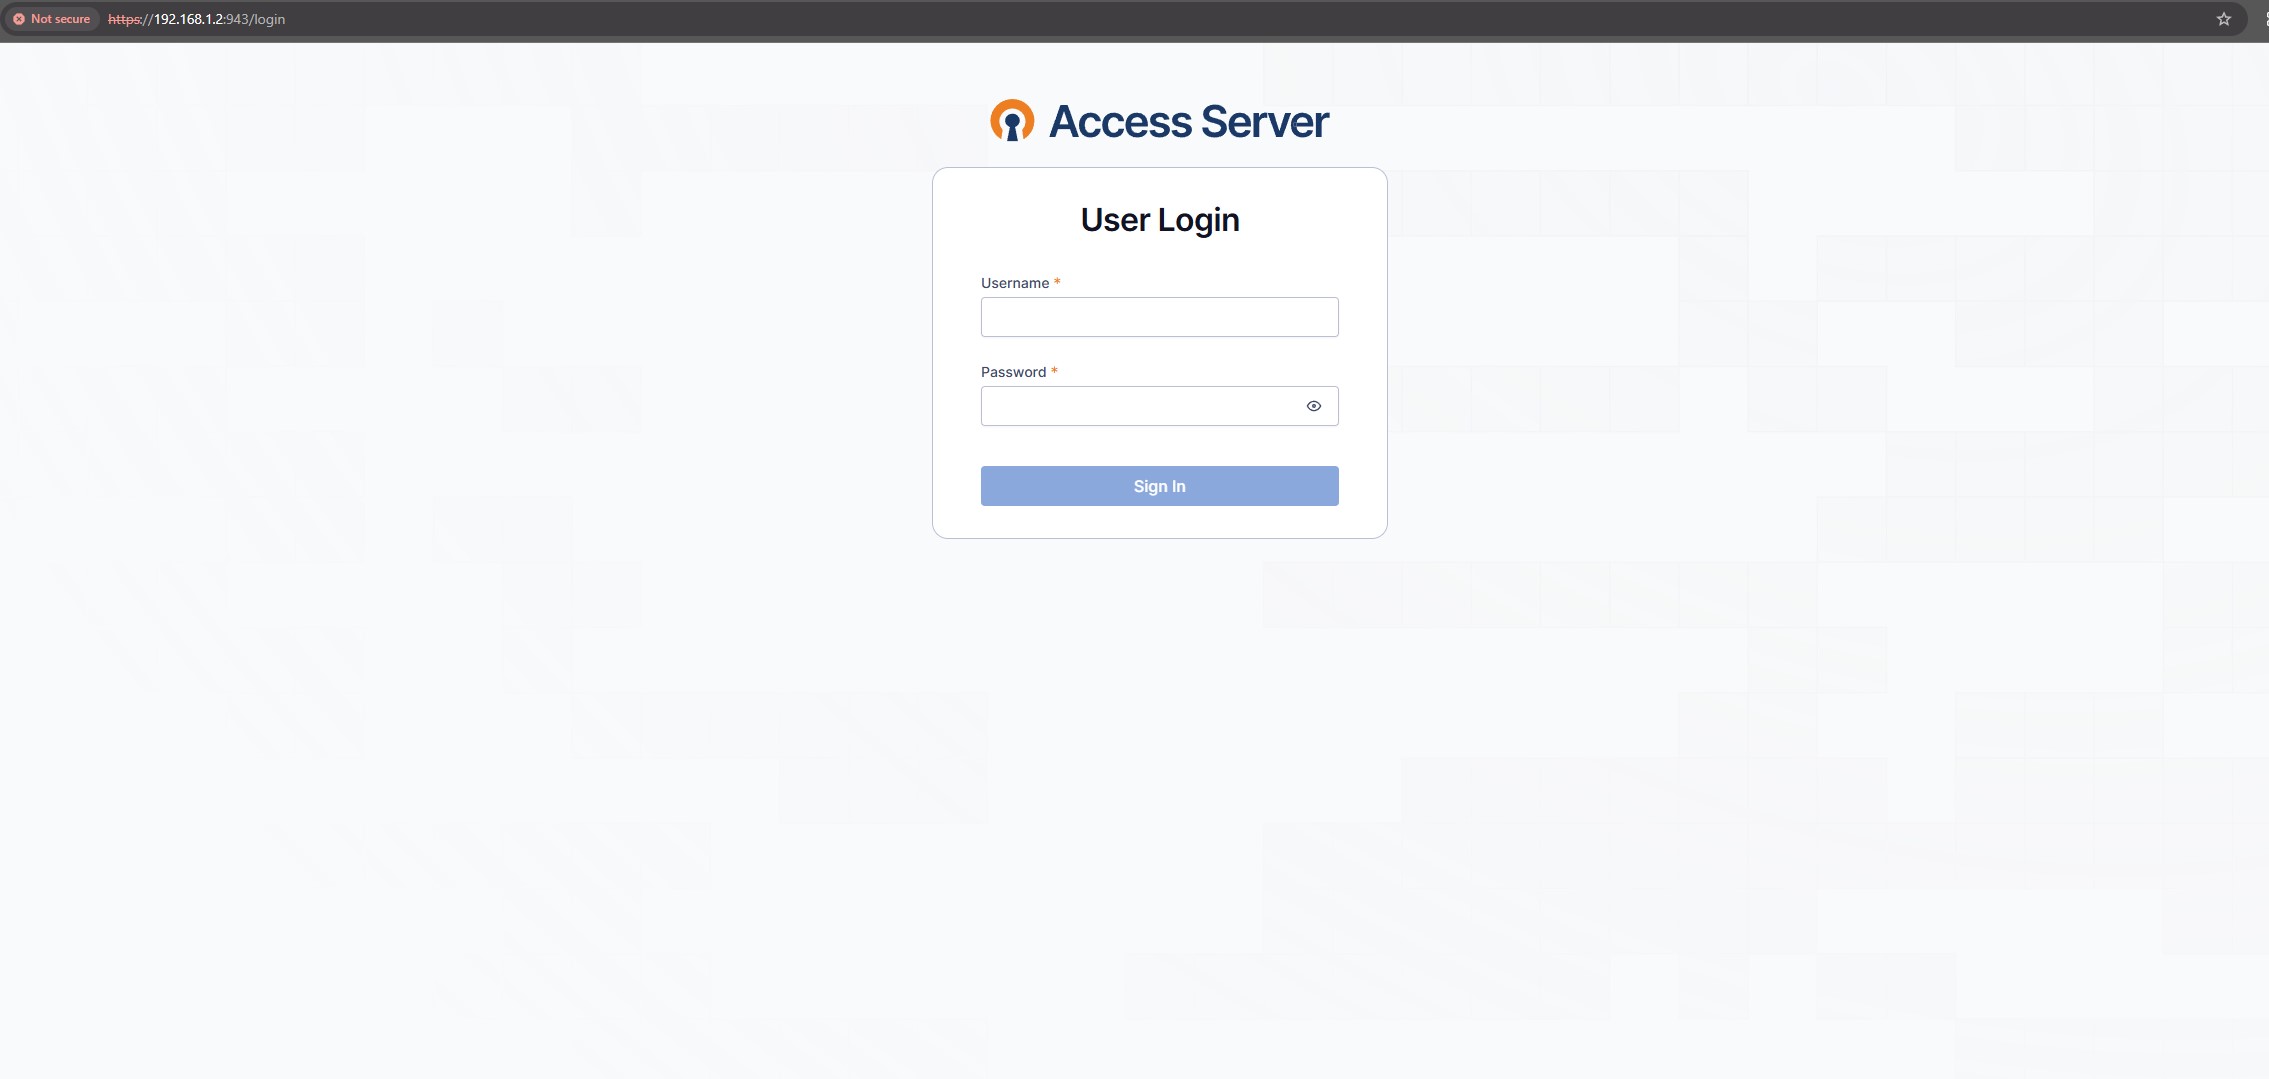
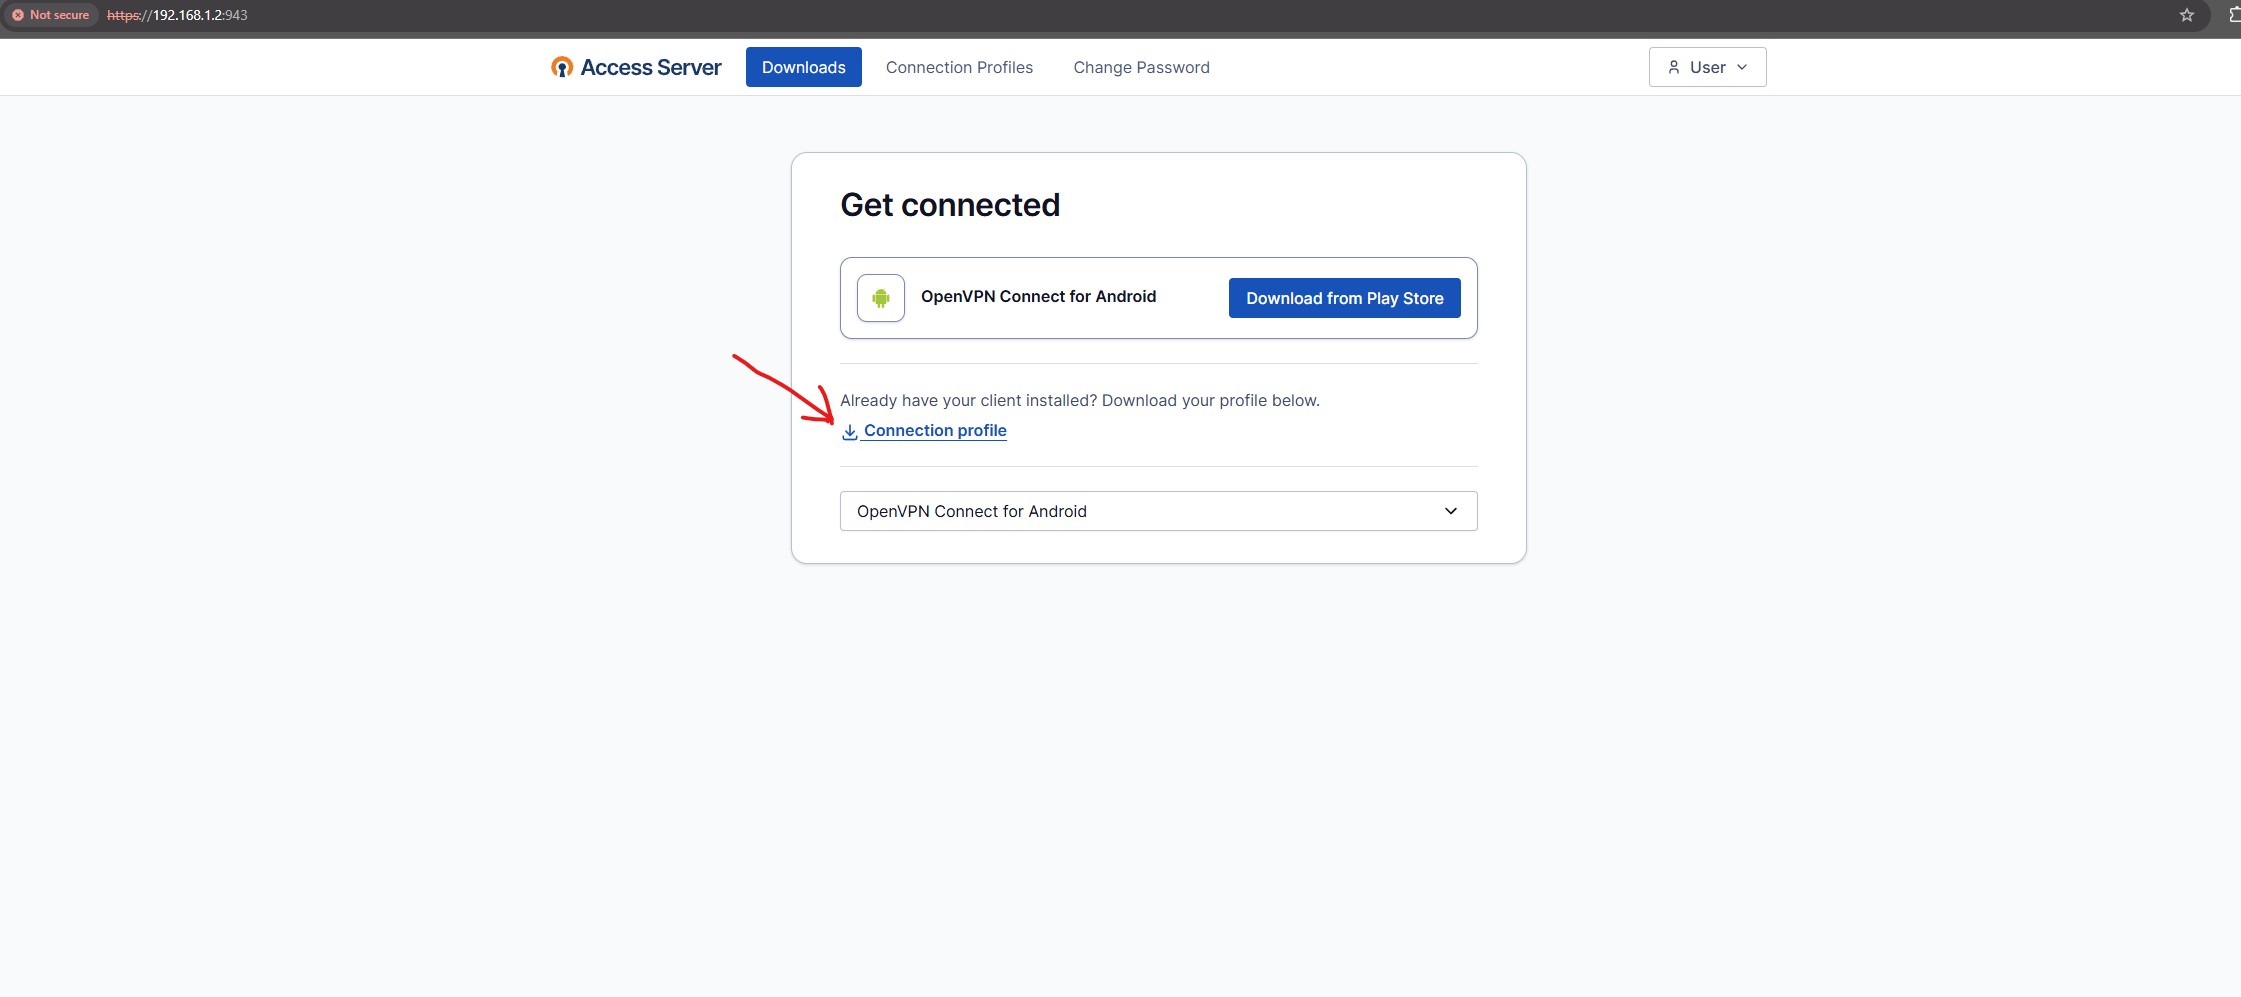
Here, the previously created user account can be logged in to and the .OVPN file can be downloaded there.
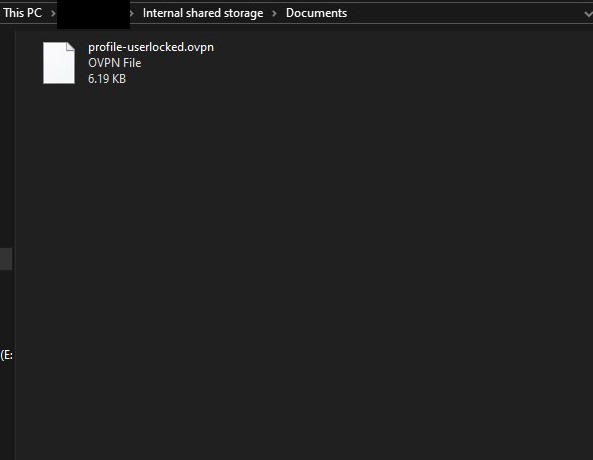
Again, this file contains a key, so it should not be shared with anyone or anything except the device it’s intended for. I directly connected my phone to my PC to transfer it instead of using a cloud option, for the reasons stated above. Once the file is imported, delete all traces of it.
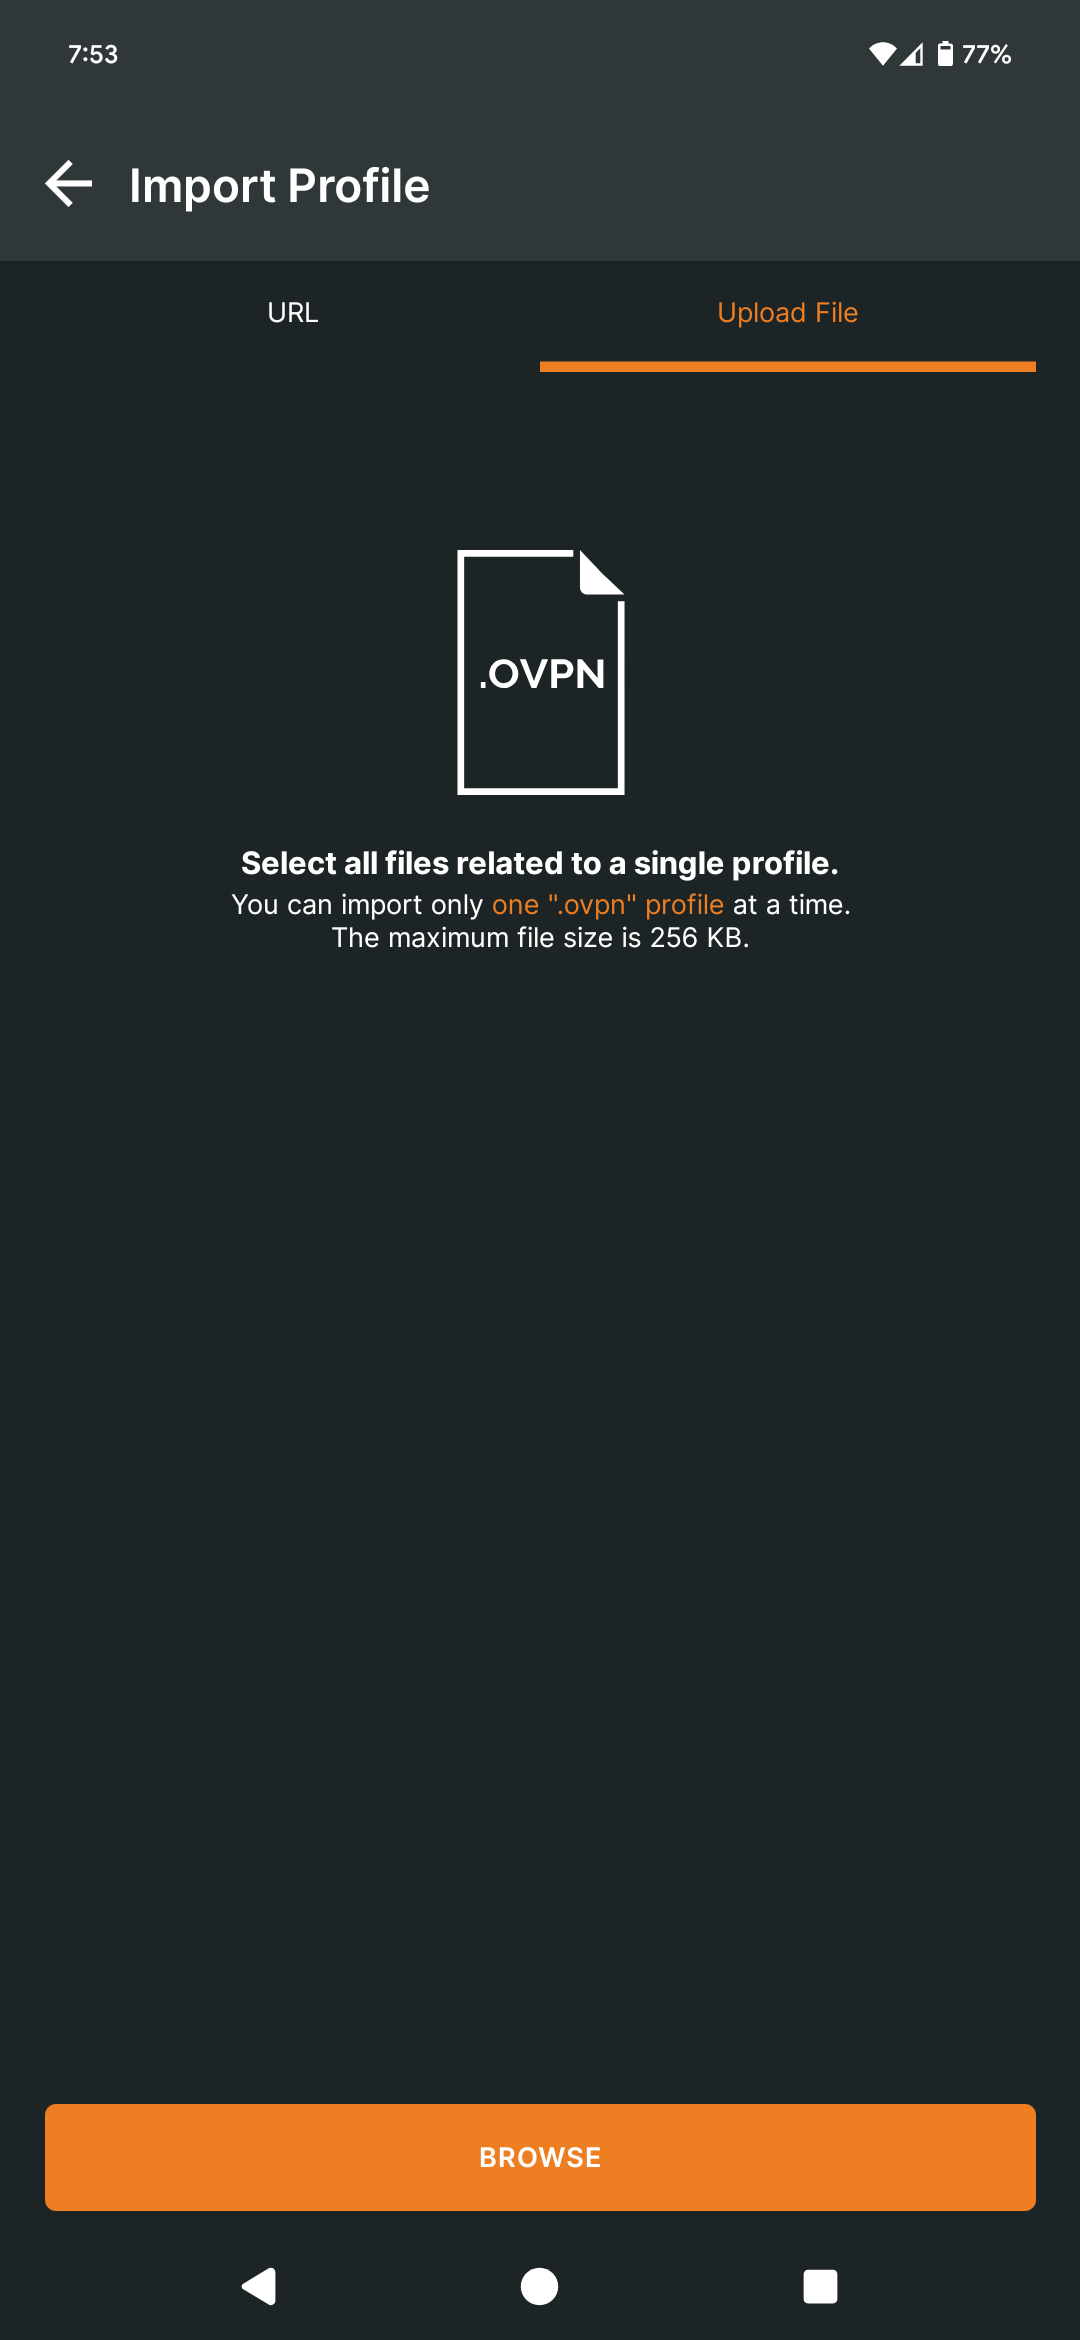
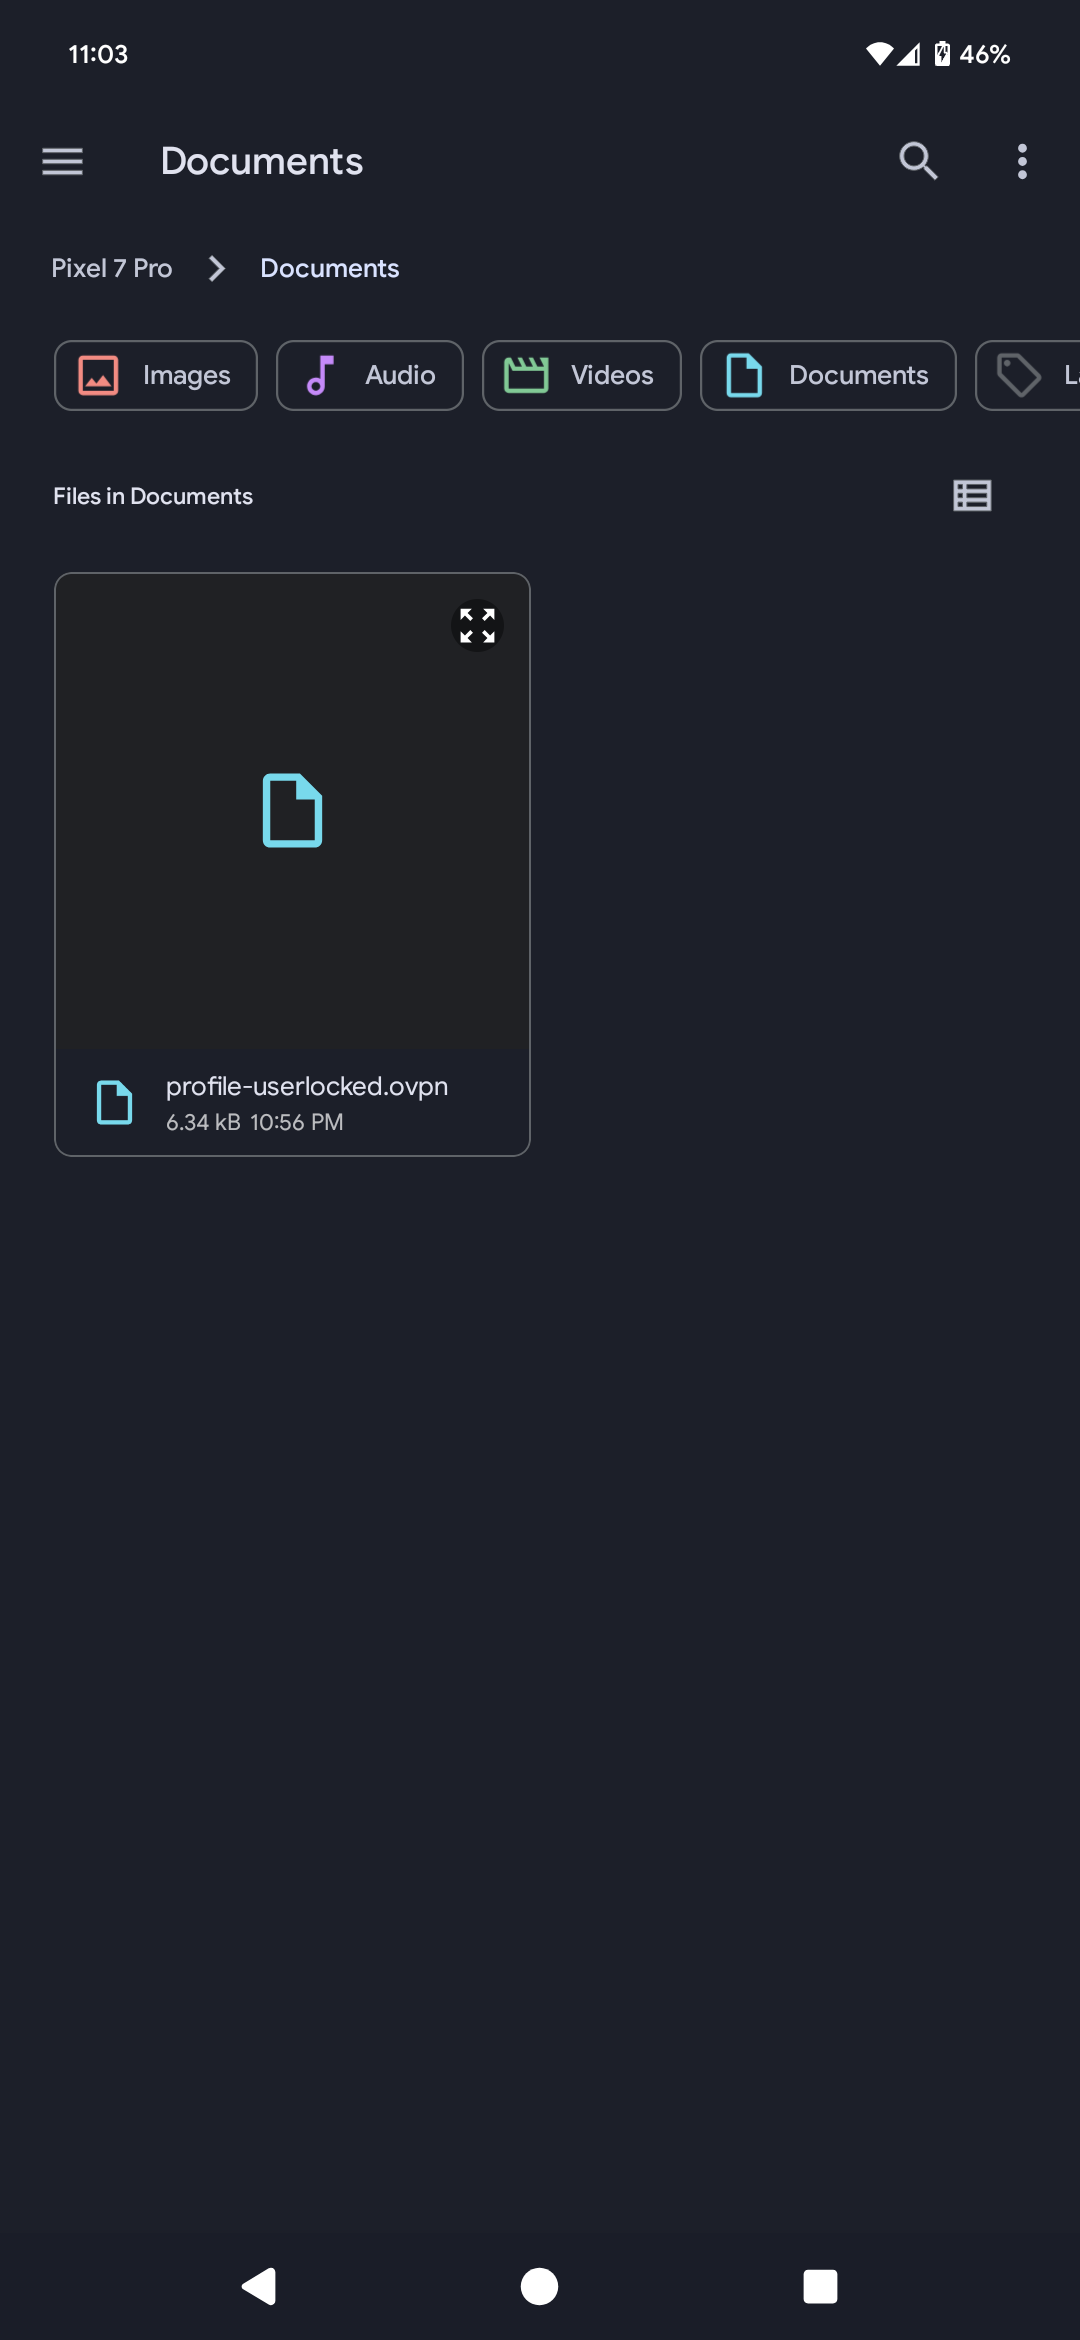
Once inside the OpenVPN Connect app, navigate to the OVPN app and import it.
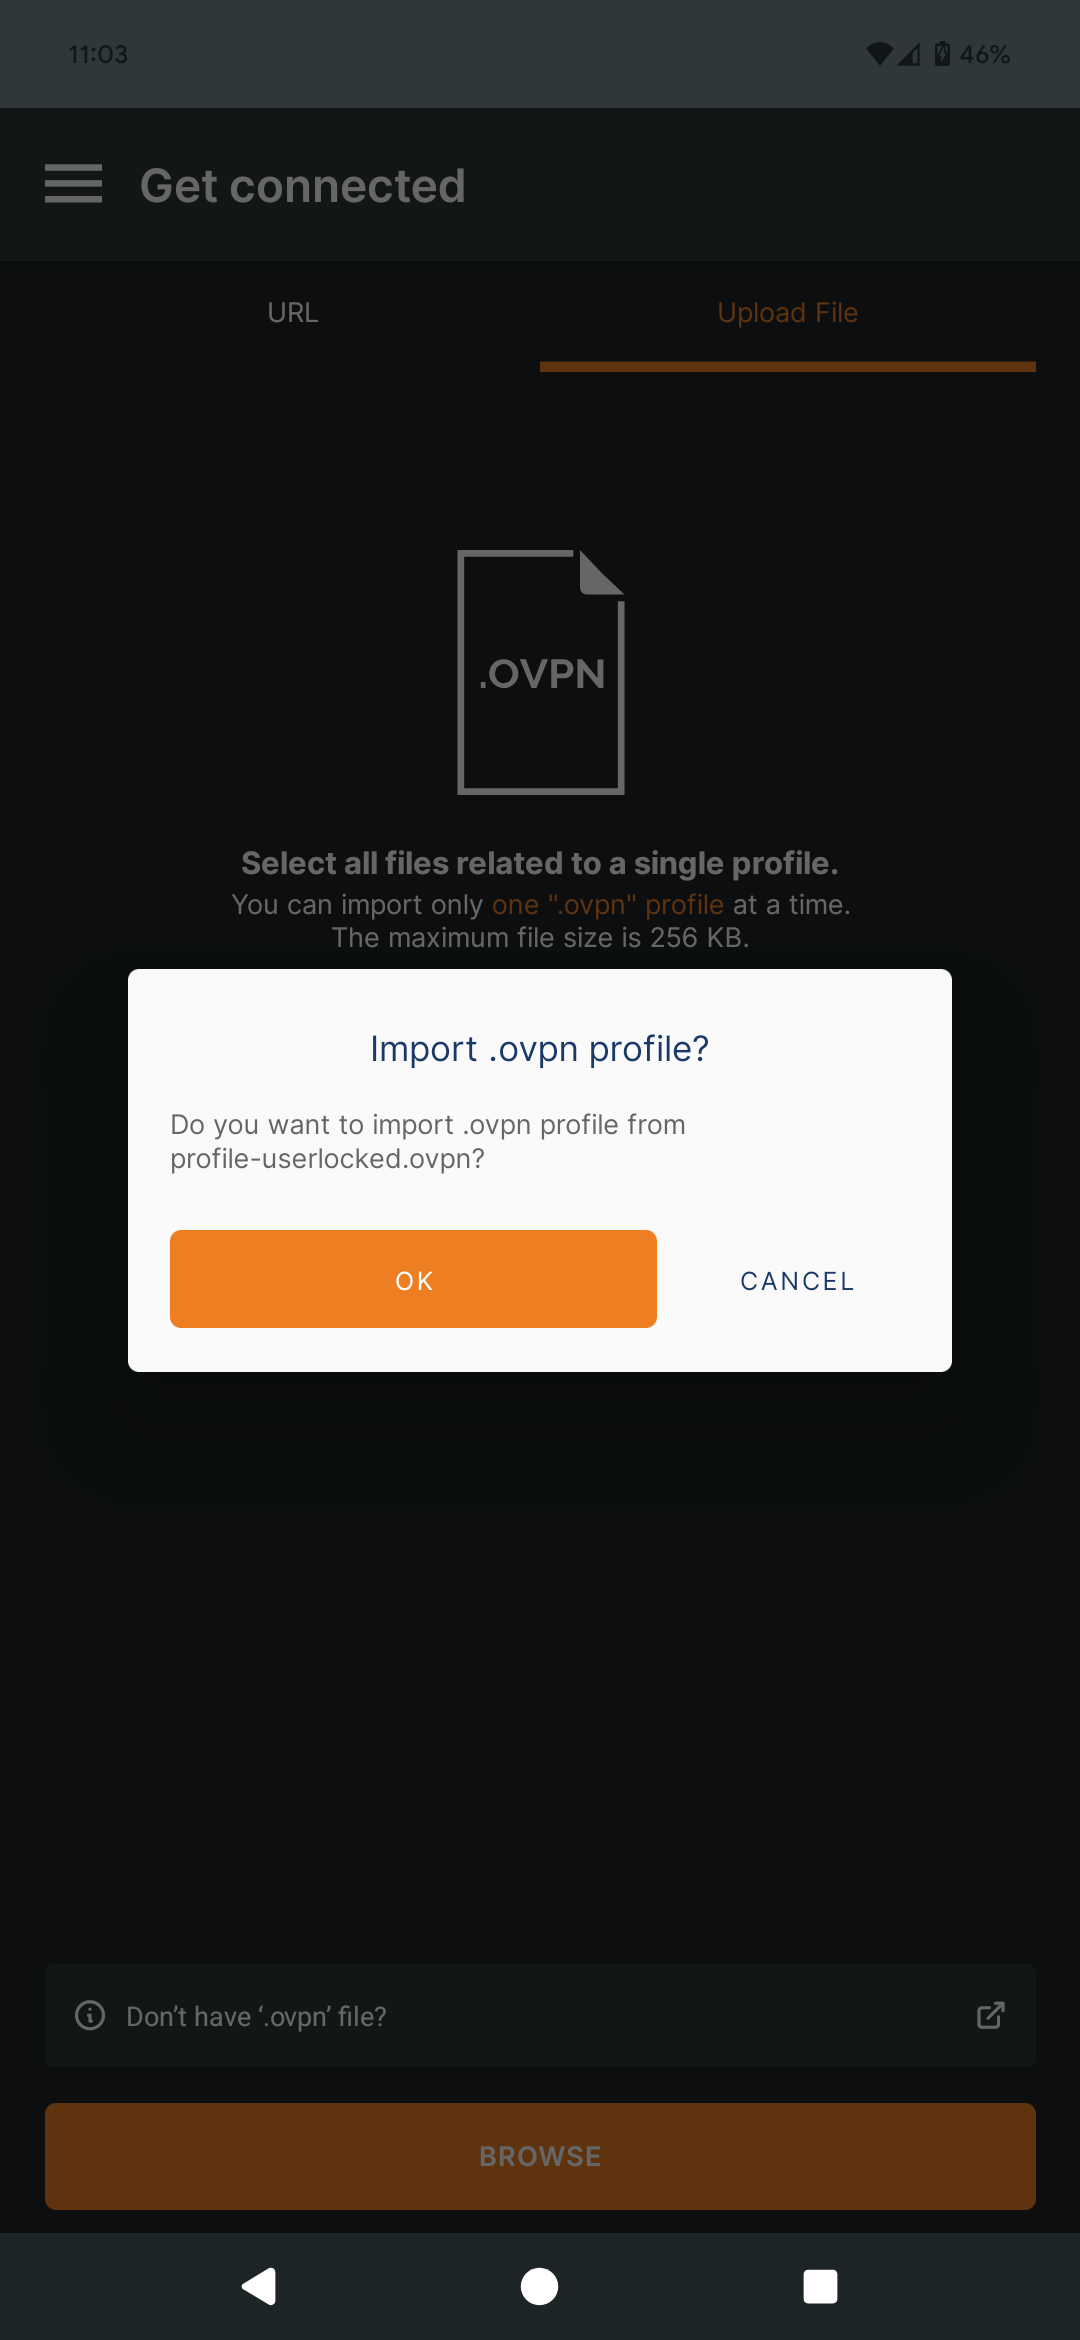
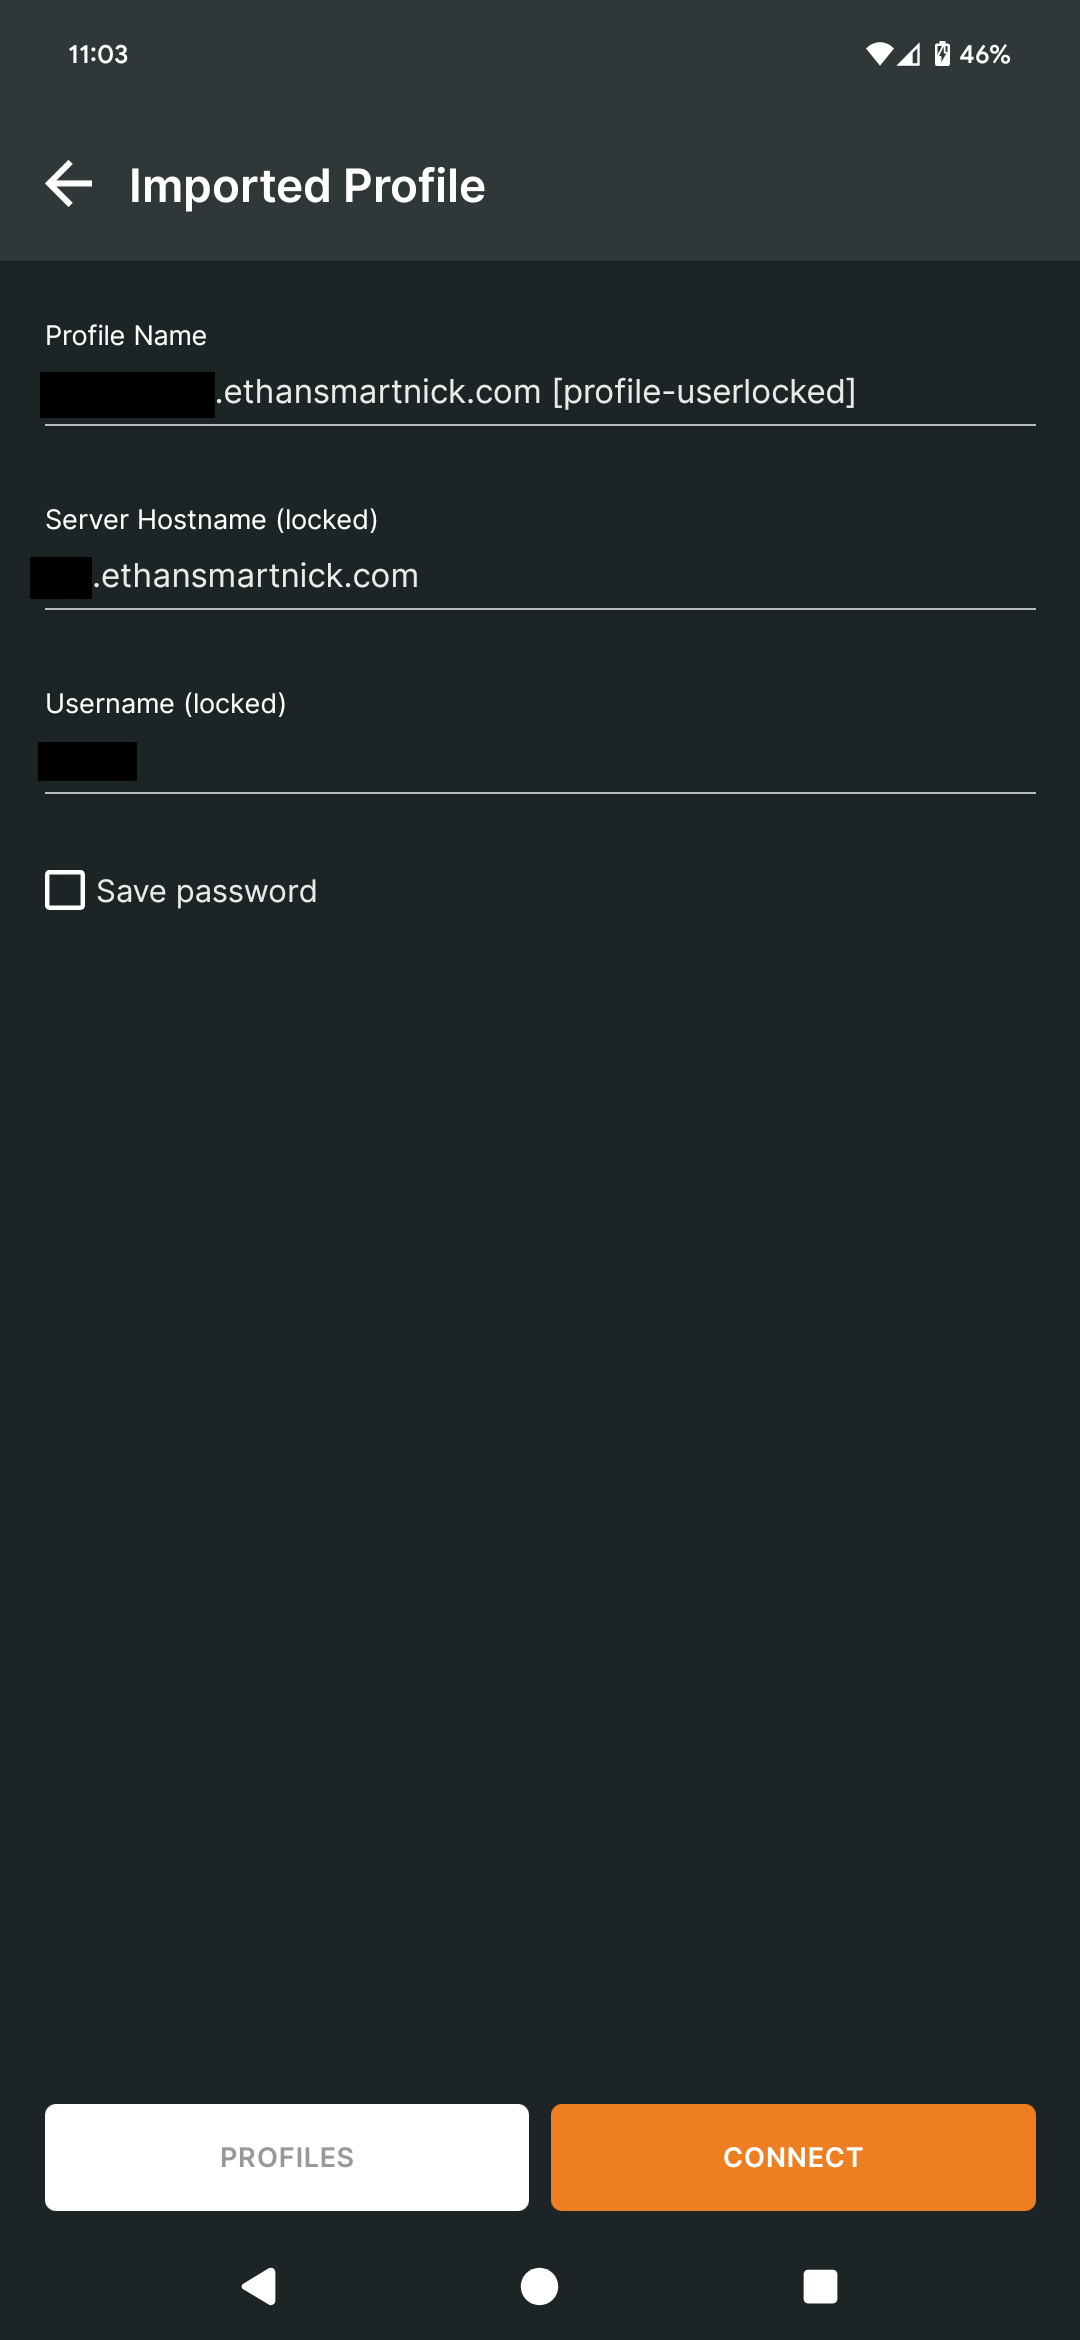
Once imported, if everything is set up correctly, the device will be able to connect to OpenVPN from outside the network. An easy way to check this is by using a mobile device with cell service.
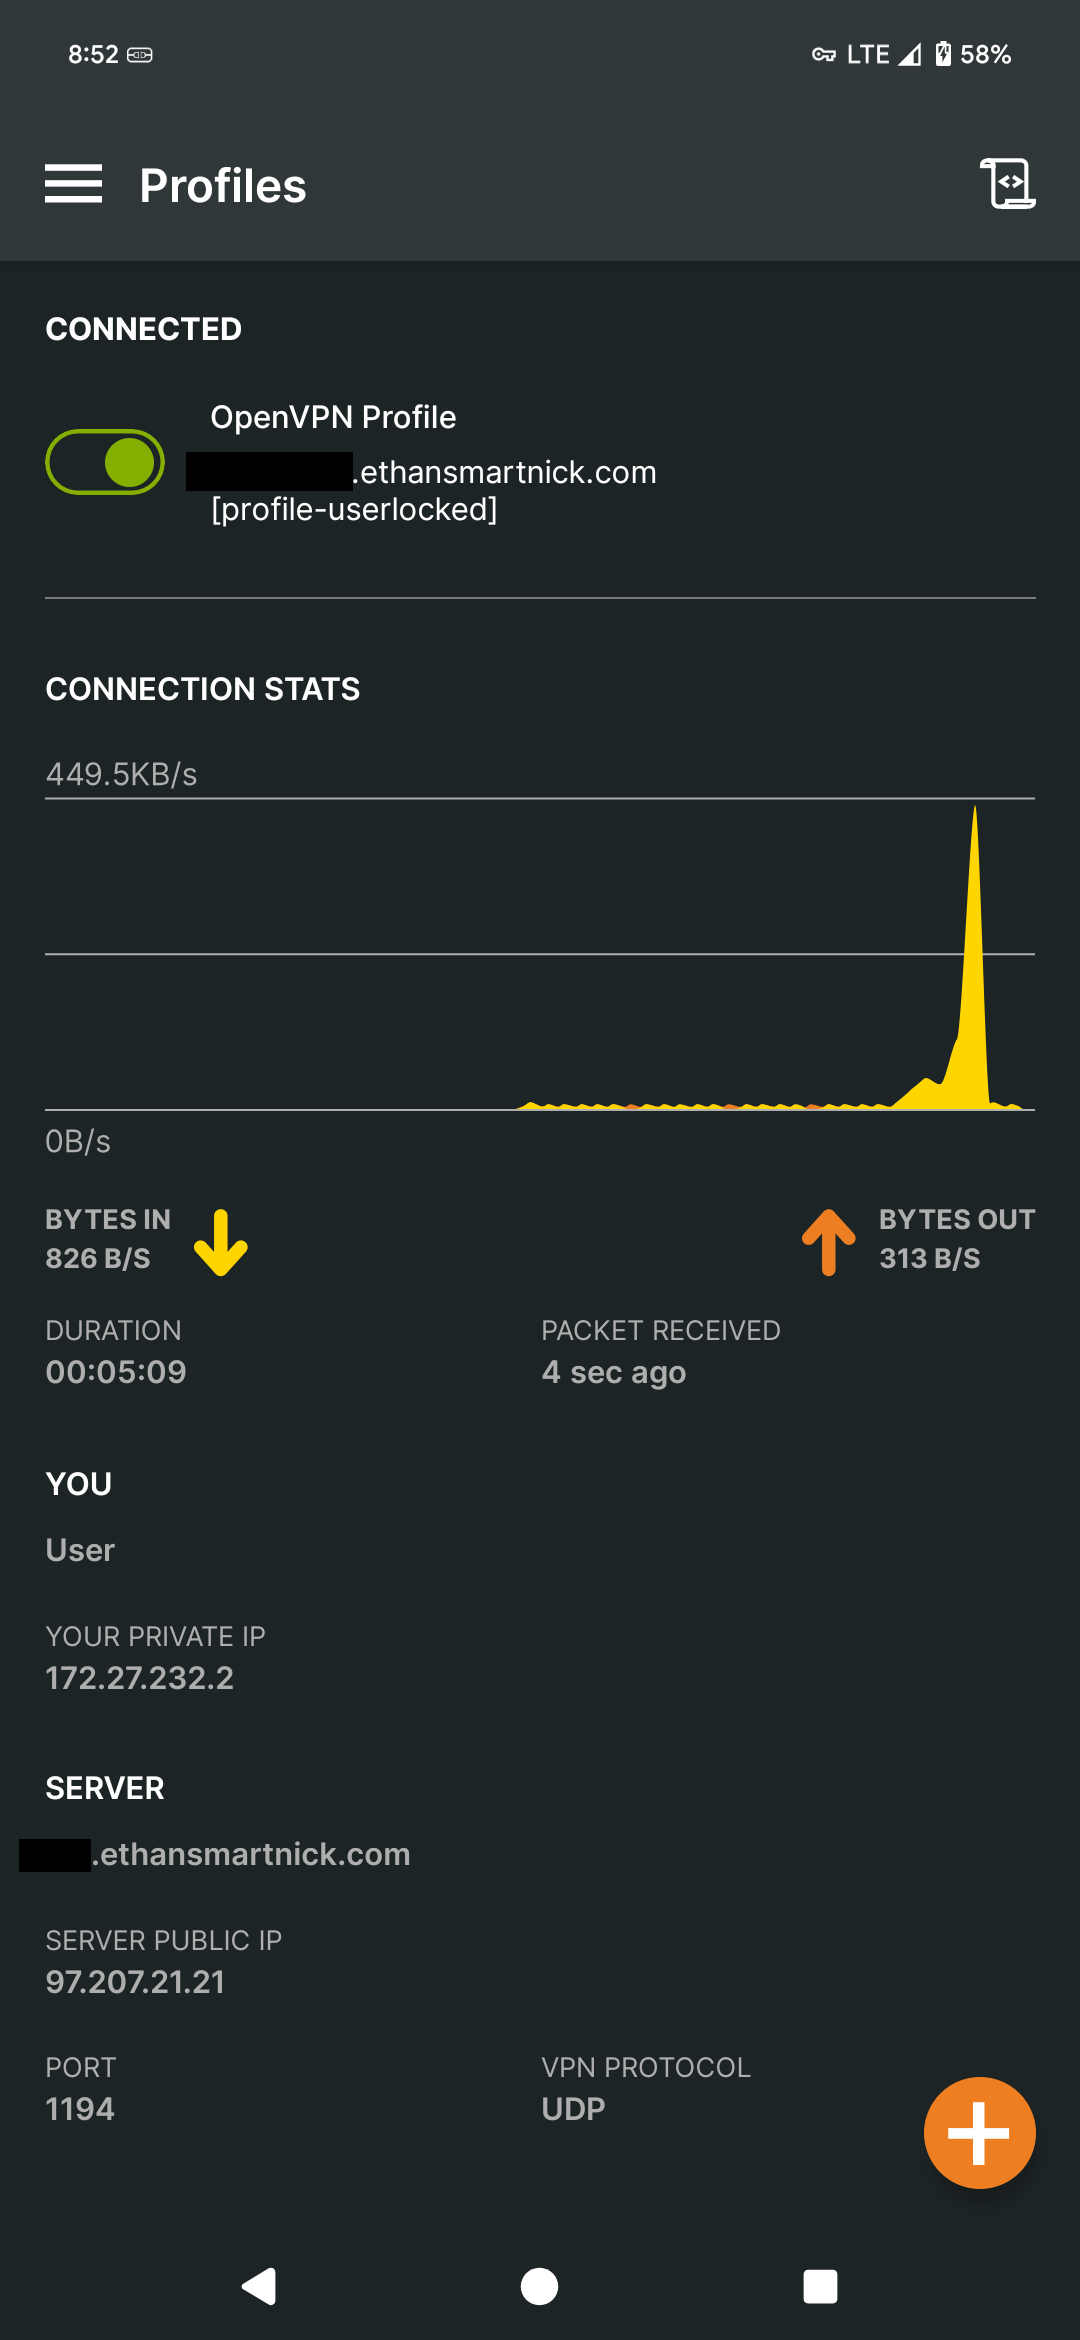
We can confirm the connection by pinging the server from an Android terminal emulator.
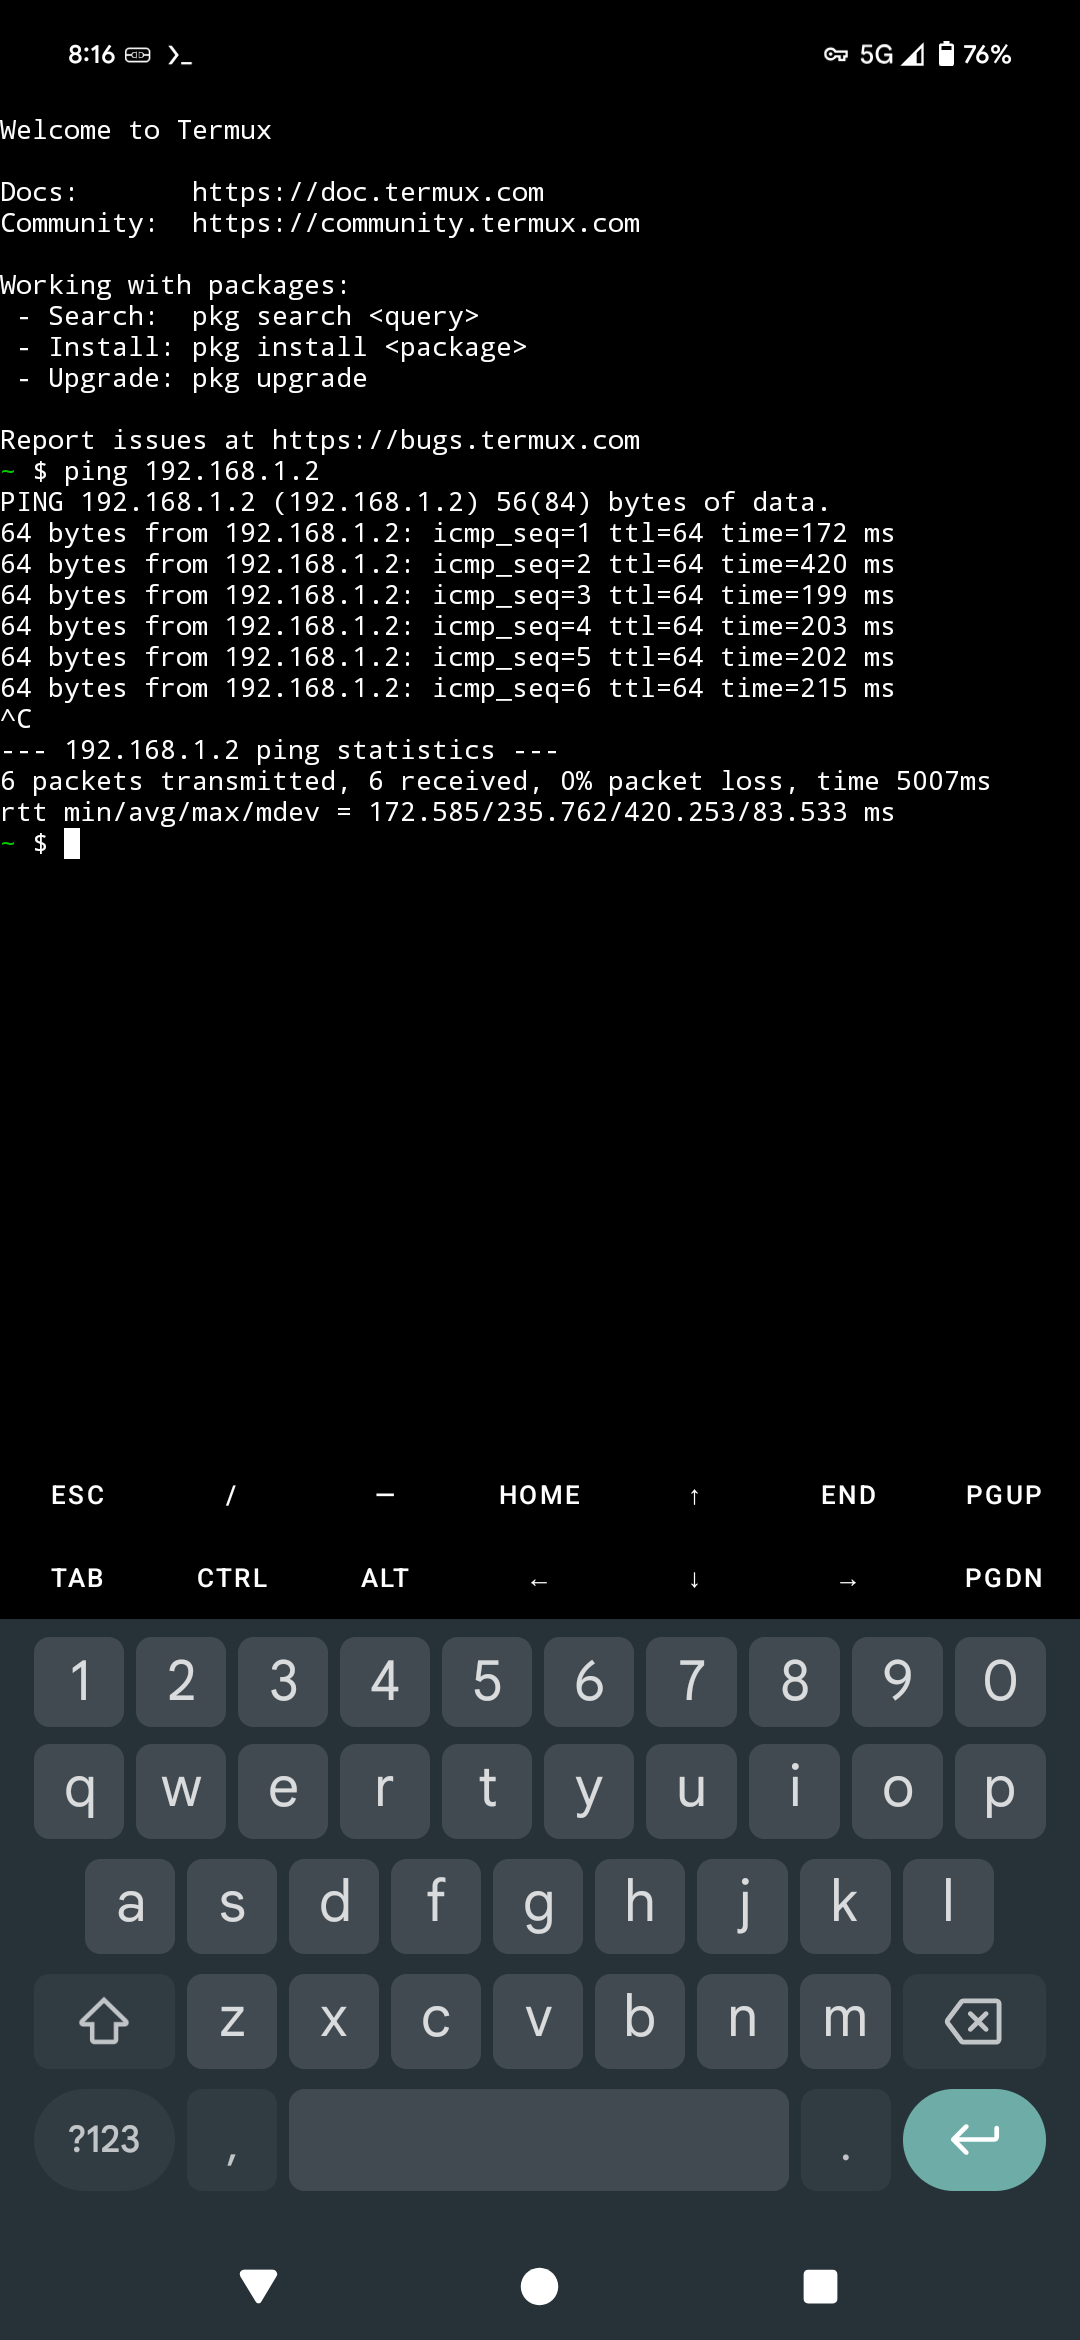
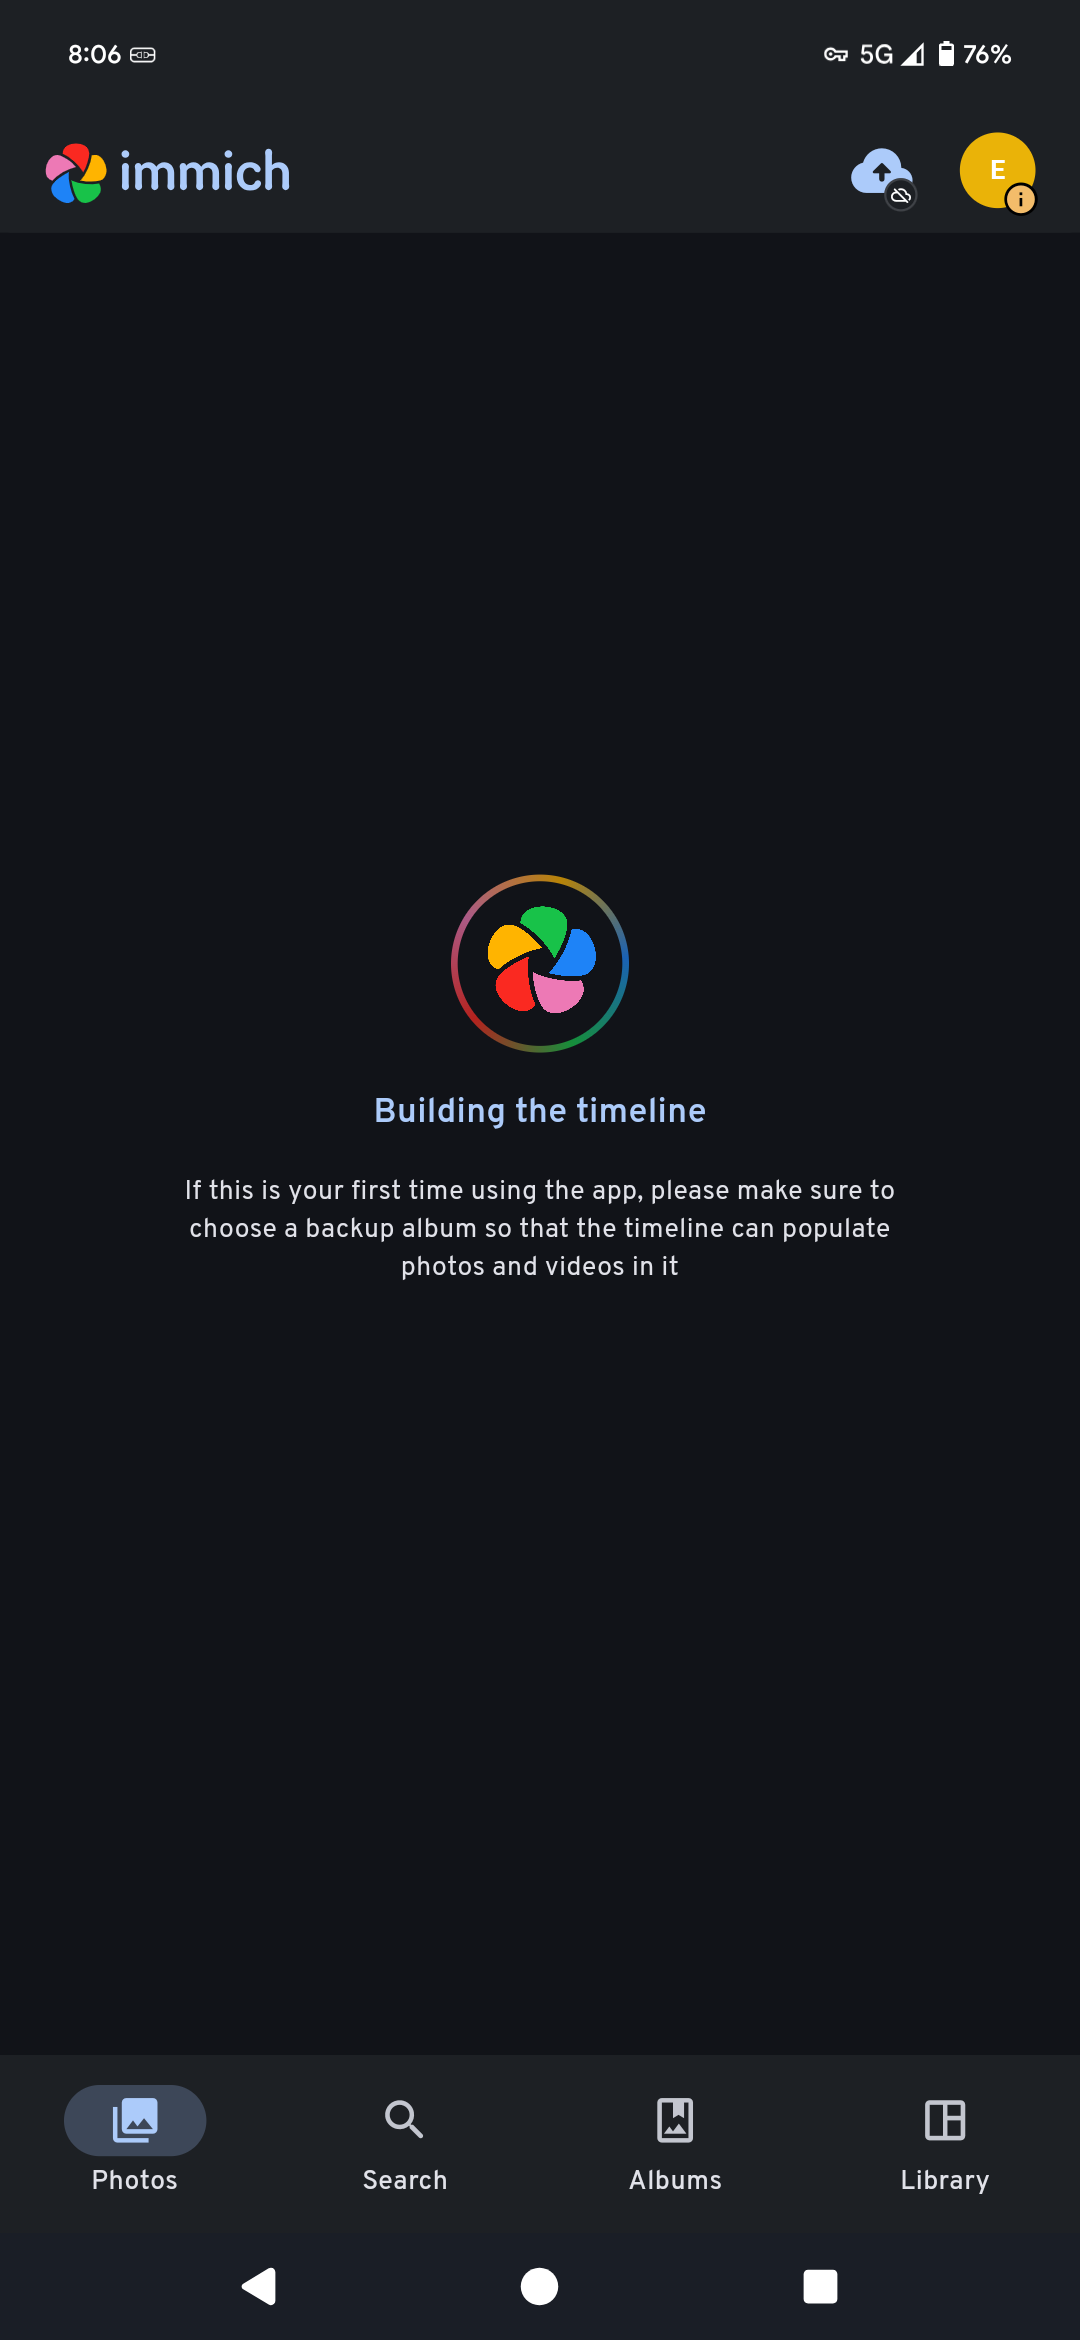
Now, downloading the Immich app, we should be able to log in using the same method as earlier.
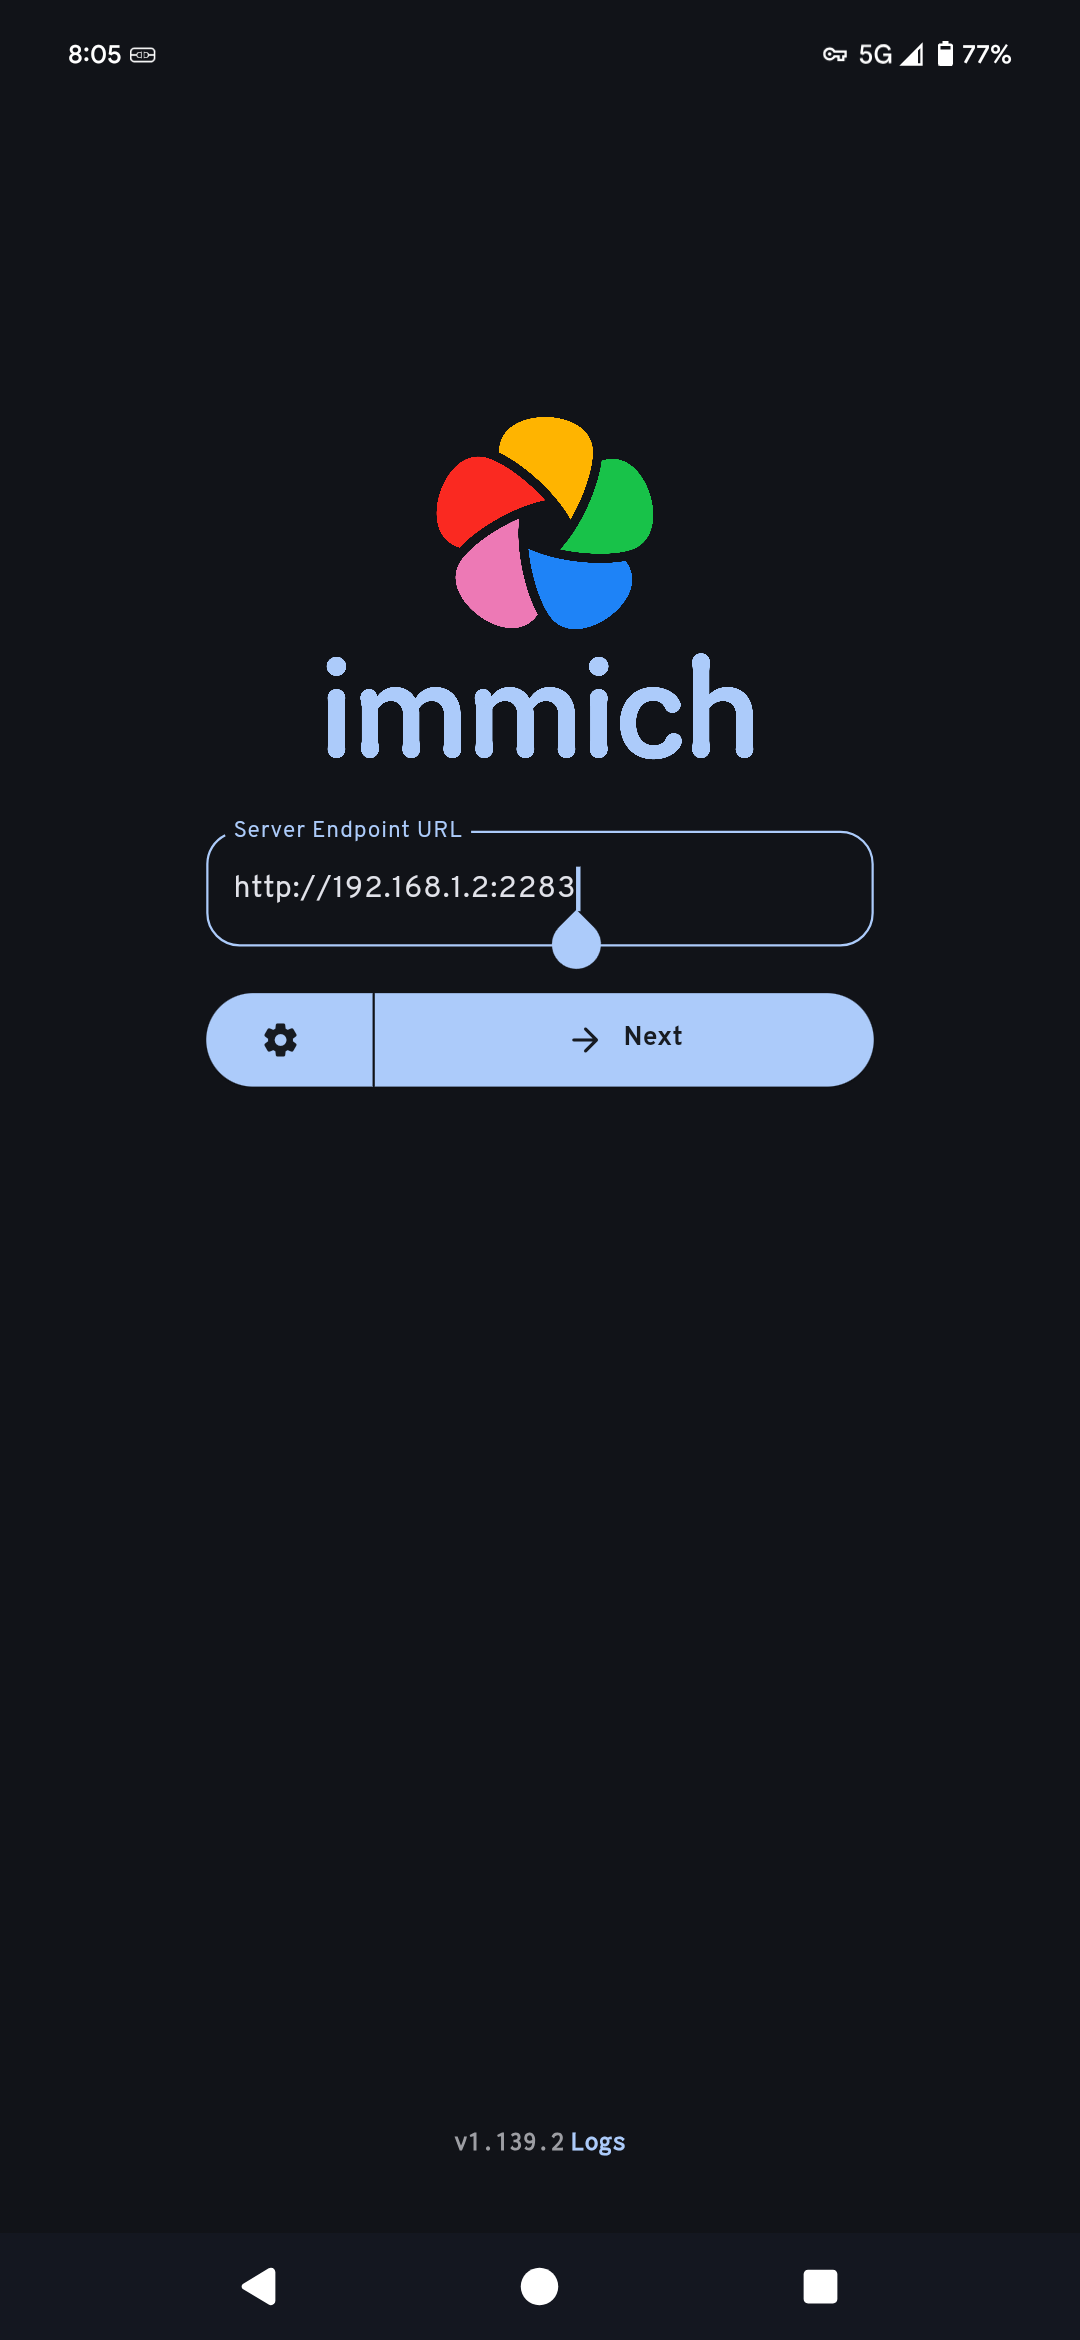
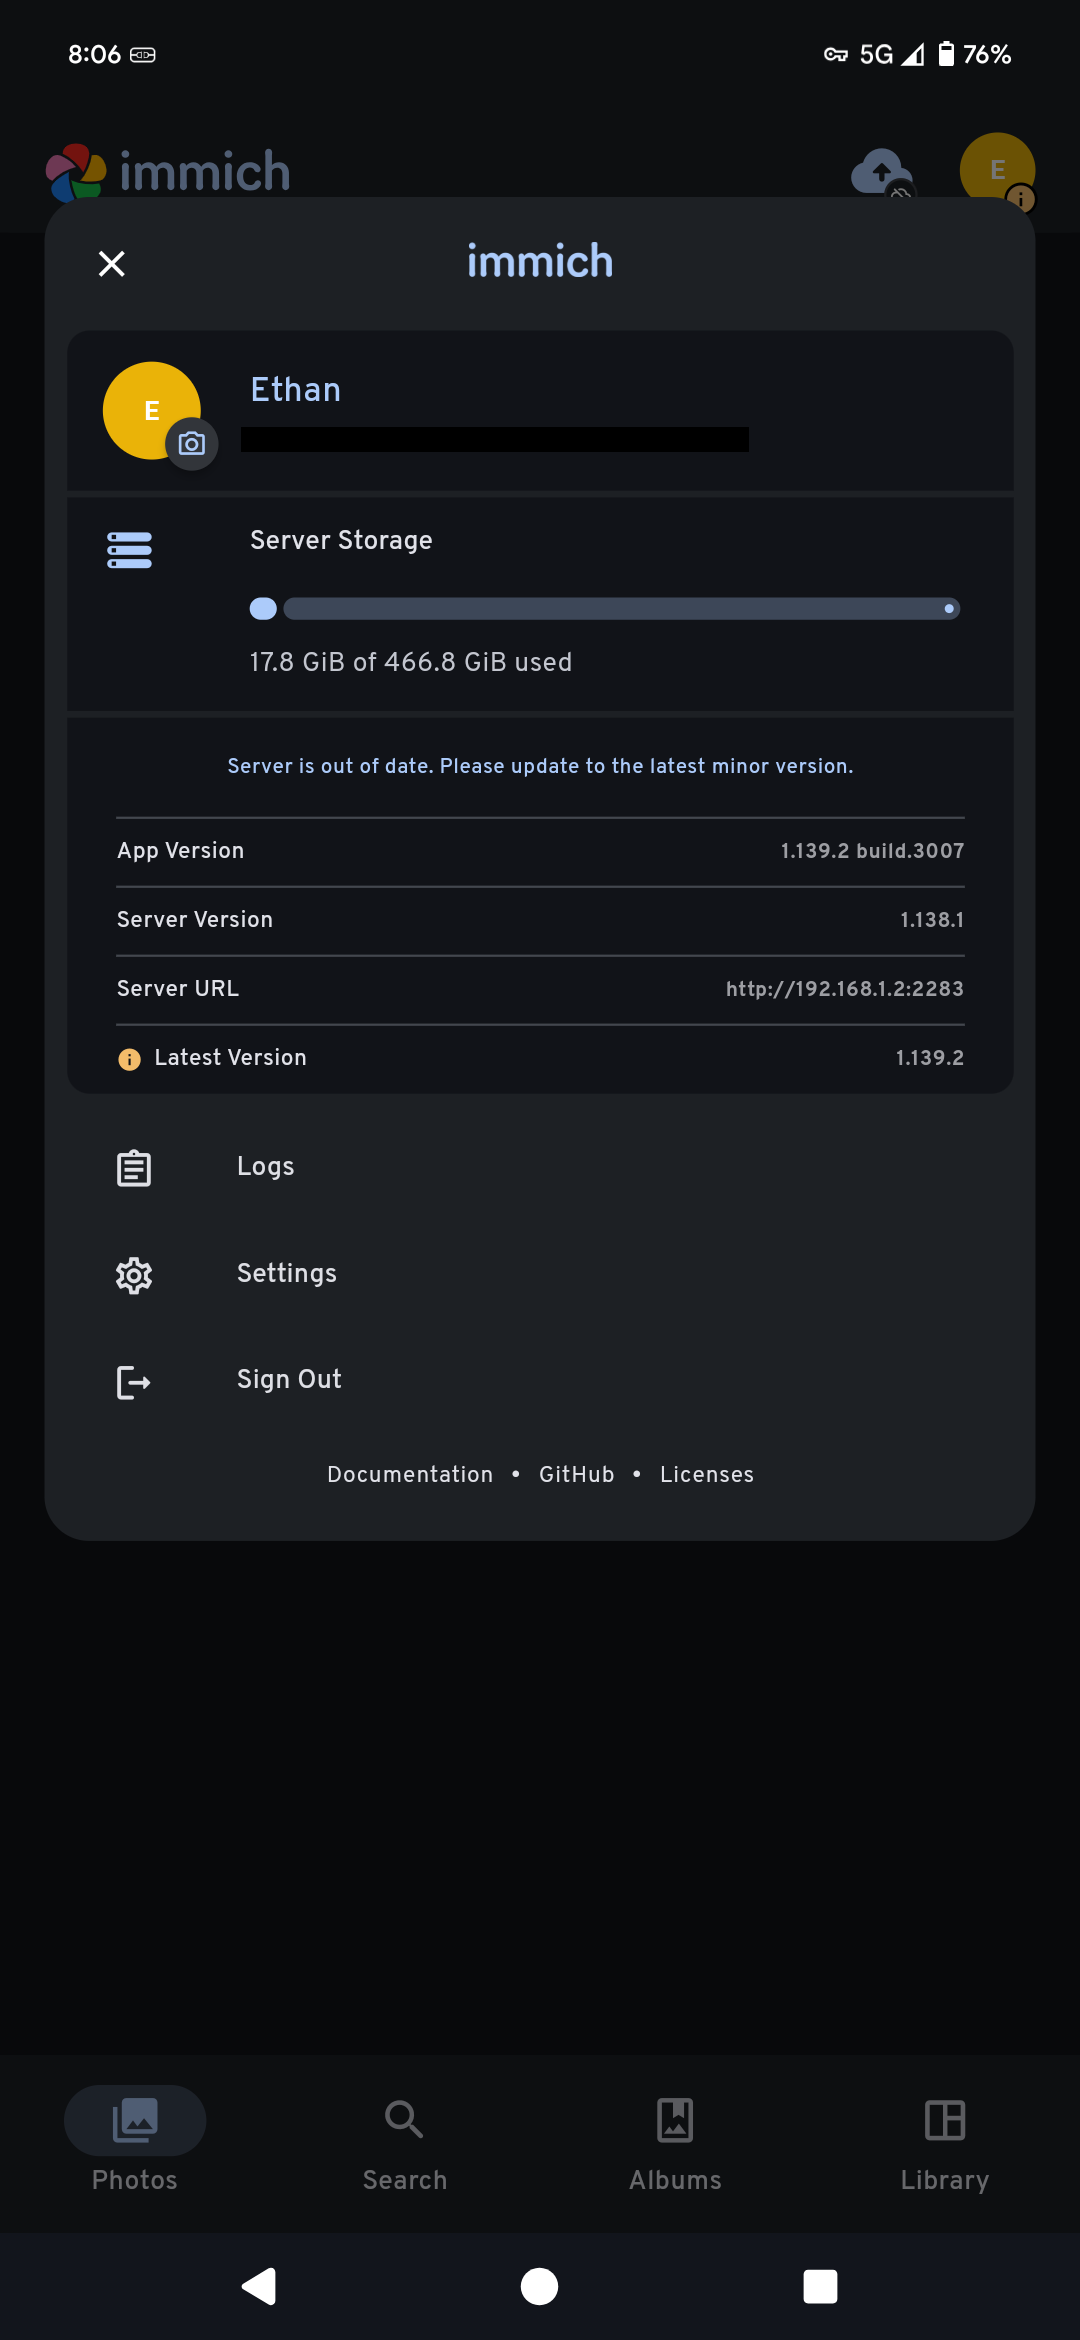
We can confirm connection to the server by tapping the user icon in the top right and checking the storage. If it lines up with the server, everything is working properly.
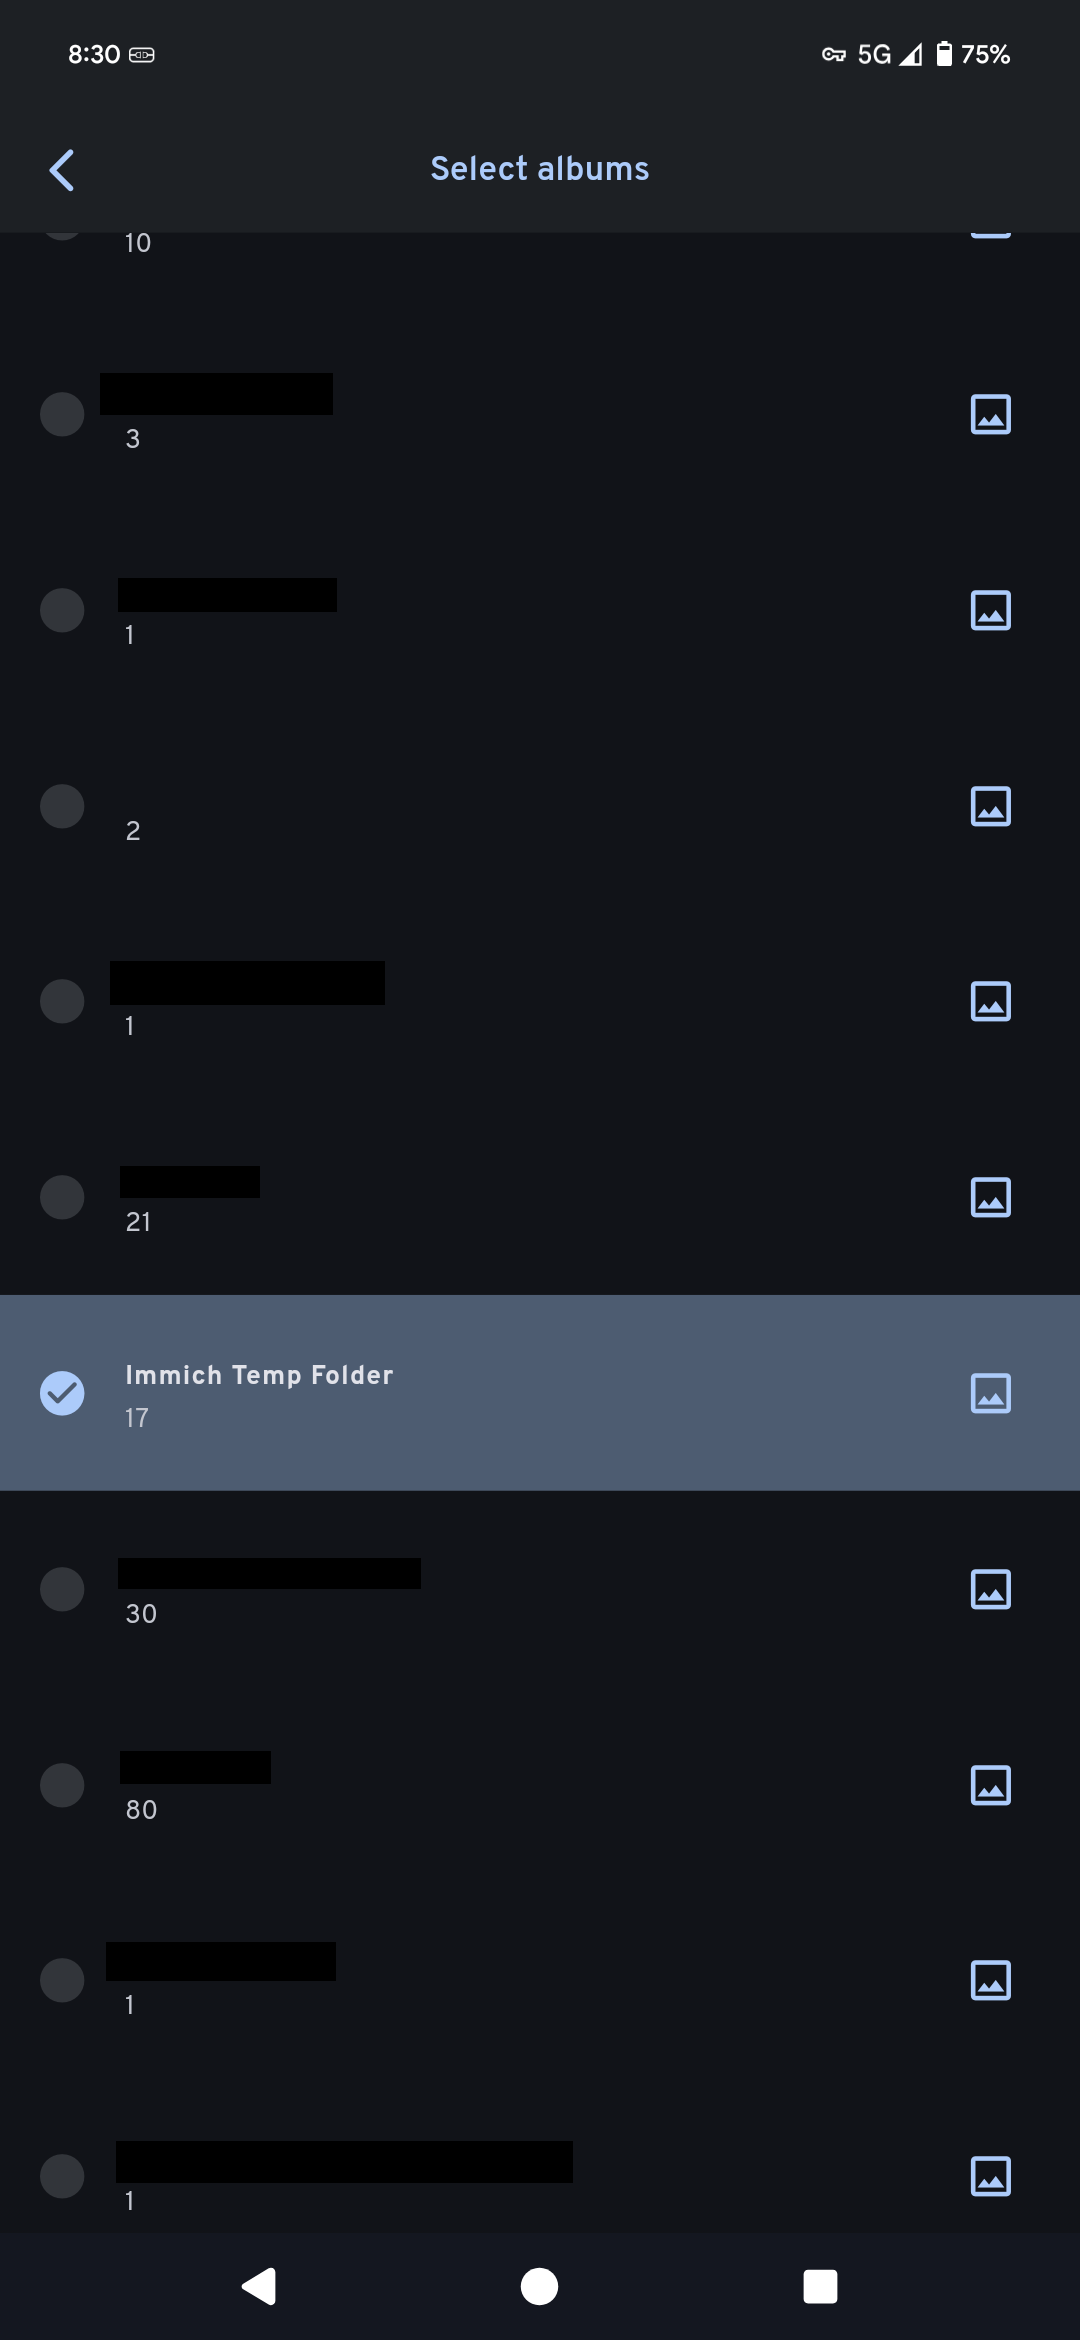
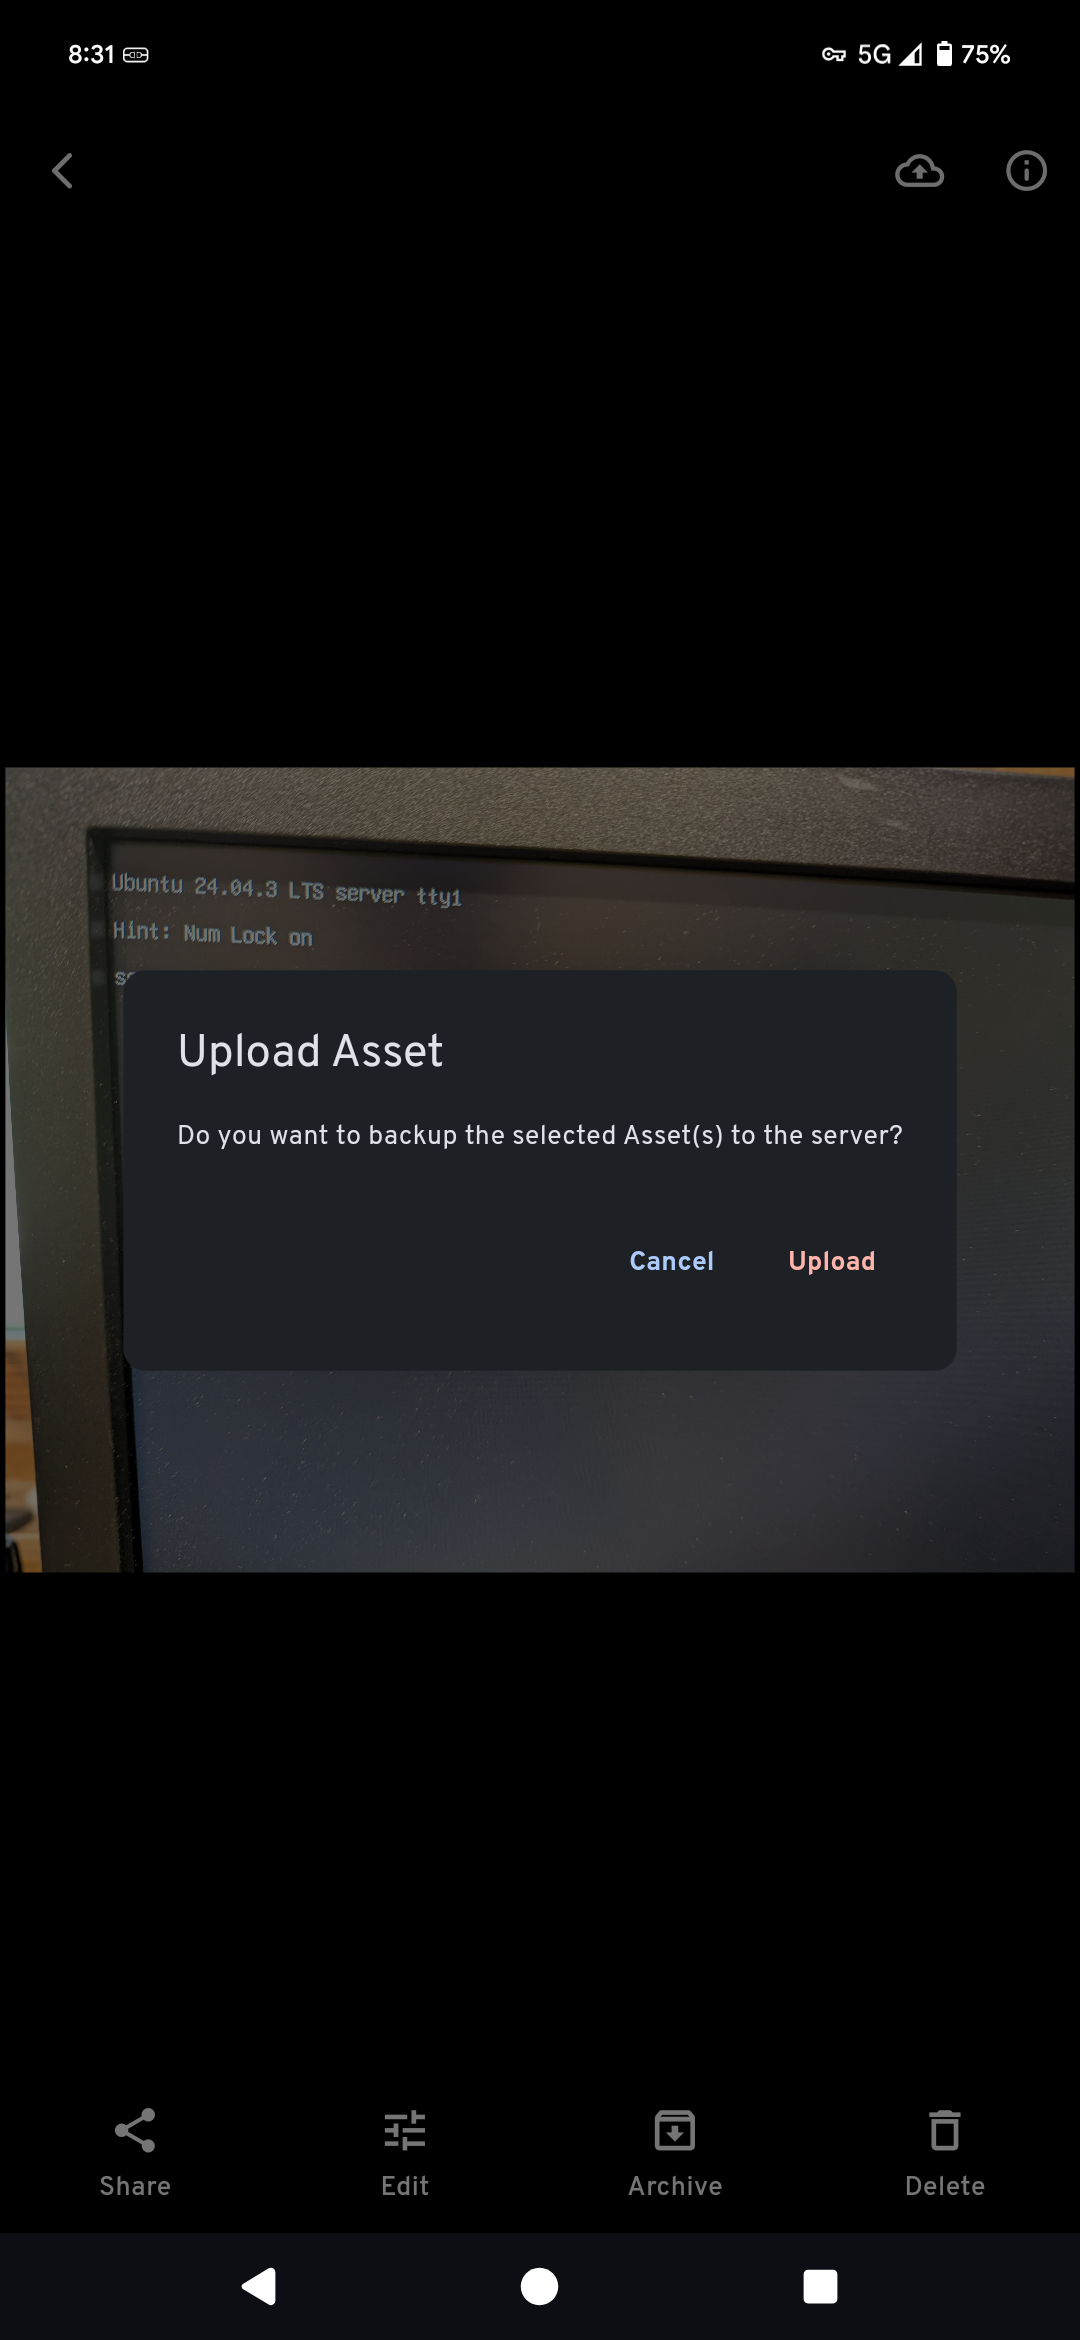
Finally, we can check usability by syncing an album and uploading a picture. It should then be available on all devices connected to the Immich server.


Conclusion
And there you have it! A self-hosted photo and video management platform that isn't charging me an arm, a leg, and the complete knowledge of my personal life in order to use...